Tonight’s topic is upgrading to the new and most anticipated update of: vSphere 8 Update 1 from vSphere 8.0. In this walk through we will do a step by step process of what you will need to do before you upgrade your vSphere environment.
What’s New
Some tidbits of information below from the Release Notes – More Information check out the release notes here
- vSphere 8.0 IA/GA Release Model: For more information on the Release Model of vSphere Update releases, see The vSphere 8 Release Model Evolves.
- vSphere Configuration Profiles: vSphere 8.0 Update 1 officially launches vSphere Configuration Profiles, which allow you to manage ESXi cluster configurations by specifying a desired host configuration at the cluster level, automate the scanning of ESXi hosts for compliance to the specified Desired Configuration and remediate any host that is not compliant. vSphere Configuration Profiles require that you use vSphere Lifecycle Manager images to manage your cluster lifecycle, a vSphere 8.0 Update 1 environment, and Enterprise Plus or vSphere+ license. For more information, see Using vSphere Configuration Profiles to Manage Host Configuration at a Cluster Level.
- With vSphere 8.0 Update 1, vSphere Distributed Services Engine adds support for:
- NVIDIA BlueField-2 DPUs to server designs from Lenovo (Lenovo ThinkSystem SR650 V2).
- 100G NVIDIA BlueField-2 DPUs to server designs from Dell.
- UPTv2 for NVIDIA BlueField-2 DPUs.
- AMD Genoa CPU based server designs from Dell.
- Support for heterogenous virtual graphics processing unit (vGPU) profiles on the same GPU hardware: vSphere 8.0 Update 1 removes the requirement that all vGPUs on a physical GPU must be of the same type and you can set different vGPU profiles, such as compute, graphics, or Virtual Desktop Infrastructure workload, on one GPU to save cost by higher GPU utilization and reduced workload fragmentation.
- Integration of VMware Skyline™ Health Diagnostics™ with vCenter: Starting with vSphere 8.0 Update 1, you can detect and remediate issues in your vSphere environment by using the VMware Skyline Health Diagnostics self-service diagnostics platform, which is integrated with the vSphere Client. For more information, see VMware Skyline Health Diagnostics for vSphere Documentation.
- VM-level power consumption metrics: Starting with vSphere 8.0 Update 1, you as a vSphere admin can track power consumption at a VM level to support the environmental, social, and governance goals of your organization.
What you need:
- SFTP Server to back up your VCSA
- ESXi 8.0.1 Image via Customer Connect – (VMware-VMvisor-Installer-8.0U1-21495797.x86_64.iso)
- Few minutes of preparation
First thing you want to get your vCenter Server Appliance on the newest version, before you upgrade your VMware ESXi hosts to 8.0.1.
Below we will walk through the process to get your VCSA backed up before upgrading!
(Side Note – Make sure you have SFTP or any other means of backing up your VCSA, for this walk through we will not go through setting up a SFTP server)

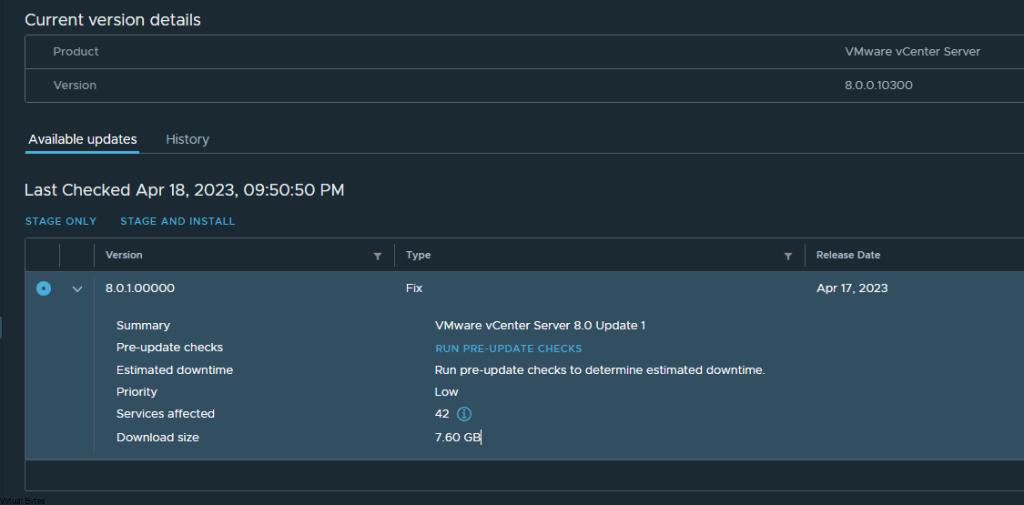
Once the VCSA is backed up successfully – > Then click Stage and Install
Accept that lovely EULA 🙂 If you don’t then no upgrade for you.

Click Next – it will be running pre-checks, and the upgrade process will start, the whole process took roughly less than 15 minutes, this depends on your environment and how large the db and how many objects maintained within VCSA.

Install in progress….

During this process it will convert your data from the previous installation over to your new one, so if there is lots of metrics and logs and historical information it may take a bit.

I went and took a look at how the vSphere Client status is, and there is a new UI addon where it is different from previous deployments of vSphere 8.0

Lets log back into your vCenter!
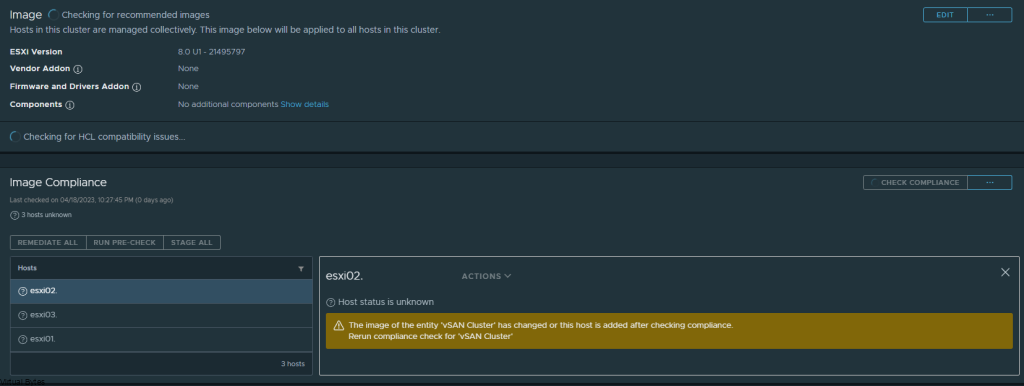
We will prep the cluster image and since I have Dell PowerEdge R740s (14th Gen) hardware I make sure I have the correct Vendor addon selected and validated.
After few minutes of validating, your Image for your cluster will be ready to be applied
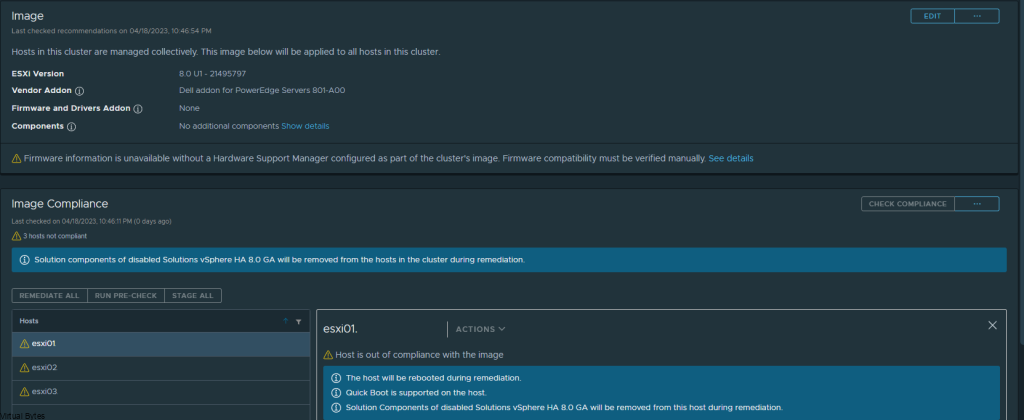
Lets start remediating some servers, one by one. As I have Dell PowerEdge R740s, I have quick boot enabled so the whole upgrade process for each ESXi host was less than 10 minutes for each host.
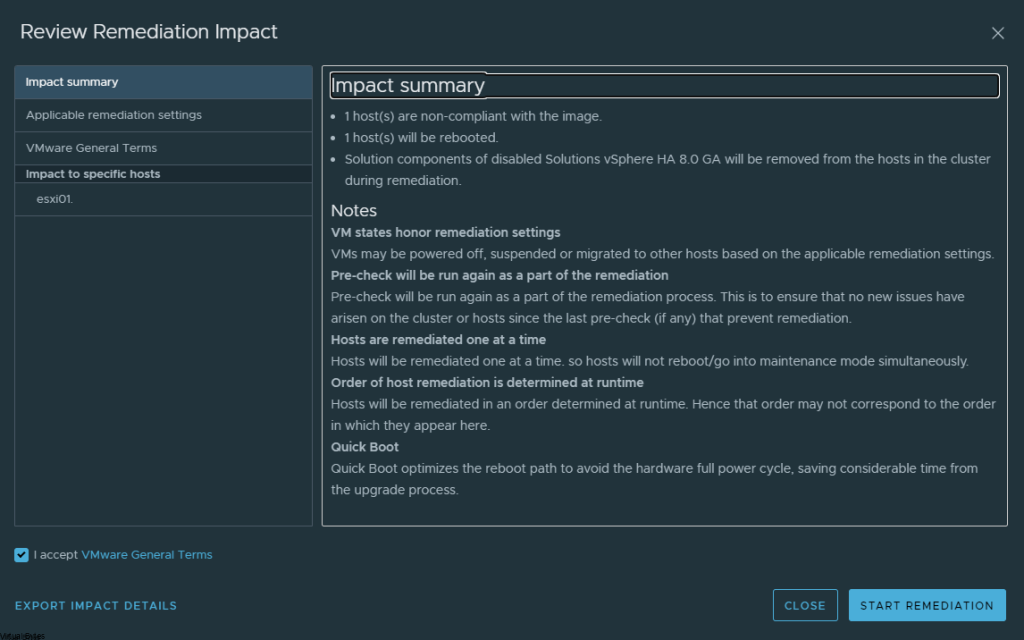
Upgrade In Process…
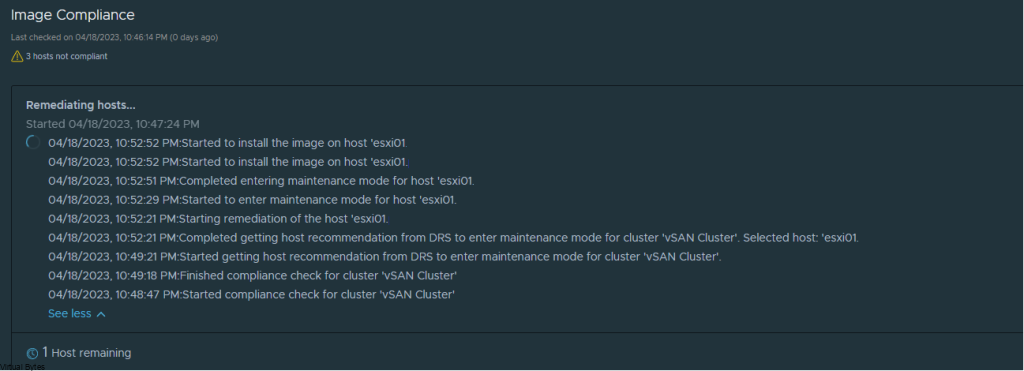
While we are waiting, I like to login to the servers iDRAC and watch the upgrade process.
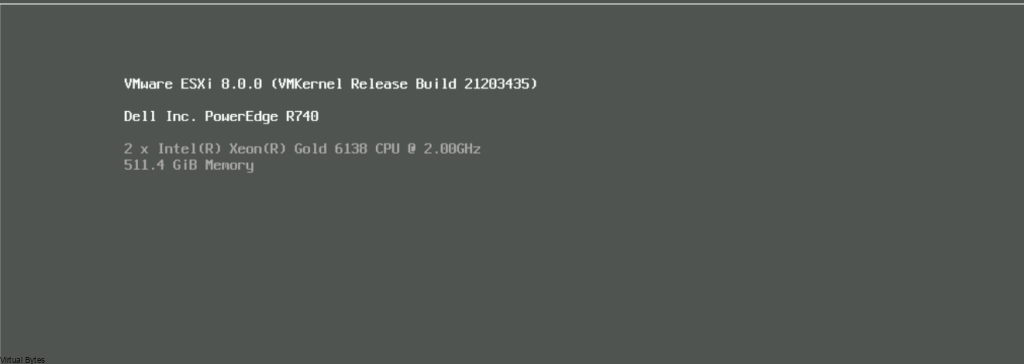
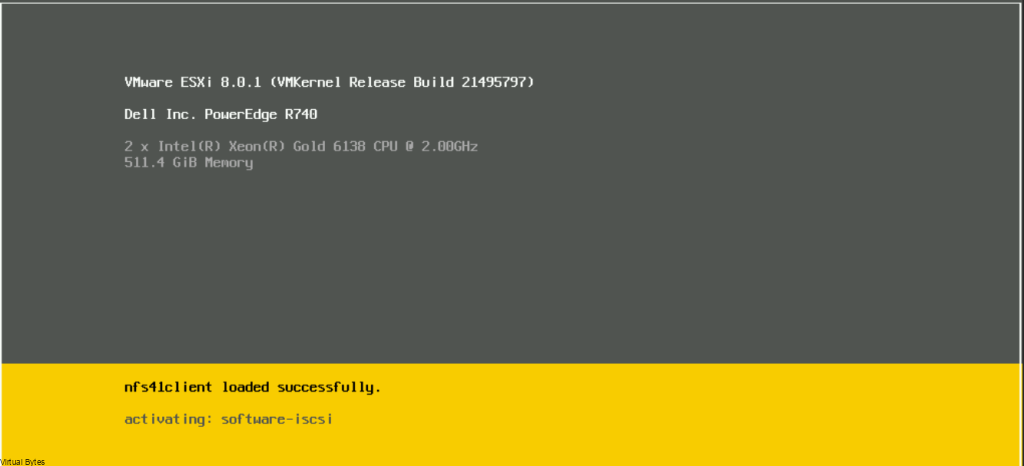
Few minutes later we are on VMware ESXi 8.0.1
After all ESXi hosts are upgrade to 8.0.1, next we will go to Configure -> vSAN – > Disk Management -> Upgrade Disks format version to version 18.0 from 17.0

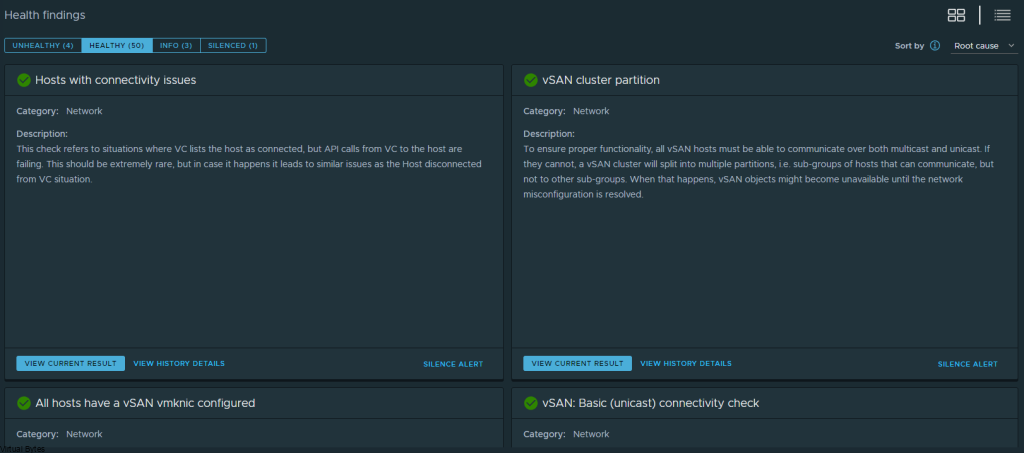
Some neat additions to vSphere 8 Update 1 – I do like how there are tiles now with more detailed information, but also you can toggle the hamburger menu to collapse all these tiles into a easier to see all Health Findings.
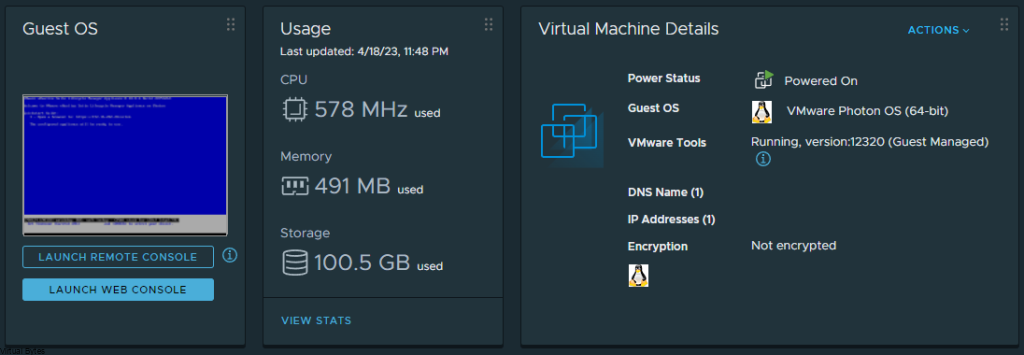
Also, I am glad that the usage is back into its tile on the vSphere User Interface, it is a much needed and appreciated addon back into vSphere 8.0.1
That is all! After following through the walkthrough you should of been able to upgrade your vSphere 8 to vSphere 8.0.1.