vSphere 8 Update 1 – Released!! If you want to see how to upgrade go here to new blog post!
I will be going over on how to upgrade your vSphere 7 to vSphere 8! I will be doing step by step screenshots to walk anyone through, keep in mind that this is upgrading from vSphere 7.0.3 going to vSphere 8.0.
Exciting news! vSphere 8 is (IA) Yes, there is a new release model. Below I have some information below from VMware’s website but if you want to get more in-depth information go to the link below!
New IA/GA model (Information from VMware)
Our intent going forward is that all major and update vSphere releases will be delivered first with an IA designation. An IA release is a production-quality release that meets all GA quality gates and is fully partner certified. IA releases will be available during the IA phase to all customers for production deployments.
Changing to this IA/GA model is motivated by several factors. Most importantly, feedback from customers who want us to be more explicit when a release has achieved strong traction and usage without having to wait for the next update release, which they sometimes use as a proxy. By switching the designation from IA to GA, we’ll be making it clear when the release has gained wide adoption. We think this is a better model than waiting for a 6-month update, particularly as these updates now include feature enhancements as well as net new features.
DISCLAIMER:
– Everything I document here is on my lab, do not try this on a production system if you do not have backups or a way to restore if something goes wrong.
– This Walkthrough is only for a vSphere Cluster upgrade
Before you start the upgrde ensure you have a backup of your vCenter Server Appliance.
We will be upgrading a vSphere 7.0.3 Cluster to vSphere 8.0! Below is the vSphere 7 snippet
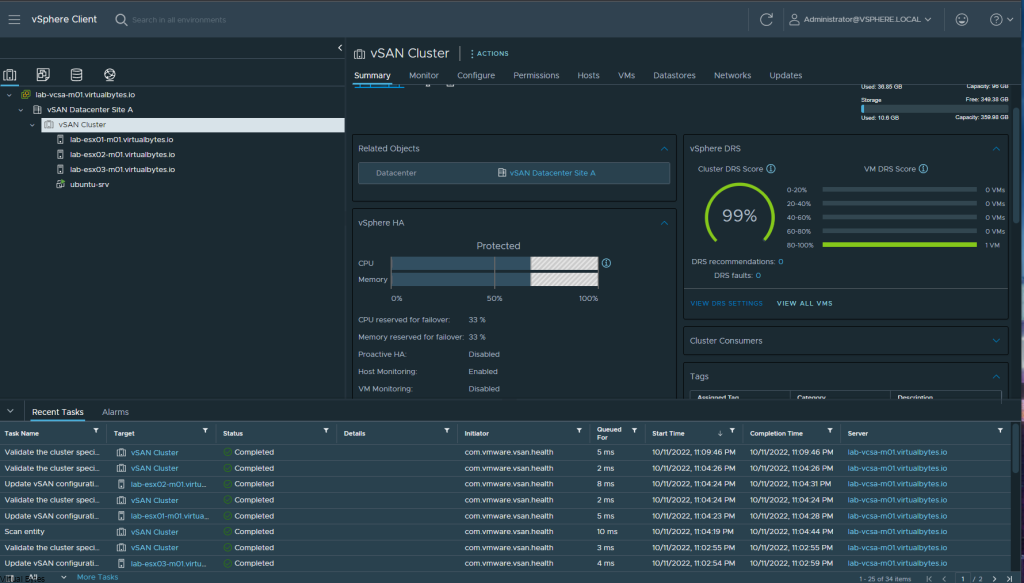
Download you ISO from VMware’s website and copy the iso to your local workstation
Once you get your ISO ready mount it to your local computer and drill down into the
vcsa-ui-installer -> win32 -> then execute installer.exe
Go to Upgrade ->
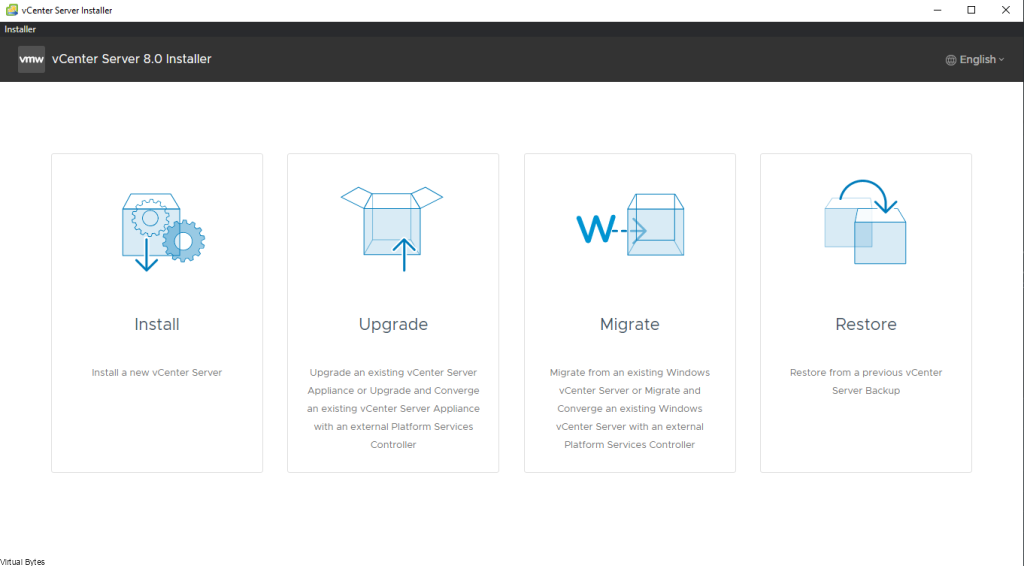
Once you are ready to upgrade your environment you will go Next
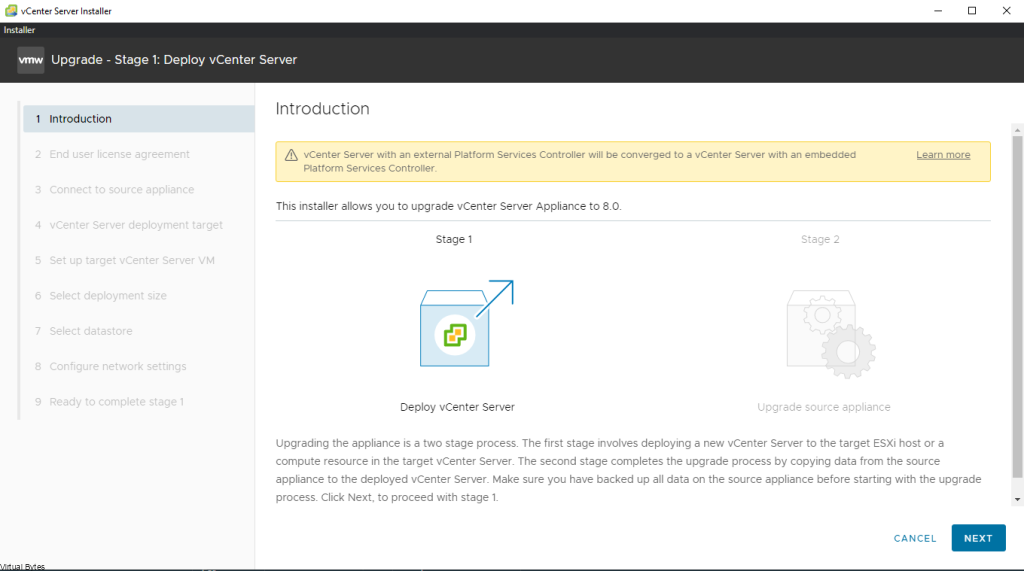
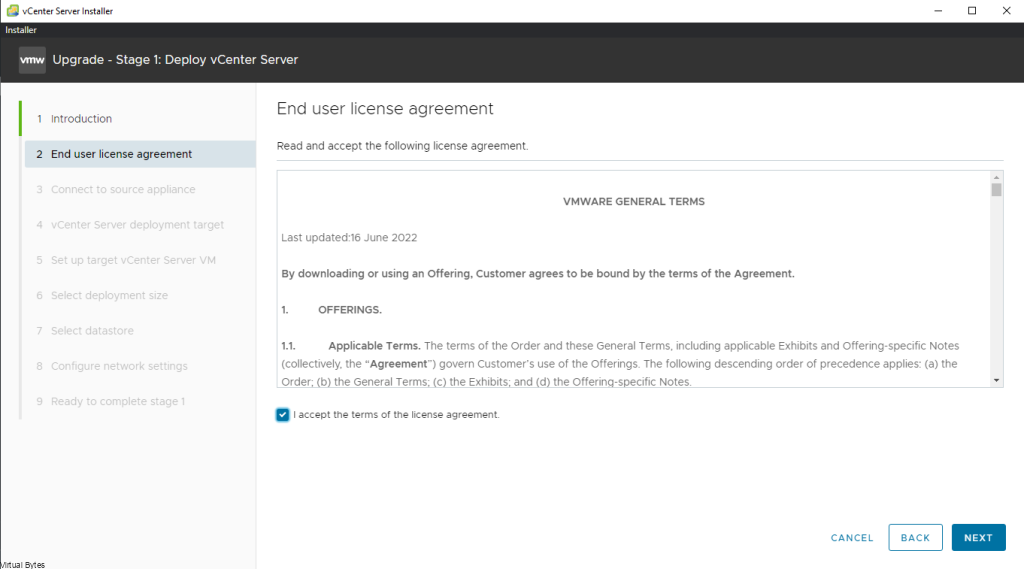
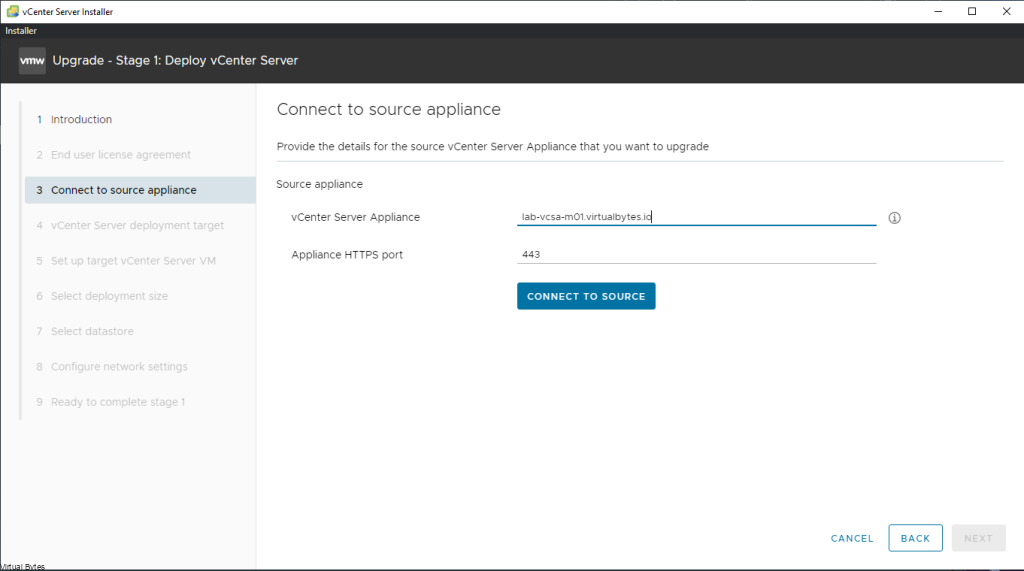
Once you get to this window, you will want to fill in your Source Appliance which is the vSphere 7 Cluster you want to upgrade. For Example: lab-vcsa-m01.virtualbytes.io
Then -> Click Connect to Source
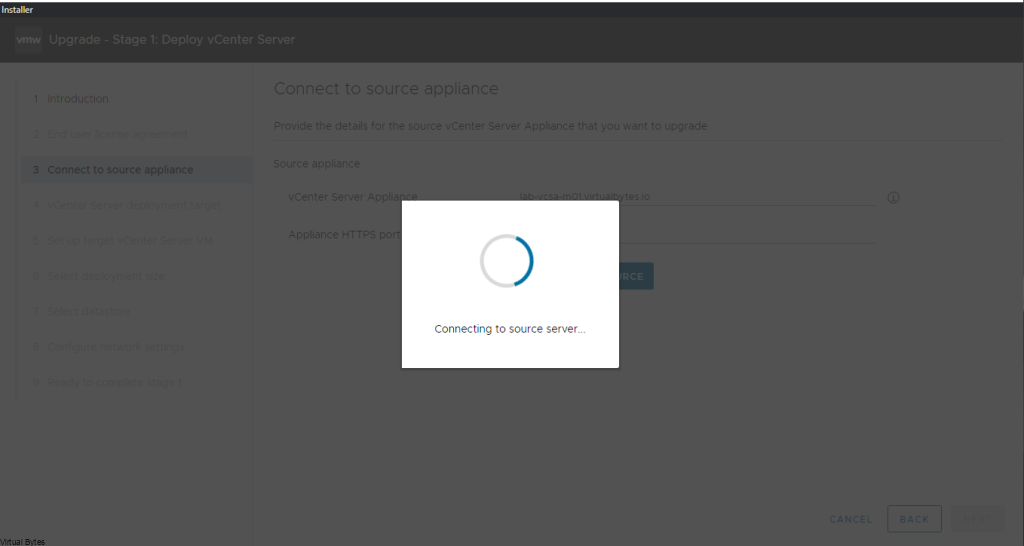
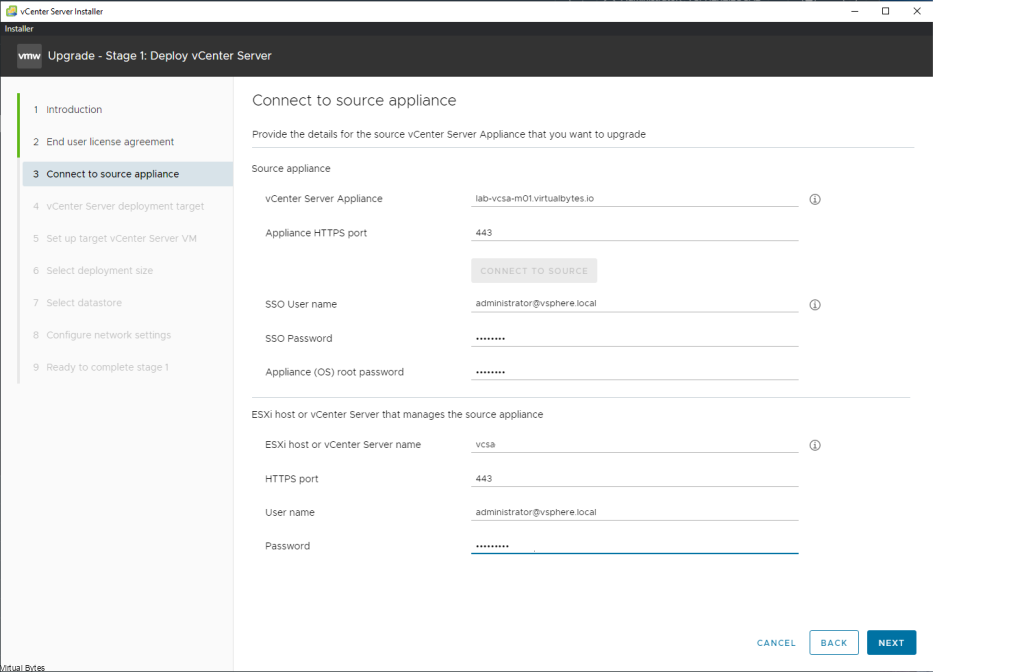
Once it connects to the source server, you will get this detail specific page during the deployment asking to fill in the vCenter Server Appliance SSO Username and Password along with the Appliance (OS) root password along with the ESXi Host or vCenter Server that manages the source appliance
Accept the Certificate Warning which you will have your Source and Destination servers where the appliance will get deployed

Input your vCenter Server deployment target, where the new vCenter Server Appliance will get deployed
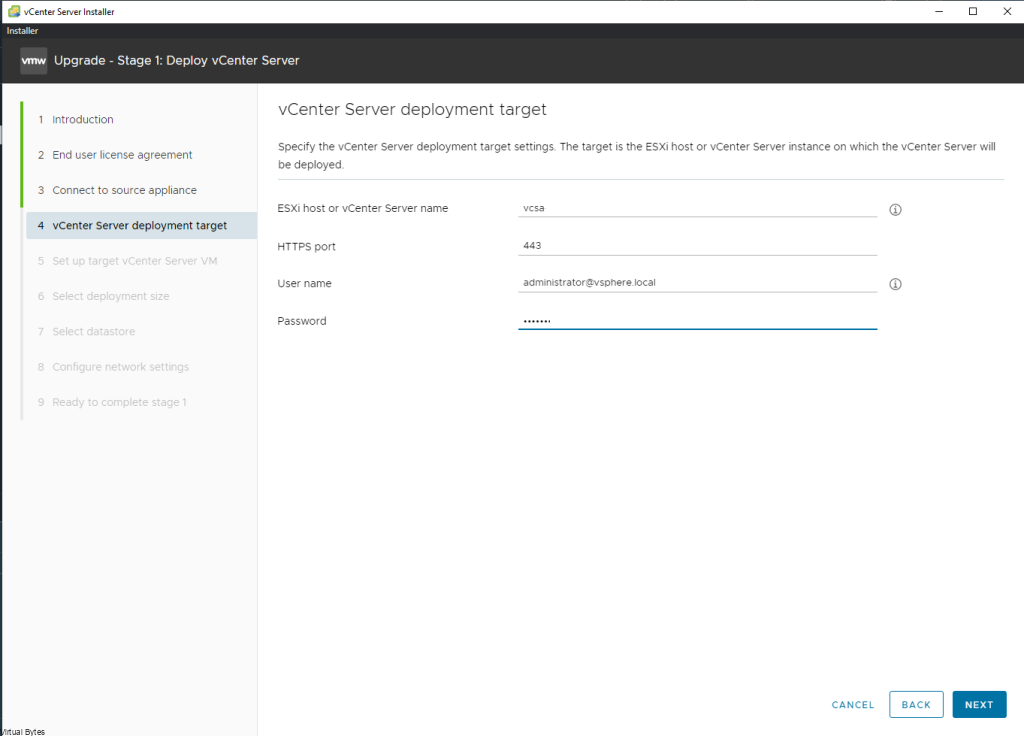
If you are installing this select your current datacenter object where the vCSA appliance will be stored in
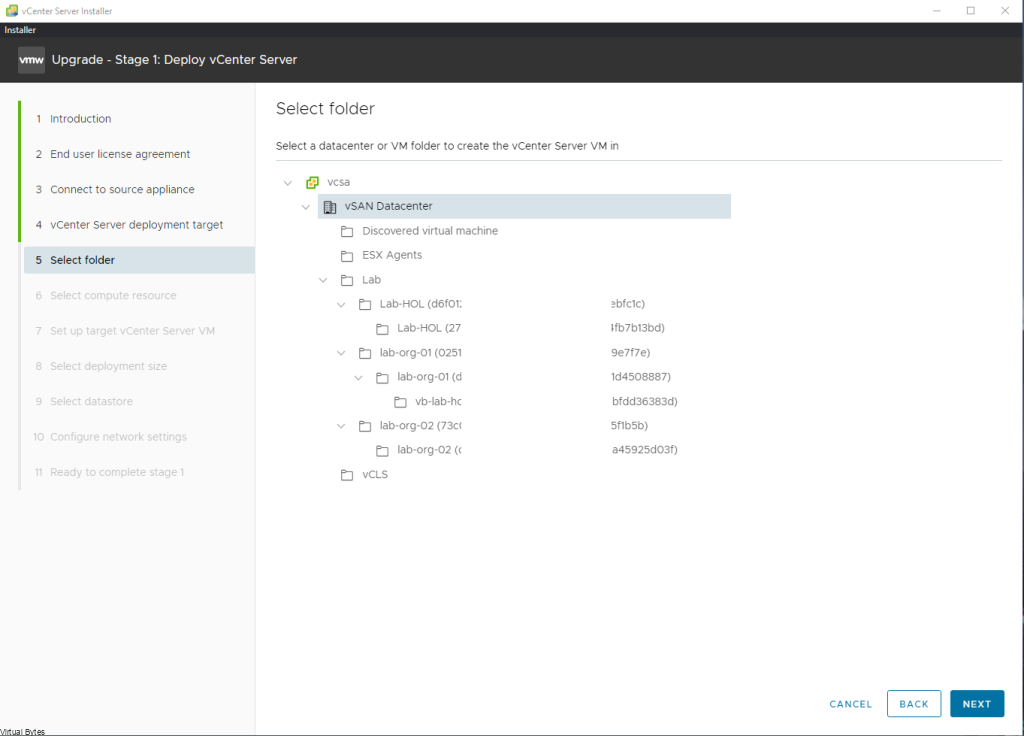
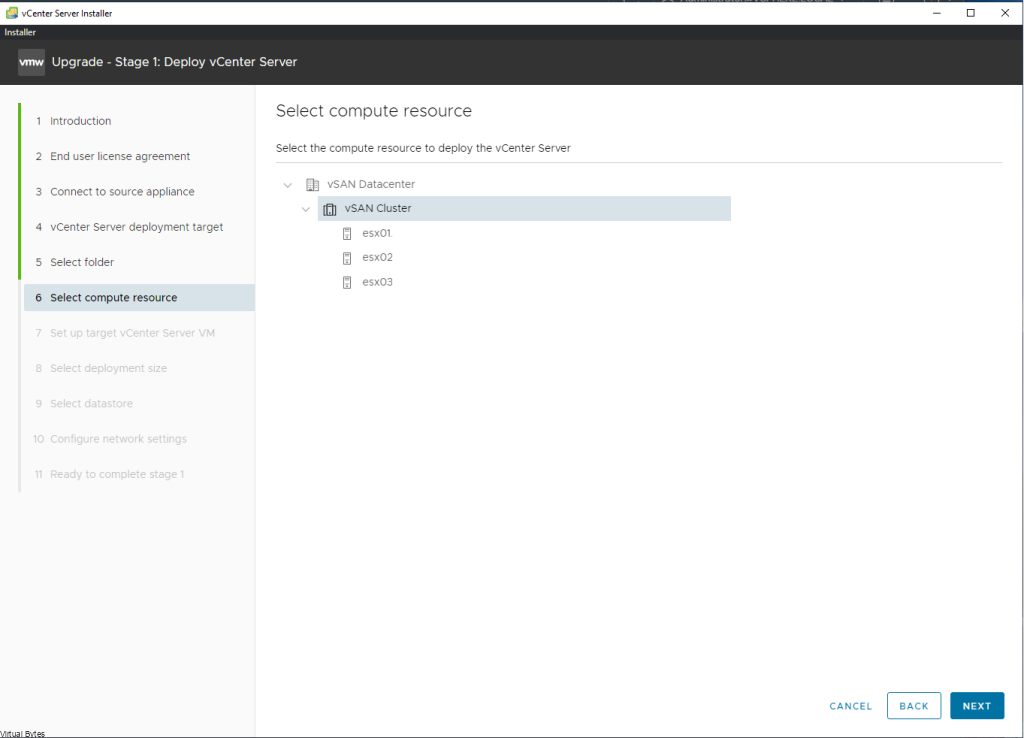
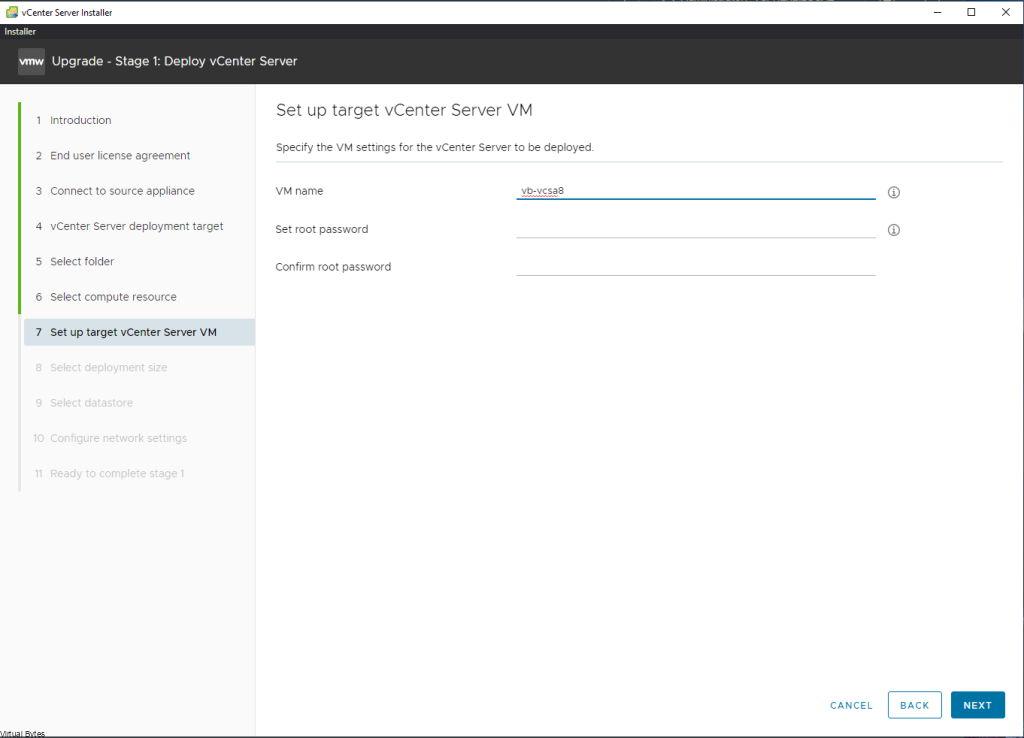
This is creating the new vCSA on the target server, you will want to make sure that the two vCenter Server Appliances do not collide with the same naming convention or you will get any error saying this name for the VM exists.
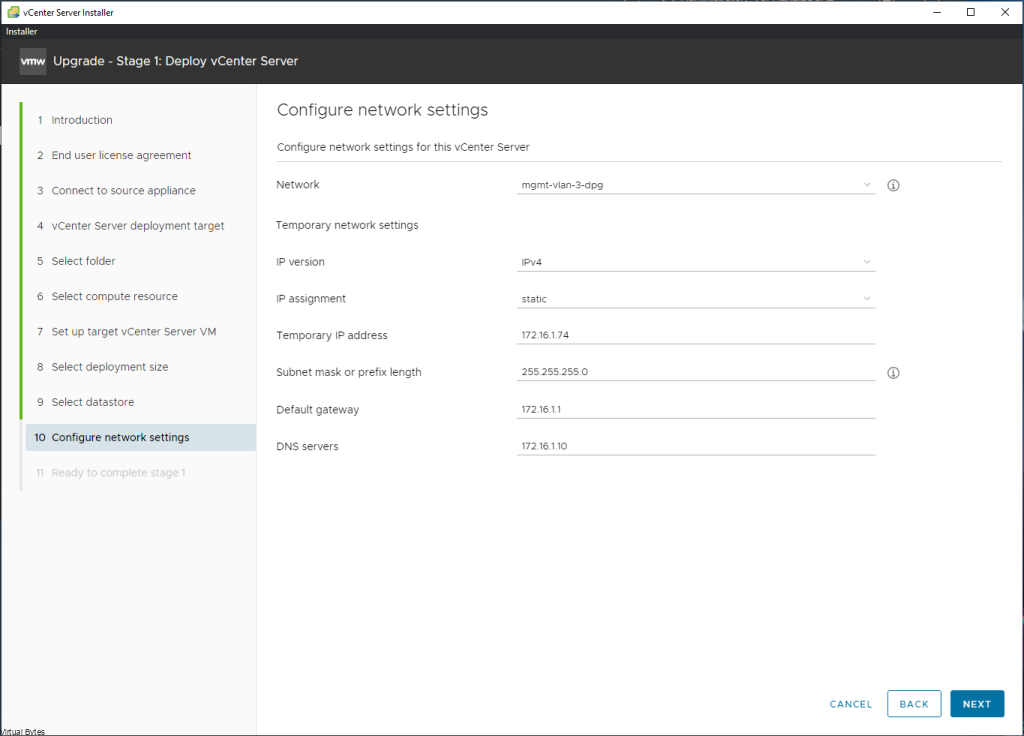
Fill in your network information for the upgraded preparation
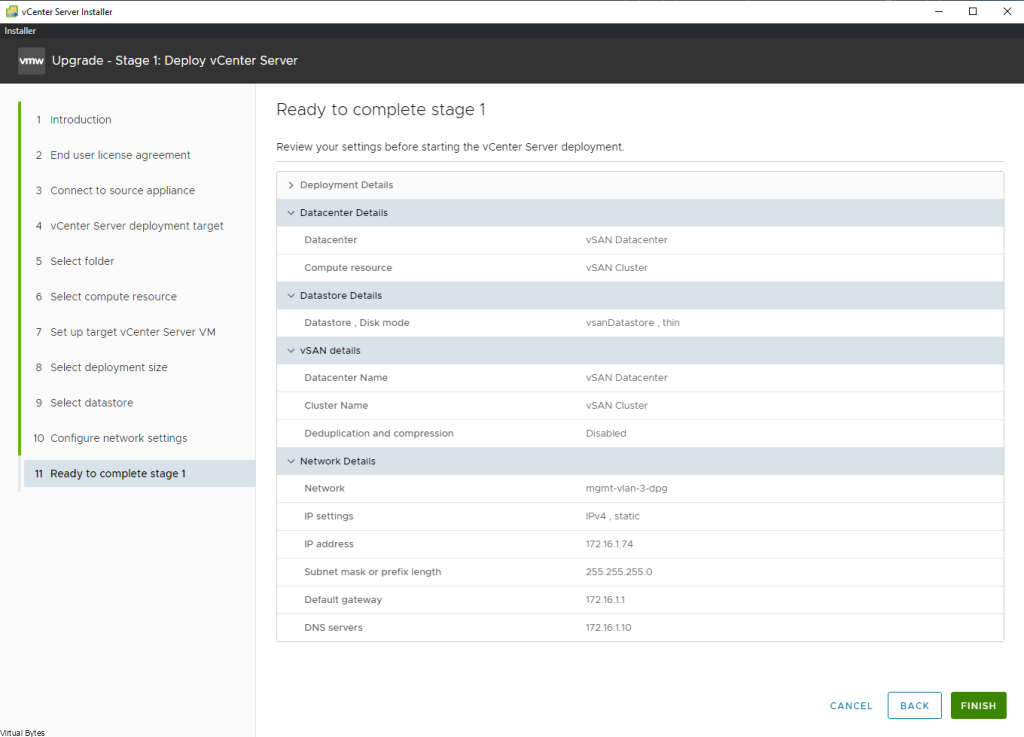
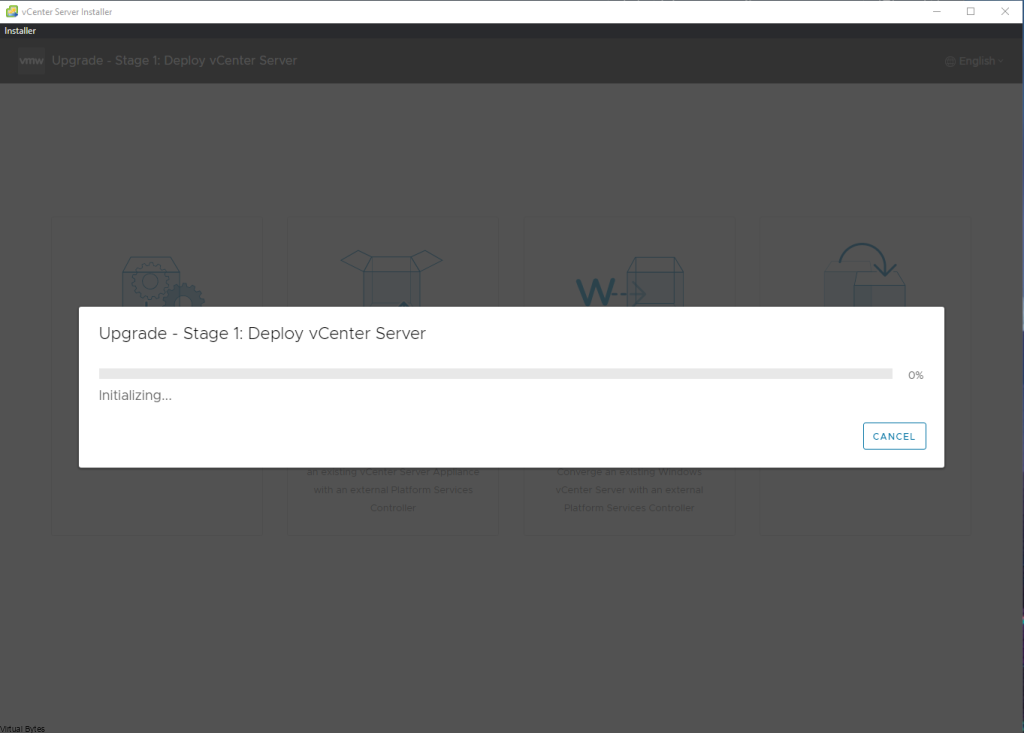
After ~15 minutes, you will get to the Phase 2 of the Upgrade Process, Click -> Next

I purposly did not enable SSH on my source vCenter Server, this way if anyone encounters the same issue, this will guide you to make sure you have SSH enabled on the Source vCenter Server Applaince or you will get this error below 🙂

After you enabled SSH and re-try the task you will go into the Pre-Upgrade Checks state

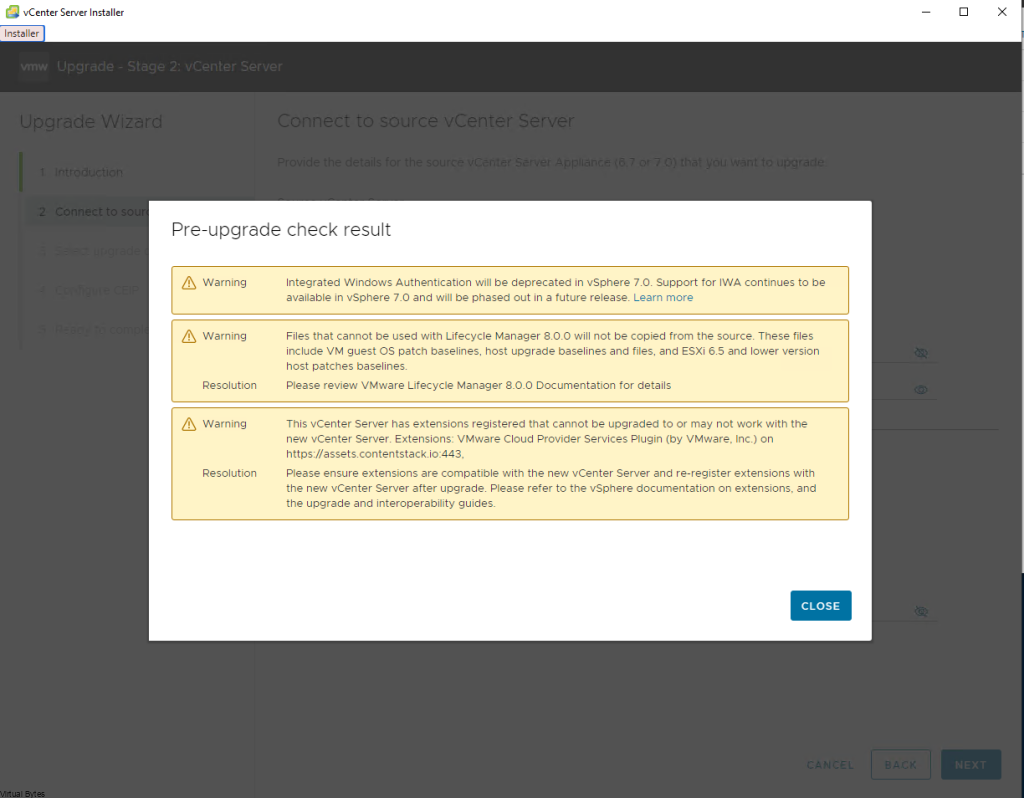
Below is a Pre-Upgrade check result which has some Warnings to let you know
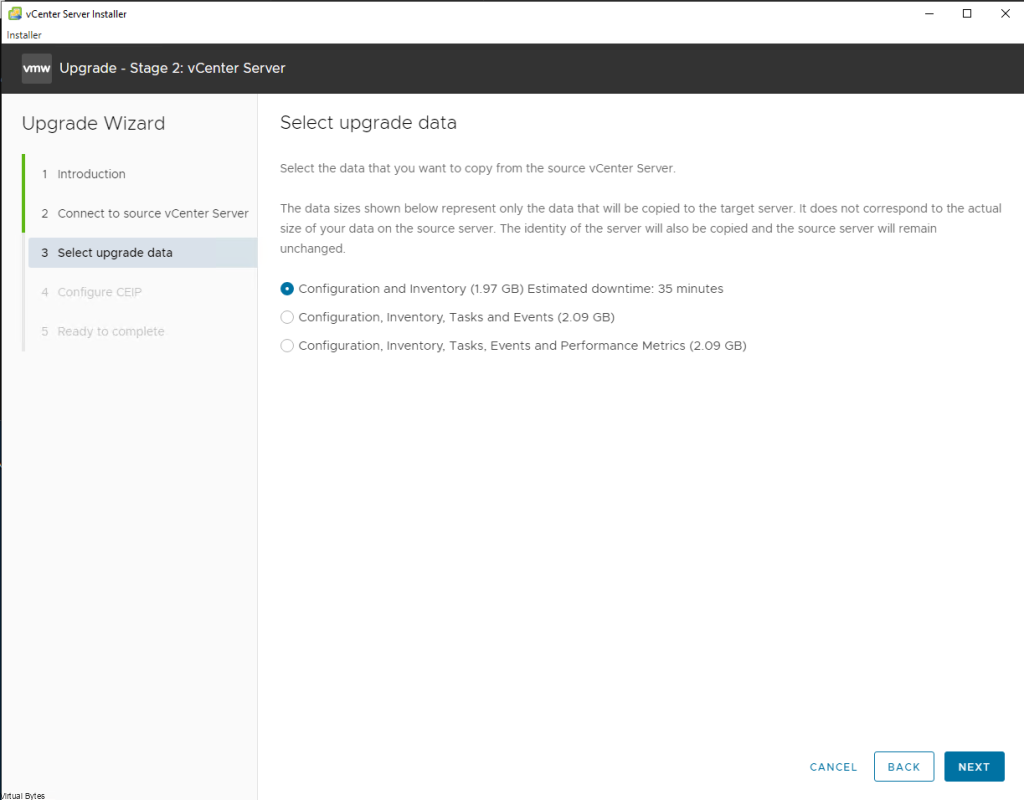
Here at this step we are about to upgrade the data for our vCSA! Select your requirment, i only did the Configuration and Inventory.
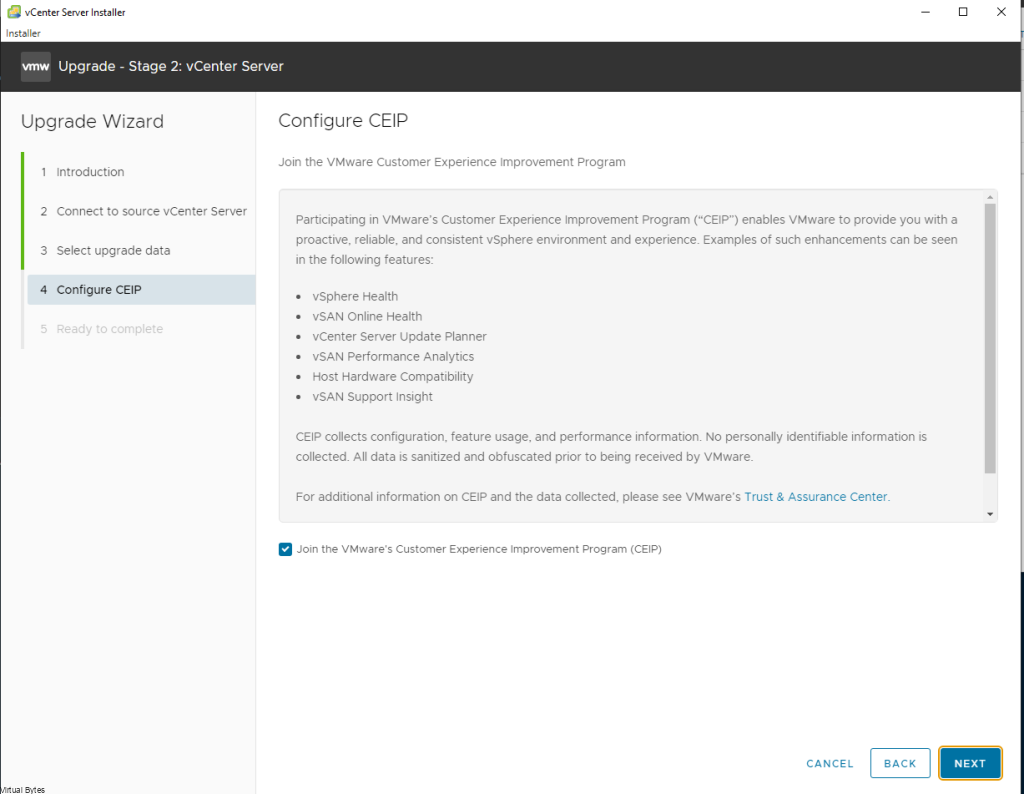
Select – > I have backed up the source vCenter Server and all the required data from the database.
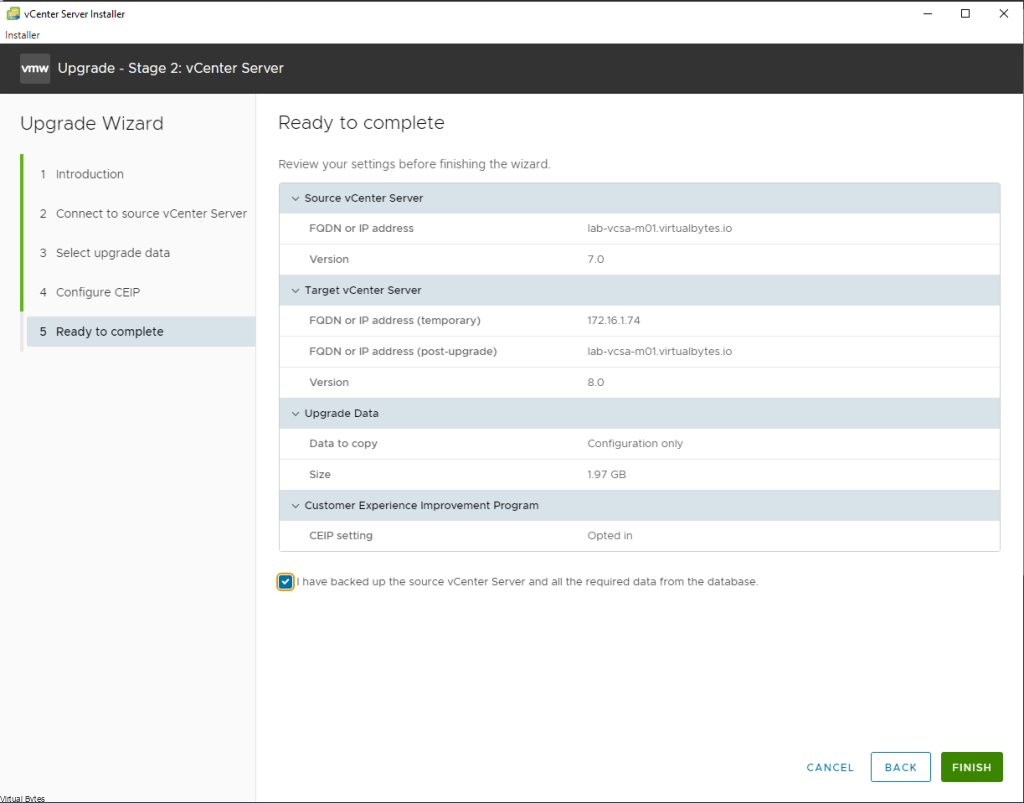
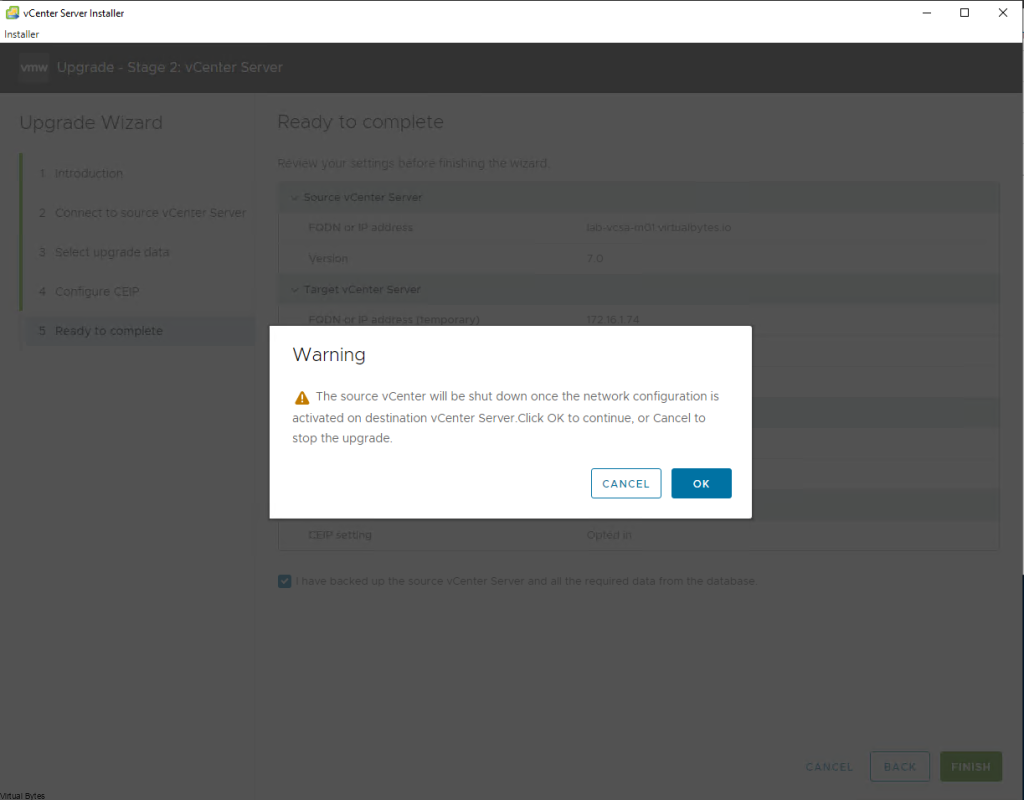
WARNING!! – Make sure you have your source vCenter backed up and/or snapshot to revert too if something does not upgrade properly.
This process will take ~ 15 – 20 minutes max, but this also depends on how large your environment is, the more objects in the data base the longer it will take.
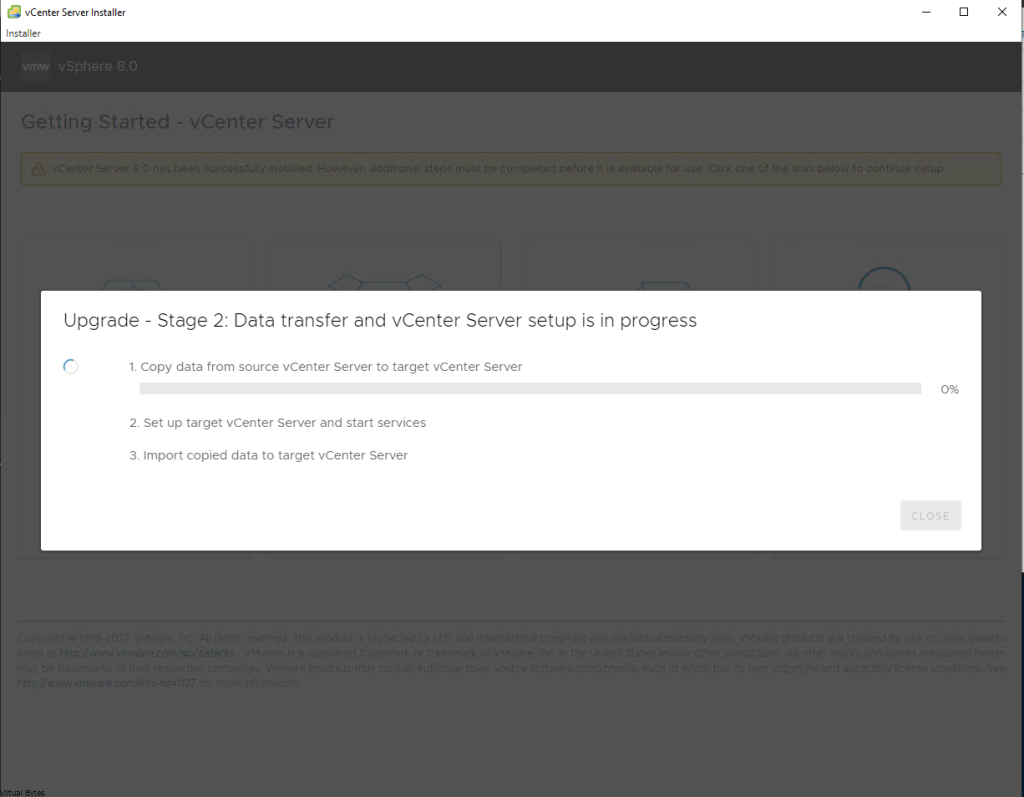
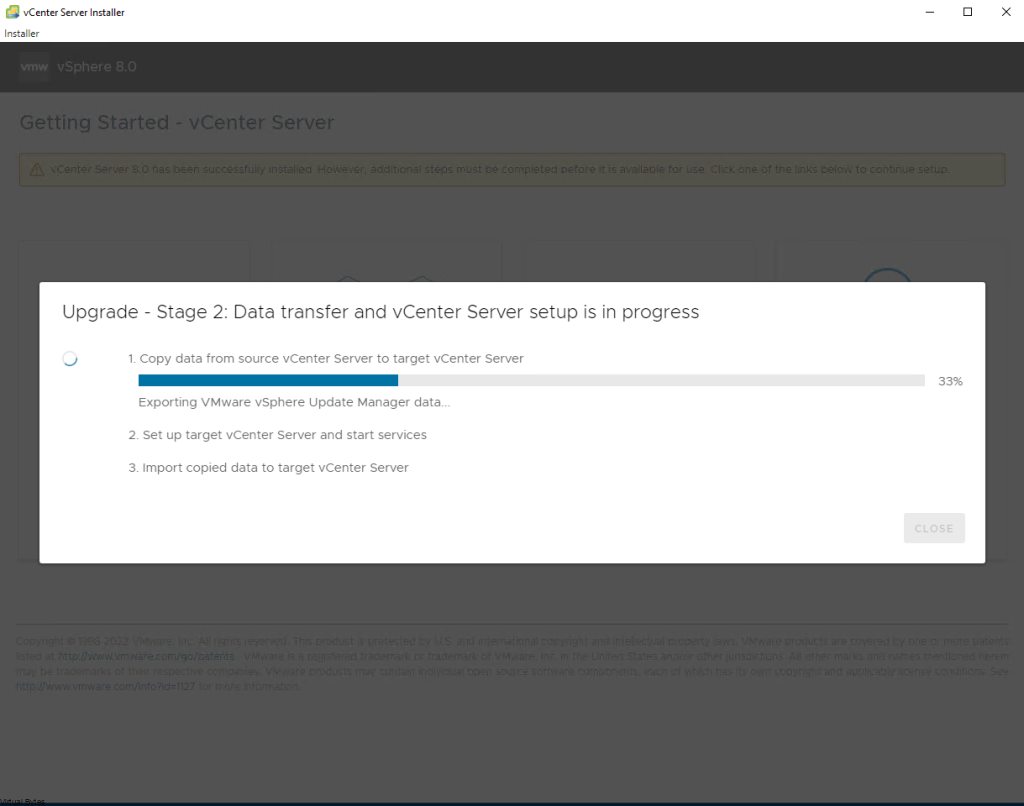
Next snippet, will show you that we have copied the data from the source vCenter Server to the Targer vCenter Server
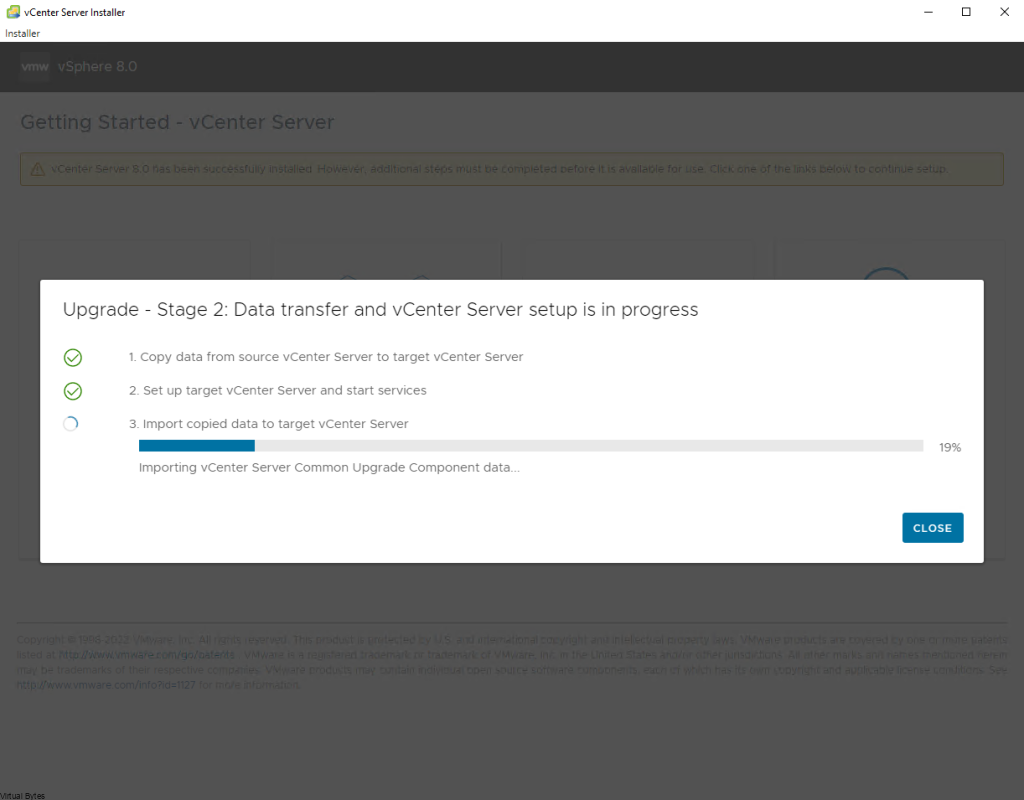
Now, that we have finalized the migration and the import to the target vCenter Server is done, we will log into the new vCSA appliance.
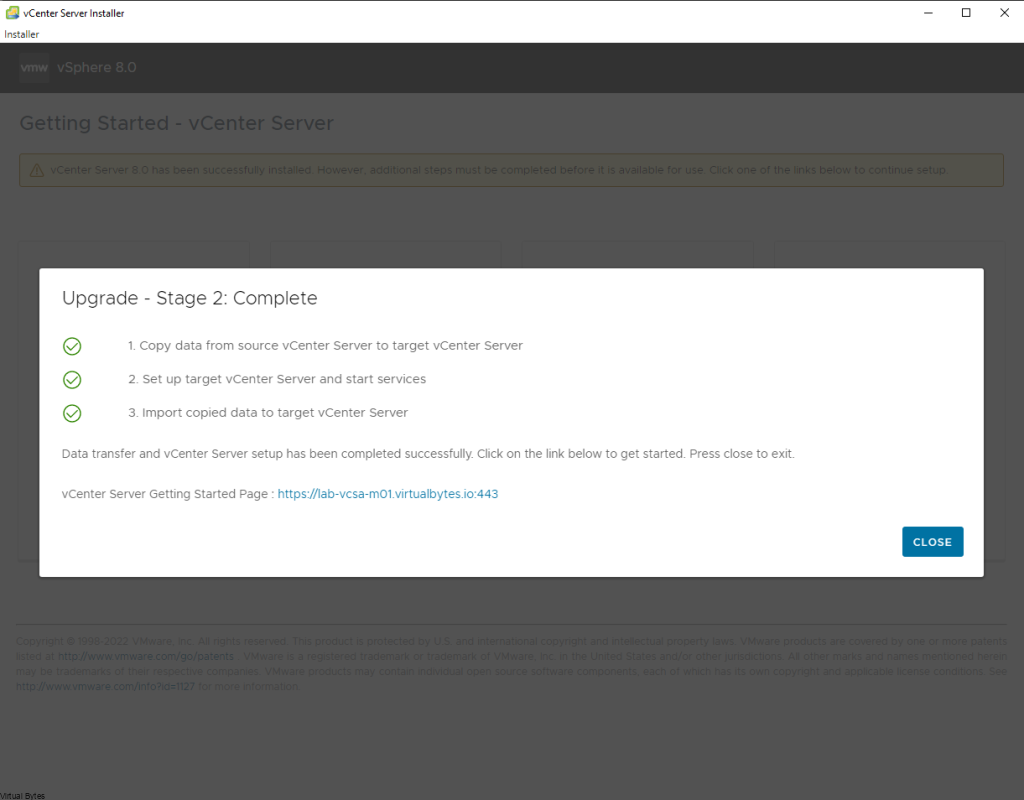
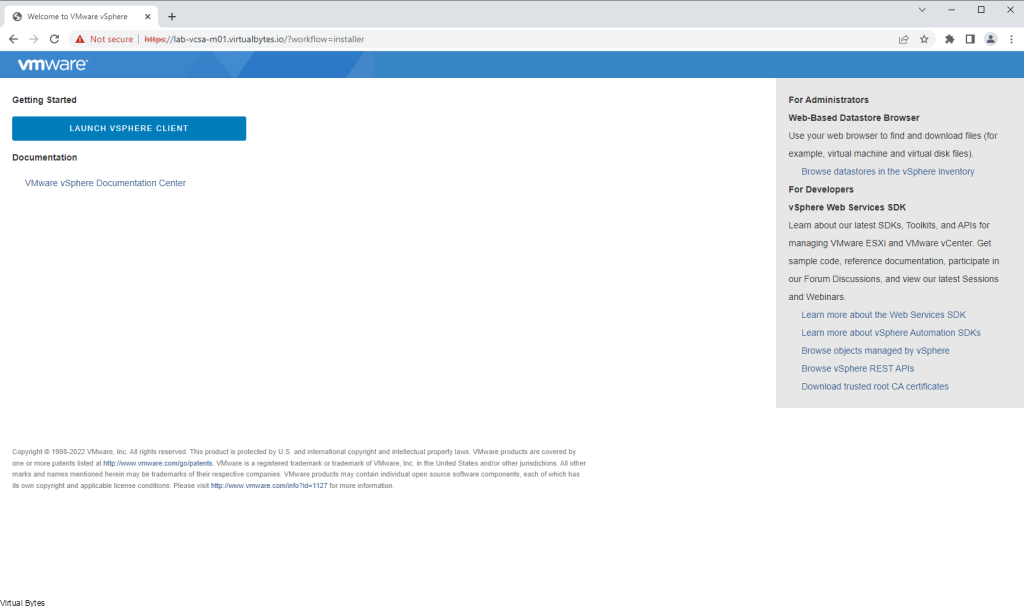
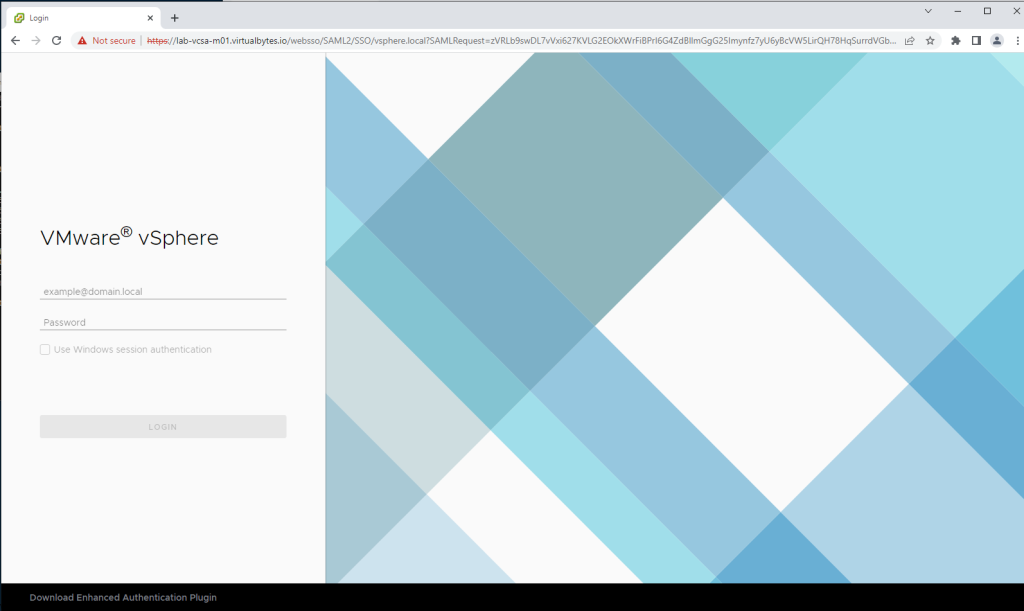
Login with your ” [email protected]”
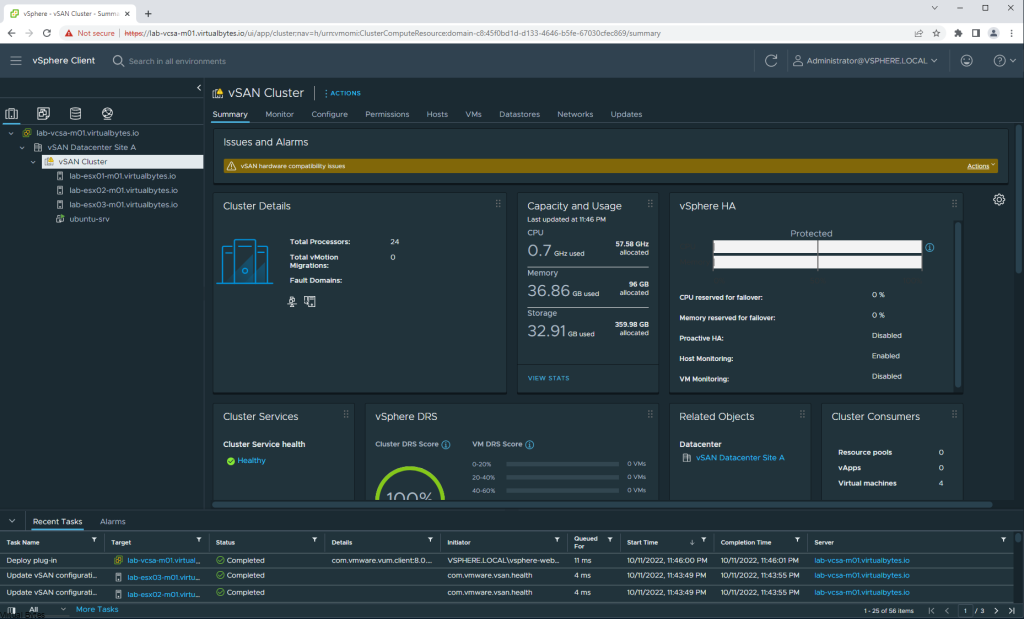
Now, you shall see that our vCenter Server is at vSphere 8. Next we will be creating a Baseline within vSphere Life Cycle Manager to upgrade our Hosts.
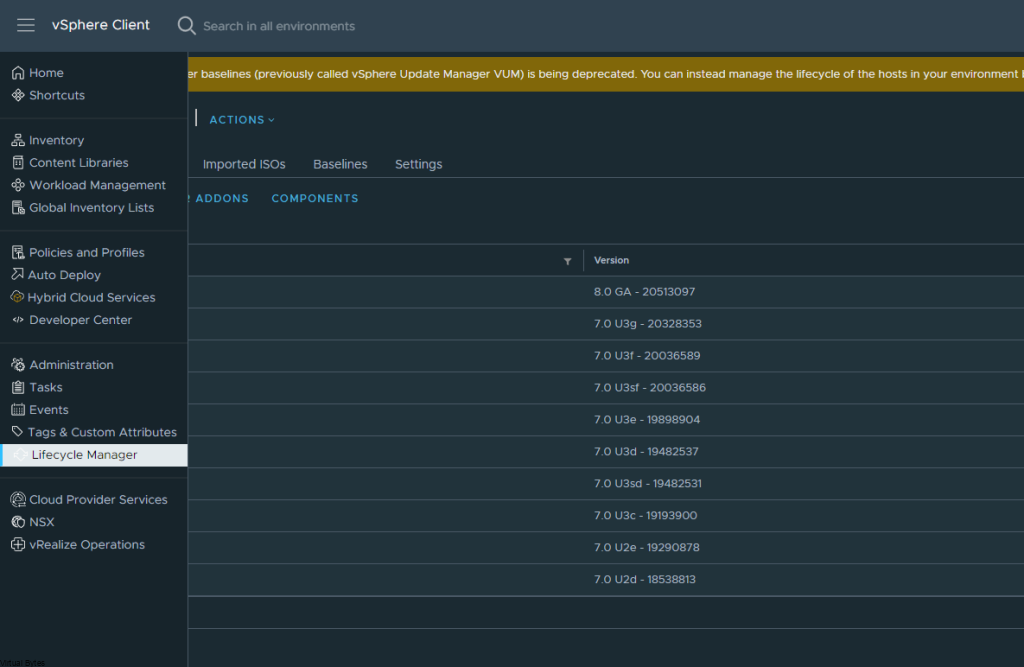
Click on the top right hamburger menu -> Life Cycle Manager
Go to Imported ISOs ->
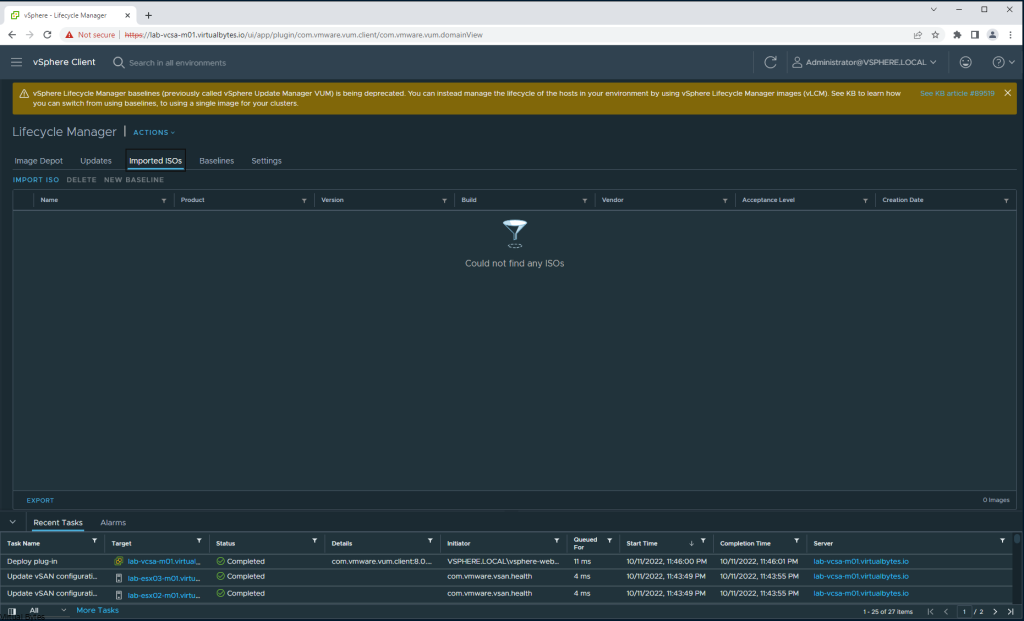
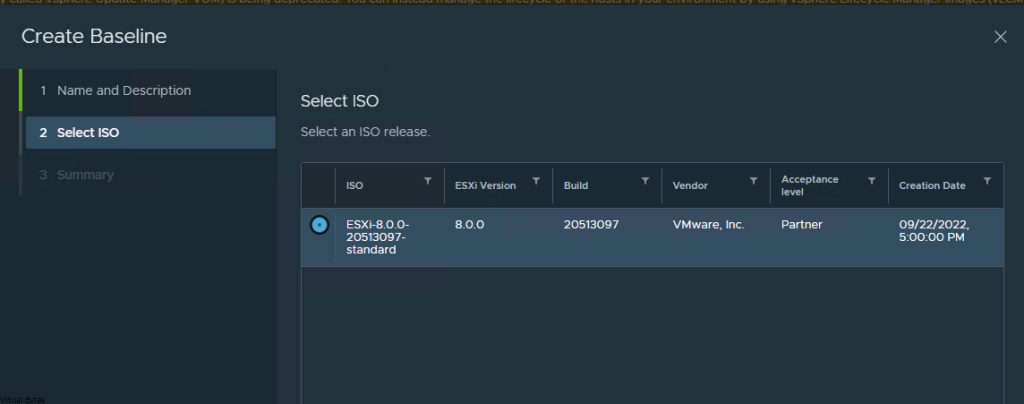
Now we will upload our vSphere 8 ISO – > VMware-VMvisor-Installer-8.0-20513097.x86_64.iso

Once it is uploaded, we will go and create a Baseline for our new Image to upgrade the ESXi hosts from ESXi 7 to 8

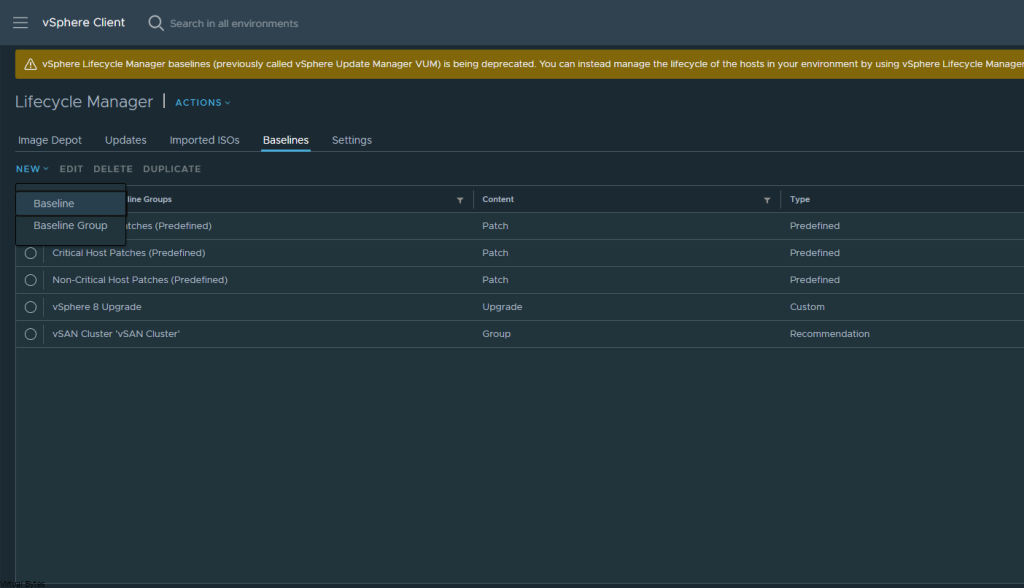
Then go “Baselines” -> New -> Baseline
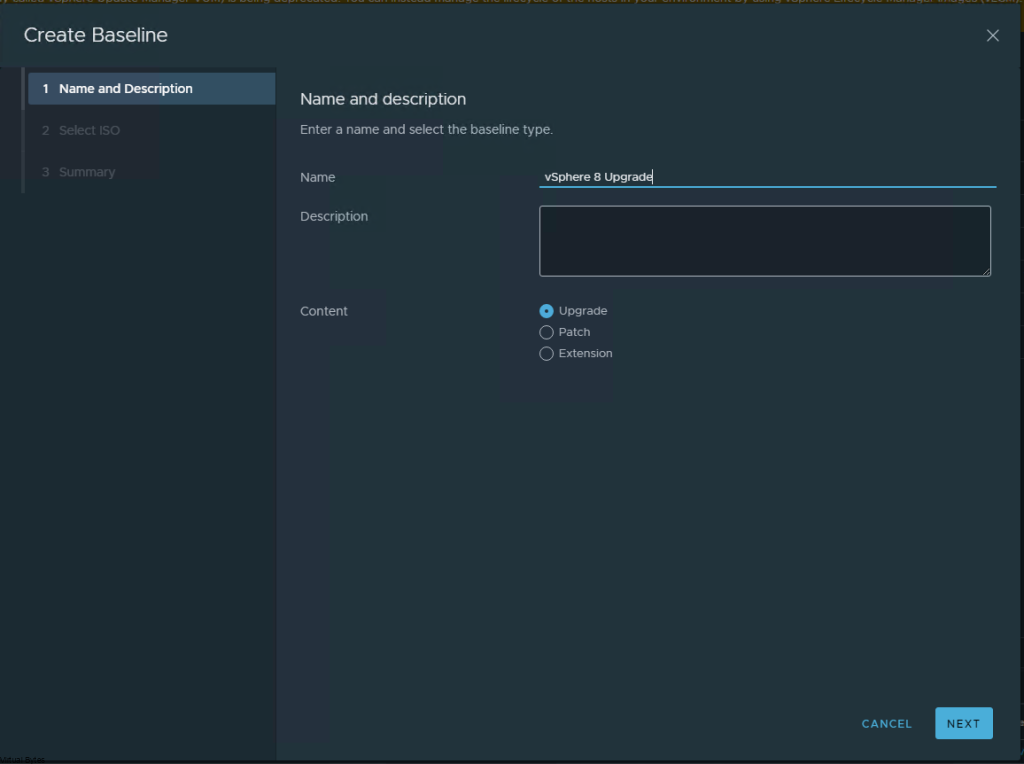
Now we will create a name for our baseline -> vSphere 8 Upgrade
Attach the vSphere 8.0 iso we just uploaded earlier to this baseline.
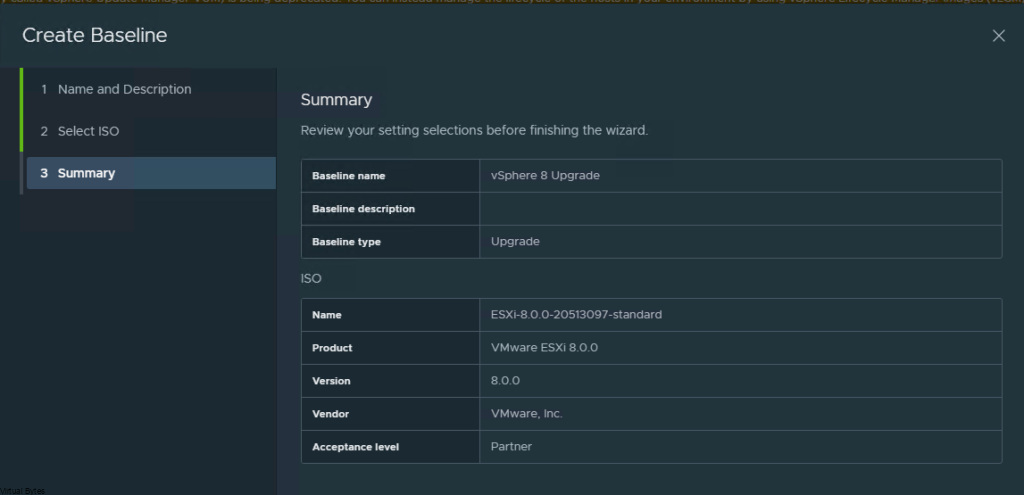
Finalize the Creation of the vSphere 8 Upgrade baseline
Then go back to the ESXi host object, and go to Updates tab
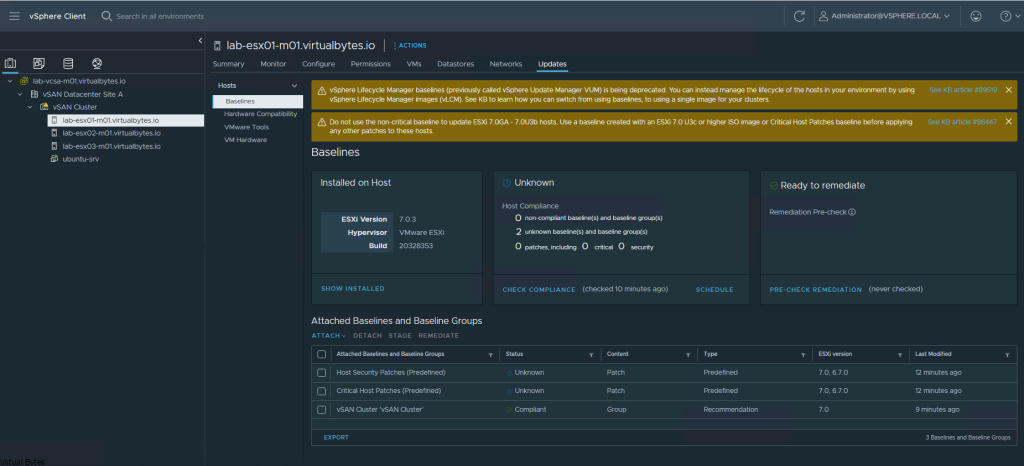
Here we will attach the vSphere 8 Upgrade Baseline we created


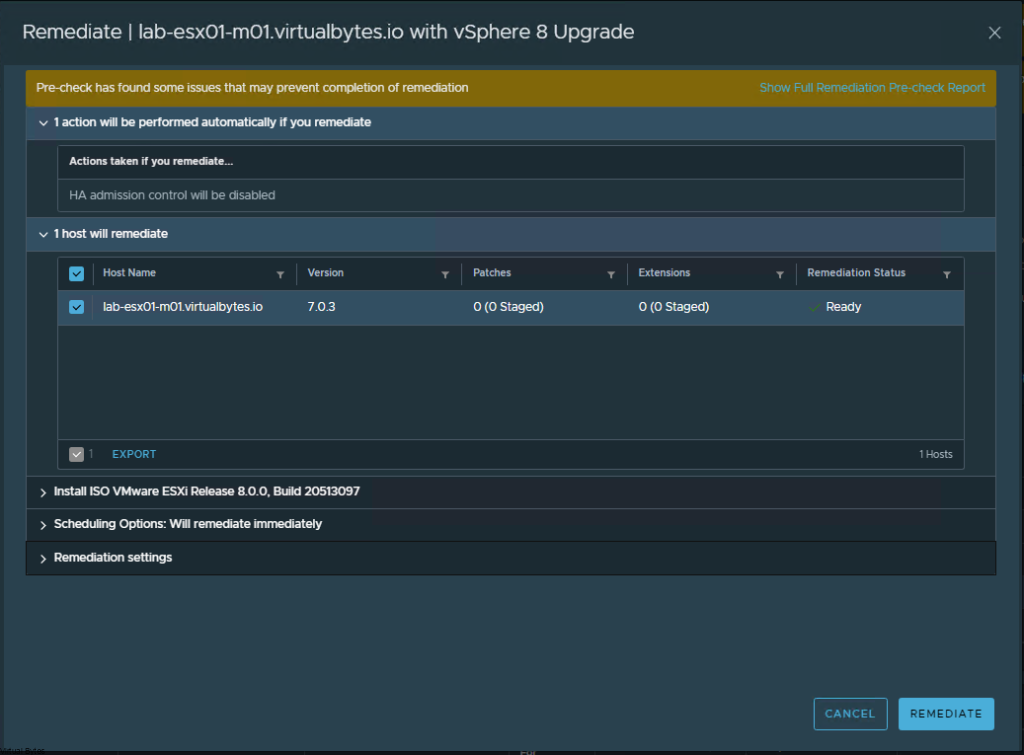
Once the ESXi host has the new vSphere 8 baseline attached, you can now Remediate the host, and then repeat the vLCM (vSphere Life Cycle Manager) Baseline attach to the rest of your hosts and then follow the traditional Remediation process that way your ESXi hosts properly migrate workloads off to other ESXi hosts during this process to ensure that you won’t have any downtime.
Web console view of our ESXi host that just got upgraded!!

Our first ESXi host has been upgraded to vSphere 8!

Next, after all our ESXi hosts are on vSphere 8, we will want to make sure that our vSAN version is upgraded so you will want to upgrade it.
Go to your vSAN Cluster -> Configure -> Services

Once you get to vSAN Services, you will see Pre-Check vSAN upgrade and Upgrade vSAN. A proper best practice is to do a pre-check of your vSAN cluster to ensure that all the objects are healthy and synchronized and there are not disk issues before doing a vSAN upgrade.
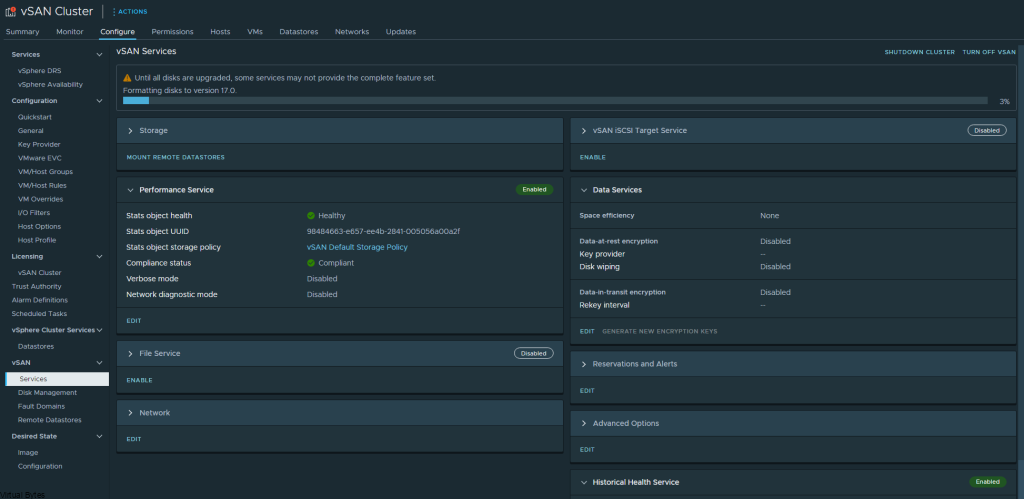
After vSAN upgrade – Your vSphere Cluster is now officially upgraded to vSphere 8! with vSAN 8! This walkthrough was able to walk you through any issues that you may encounter. Next blog post will be on how to convert a vSAN (OSA) Datastore to vSAN (ESA) – Express Storage Architecture