Today’s topic is about managing certificates for VMware Cloud Director. Well, you’ve come to the right place! In this blog post, we’ll walk you through the step-by-step process of changing certificates for VMware Cloud Director 10.5.x. Whether you’re a seasoned pro or a newbie in the world of virtualization, we’ve got you covered. Say goodbye to the headaches of dealing with expired or invalid certificates, and say hello to a smoother, more secure experience with VMware Cloud Director. Let’s get started!
This process is much easier! Than the days of Postman and API calls and trying to get the certificate loaded into the web store and many other pain points that were noticeable, but not anymore this processes is super easy!
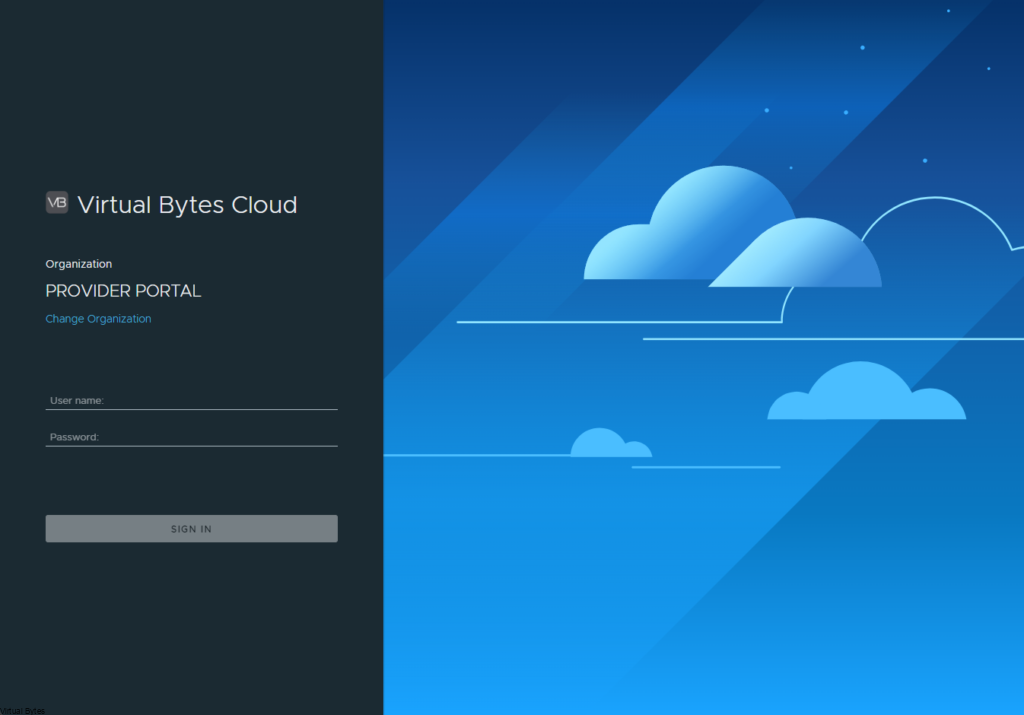
Login to your provider portal of VCD with your administrator account or a system admin account.
Go to – Administration
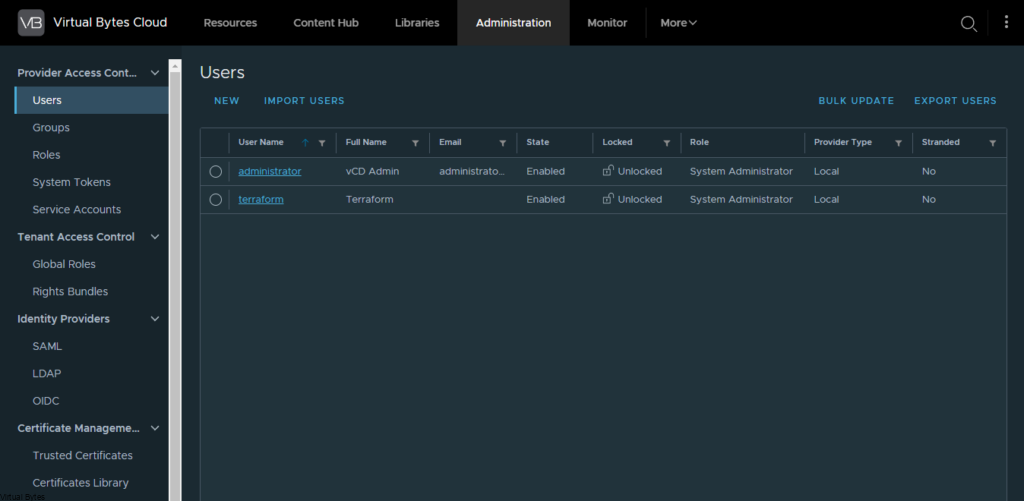
Click on Certificates Library – >
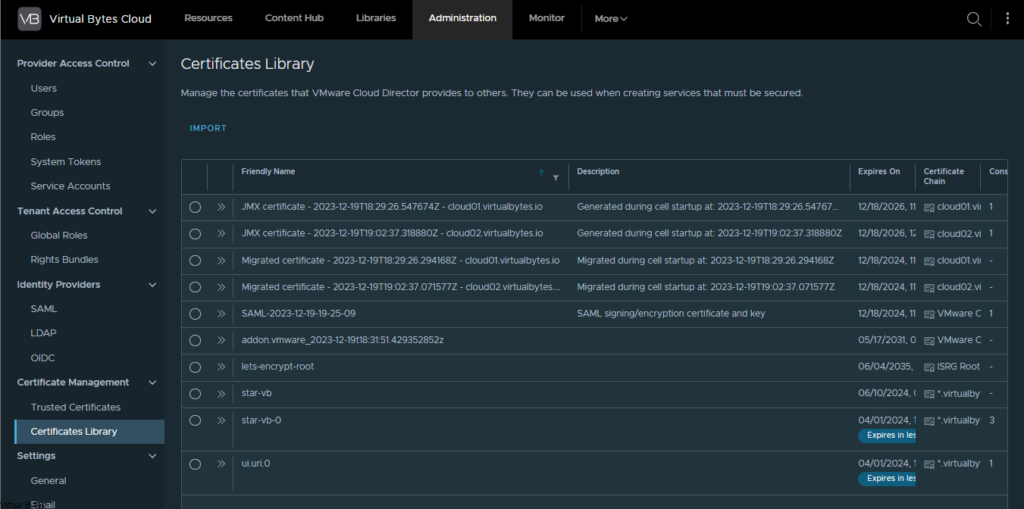
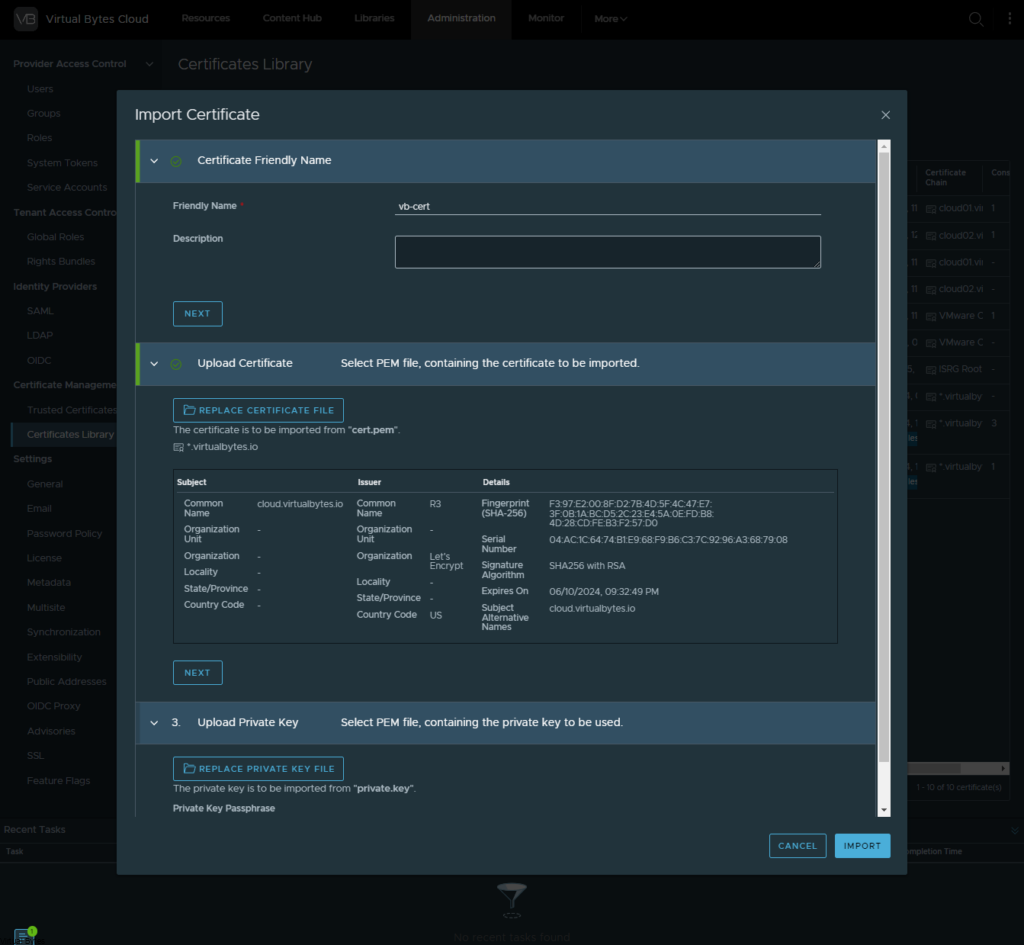
Click on Import -> Then fill our a friendly name and upload the .pem format of your cert and as well the private.key with the passphrase.
Once your certificate has been imported, also ensure to have your CA Signed Certs Trusted (Root and Subordinate) in your trusted certs library.
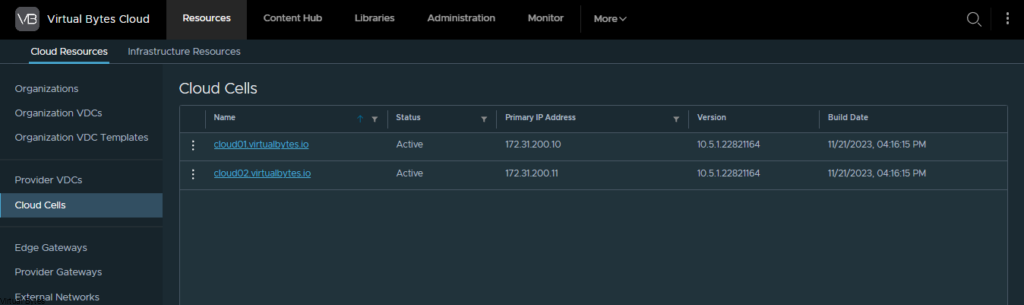
Then go back to Resources -> Cloud Cells -> Click on the Cell you want to change the certificate first in.
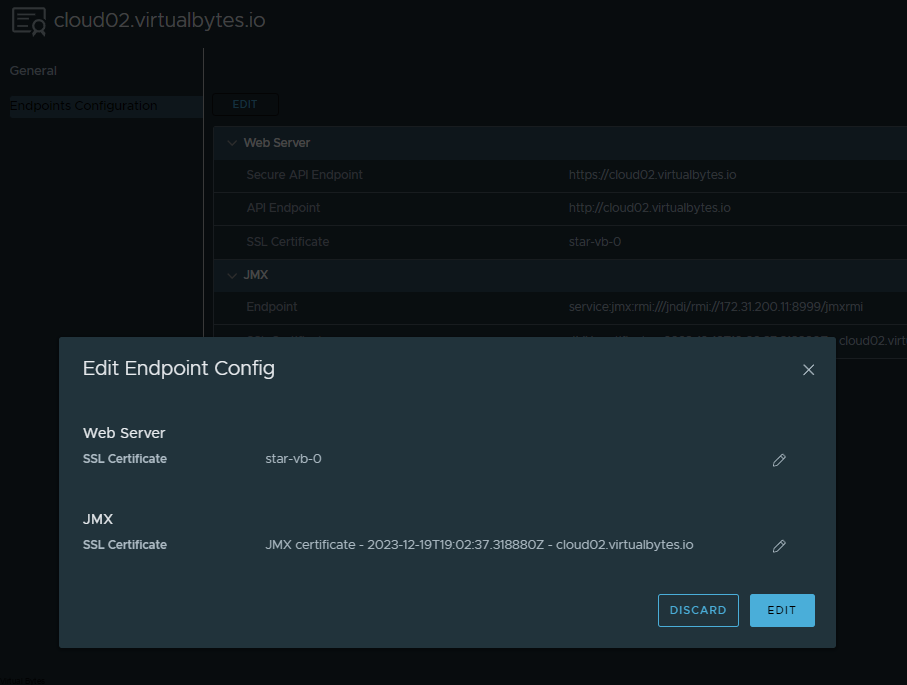
Then click on Edit

The pop up will come up to select the certificate we just imported earlier in the walk through, select that one.
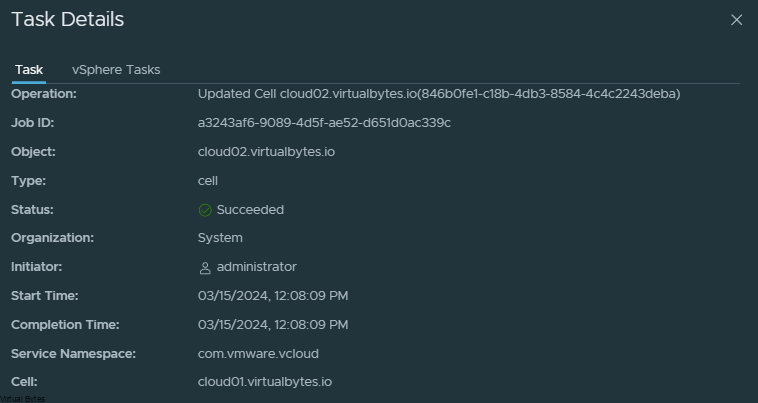
Now you will “Use Certificate” and it will run the API Calls and certificate tasks behind the scenes.
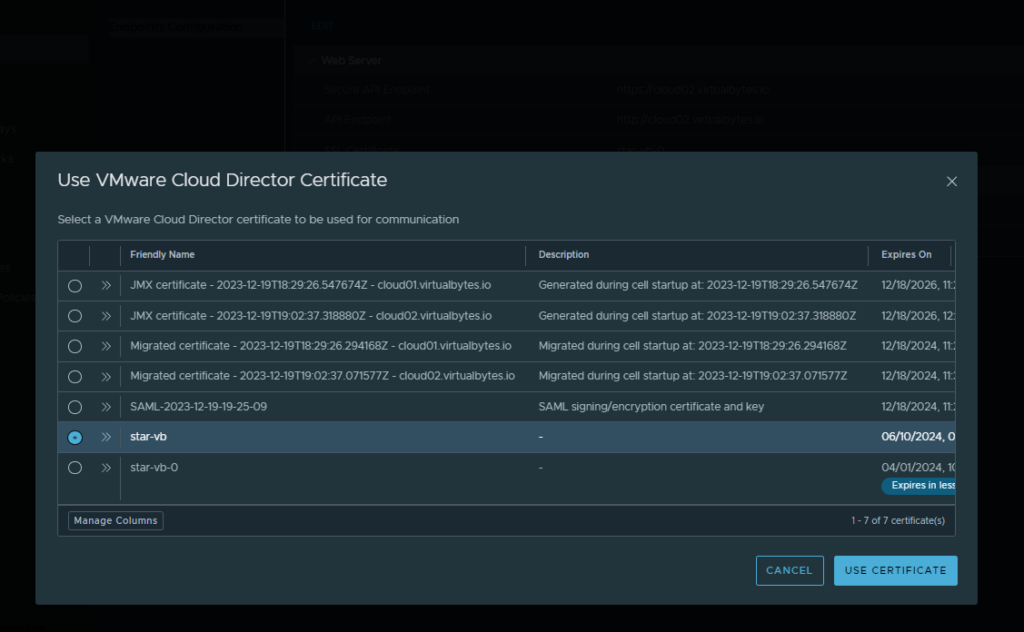
Select your certificate and then click edit and use certificate, few seconds later you should see a successful message in the recent tasks!
8 comments
Hello
I install the certificate, but it does not appear in the trusted certificate section.
Am I creating the certificate incorrectly? Can you comment on how to create it?
Hi – The certificate that you created is it with Microsoft CA or OpenSSL ? The Trust Root / Intermediate should be uploaded into the Trust root store in the administration settings, once you do that then per each appliance you would need to upload the pem cert into each appliance from the UI.
I assume that we still have to add ceritficate to Public Address section?
Hello, yes the public address and api will need a certificate attached to it, you can use the same cert you created for all your cells.
Hello, I have a question. Normally, we followed the official documentation to change the certificate and performed it through CI/CD automation. However, in this version (10.5.1), we couldn’t proceed using the steps in the official documentation (https://docs.vmware.com/en/VMware-Cloud-Director/10.5/VMware-Cloud-Director-Install-Configure-Upgrade-Guide/GUID-D35B3629-FCA2-40A6-8009-1A6CF8120F30.html), but we were able to complete it using the steps from your vlog. For version 10.6.0.1 and this version, how should we renew the certificate, and what should we do?
Hello! – The process should be the same, I have VCD 10.6.0.1 and it has the same UI features for the certificate enrollment, but if you want to automate your certificate you possibly can use the Swagger API and use GET and PUT commands but I like the simple Certificate setup through the user interface but I know I have automated a lot of different settings via API. Thank you
Hello, I need to replace certificates for all of my 3 cells. All cells uses the same certificate, which is located in transfer storage directory. The cert is signed with our internal PKI and in Subject Alternative Names it has all 3 cells name and IP addresses.
At the beginning of your article you show that we need to upload .pem file for each cell, but to get a .pem file, first you need to generate a CSR file and private key. After that you can generate a new cert in your PKI and get a .pem file, which can be imported into vcloud director. How to generate CSR and private key file ?
Hi yes, I use Microsoft PKI Certificate Authority to generate all the required files and get the PFX and PEM and convert it and then I import the Trusted Root of your Domain/CA into the VCD Cells