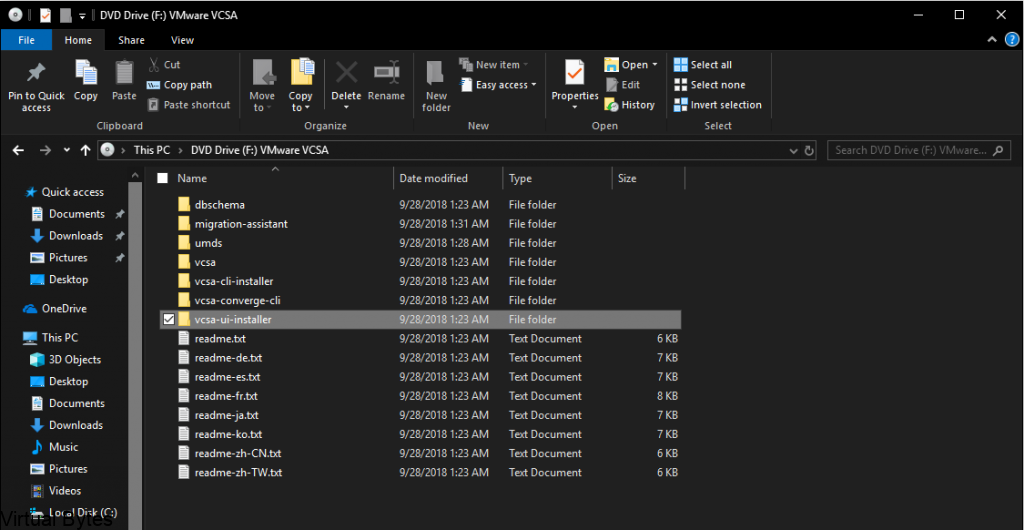
To Install vCenter 6.7 with Embedded Platform Service Controller – Download the ISO from VMware (login will be required) Once downloaded, open the VMware VCSA.iso
- Select vcsa-ui-installer
- Then select choice of operating system (This tutorial is completed via Windows 10)
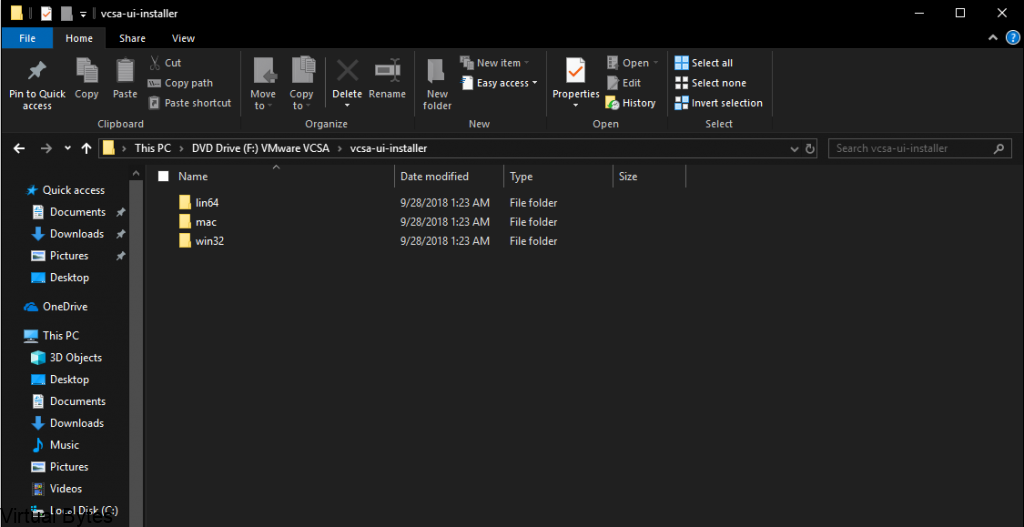
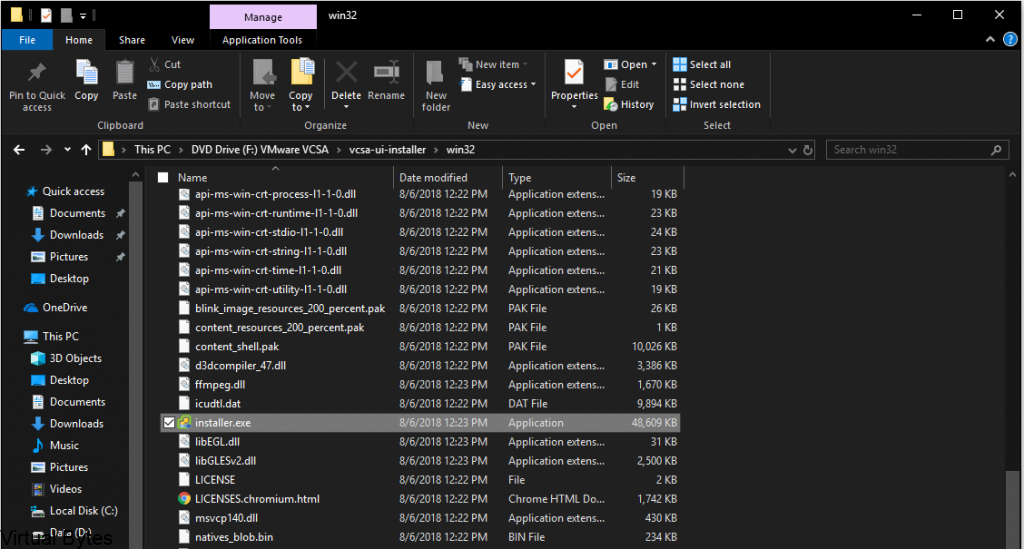
- After going to win32
- Then click on installer.exe
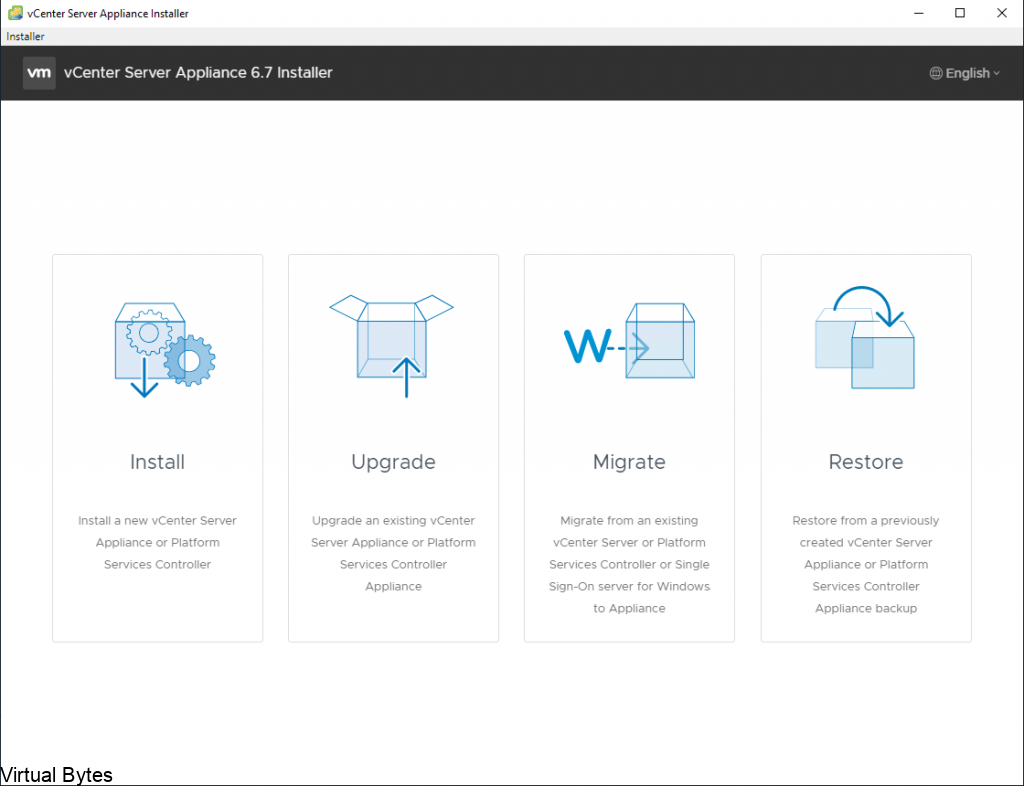
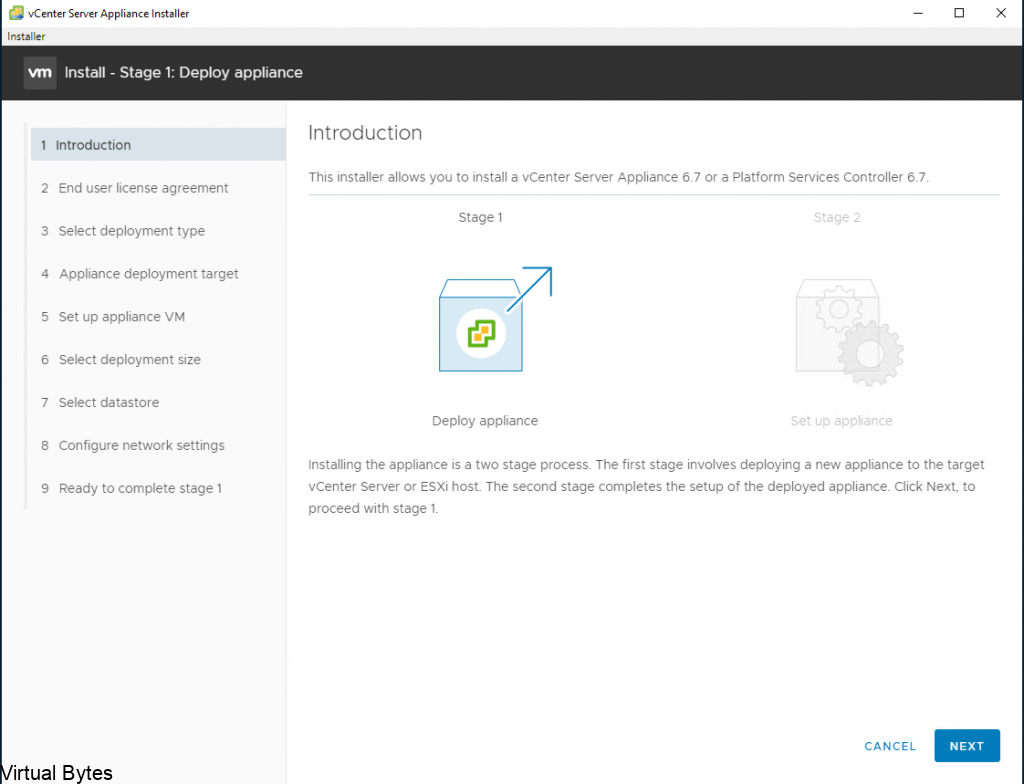
During this install we will be installing fresh new instance of VCSA.
- Select Install
- Click Next
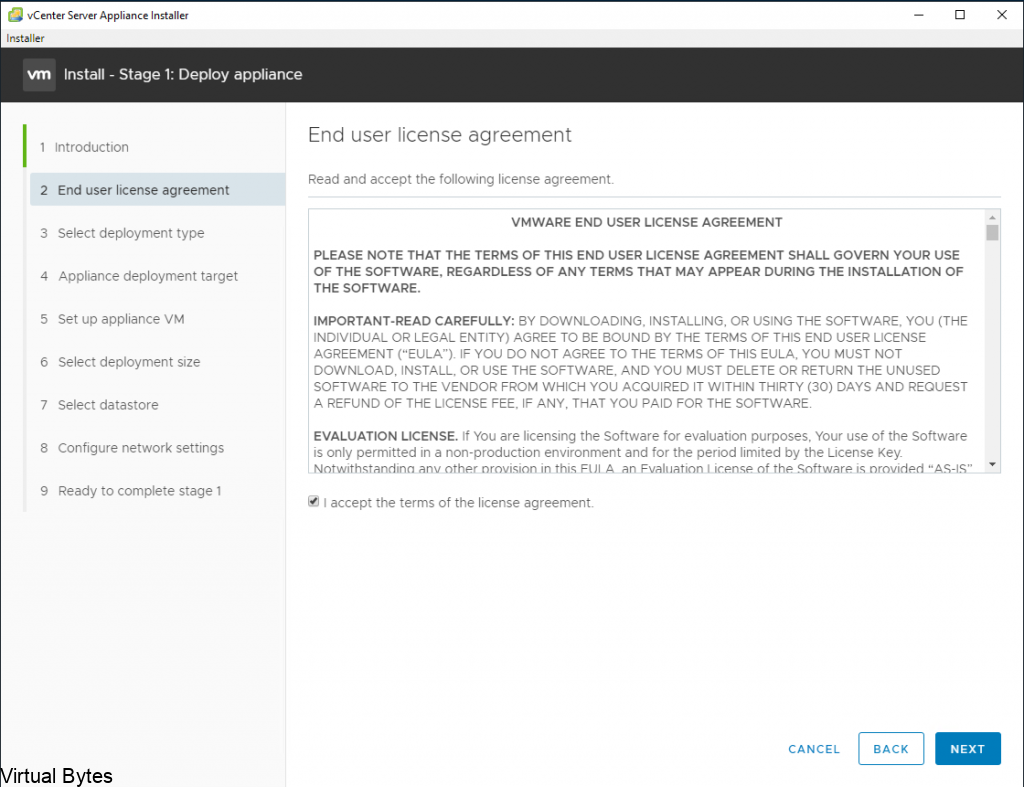
- Accept EULA
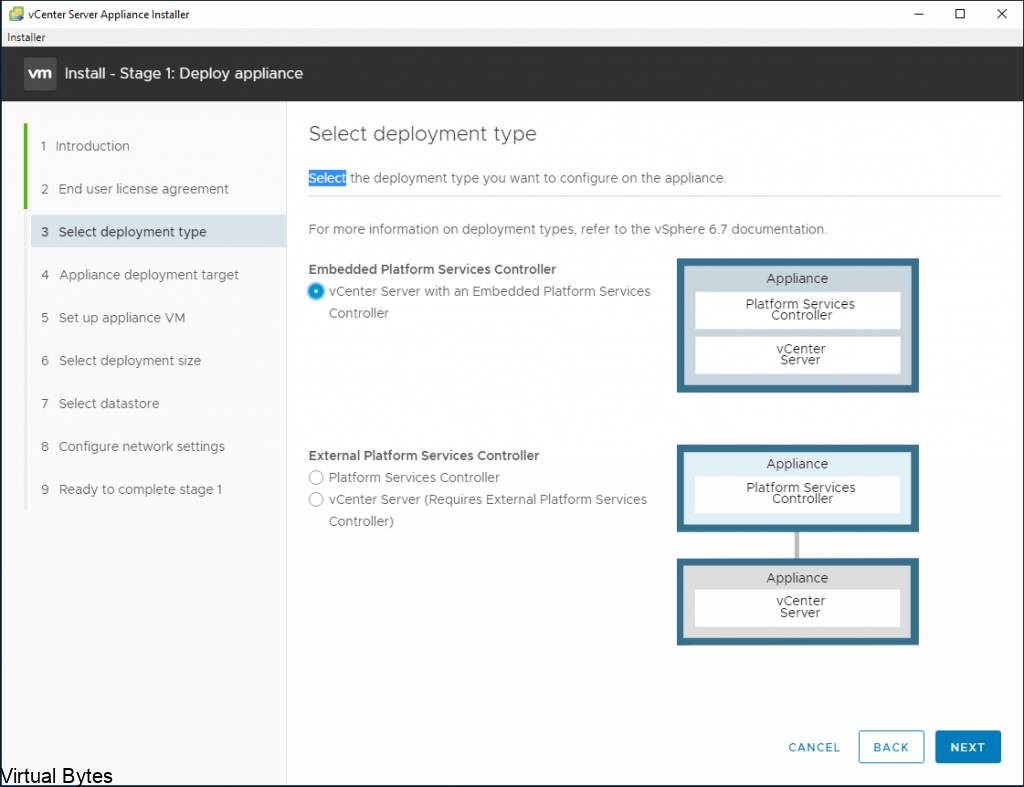
- During this installation – we will choose Embedded Platform Services Controller. The External Platform Service Controller topology is depreciated model.
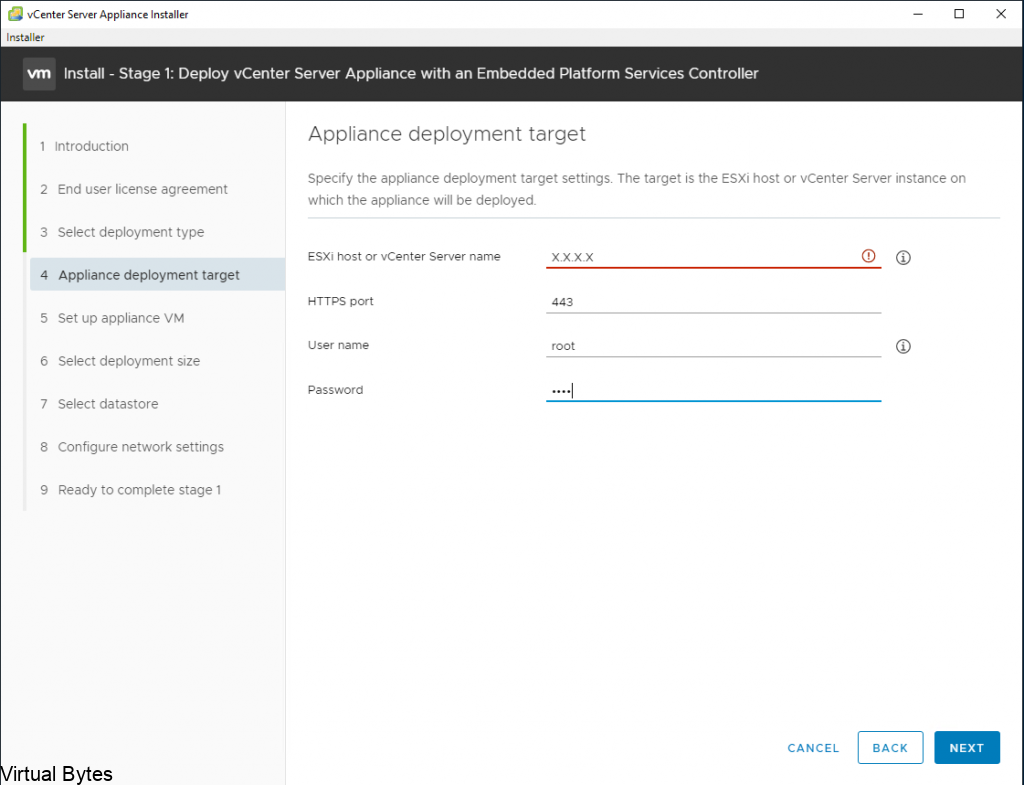
- Specify the VMware ESXi Host or vCenter IP Address – Example – 10.0.0.100 or DNS Name – esxi01.virtualbytes.io ; vcenter.virtualbytes.io
( VMware recommends to operate its platform with DNS names, this allows easier management and IP address modifications )
- Accept the Certificate Warning from the ESXi Host
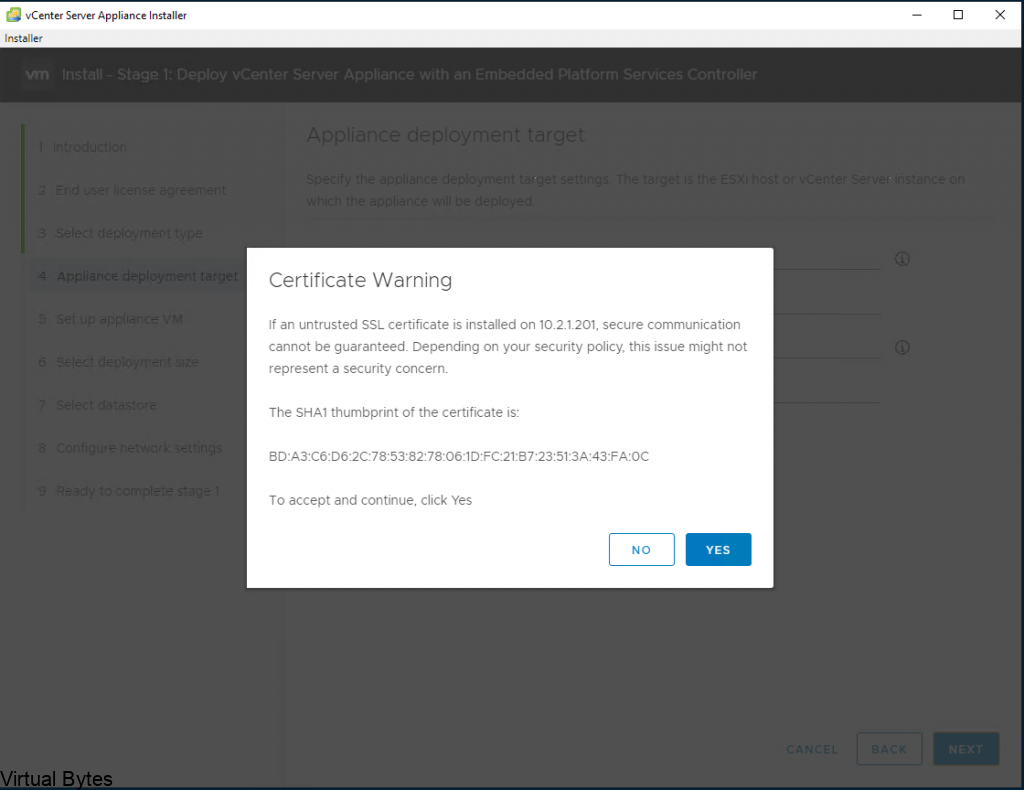
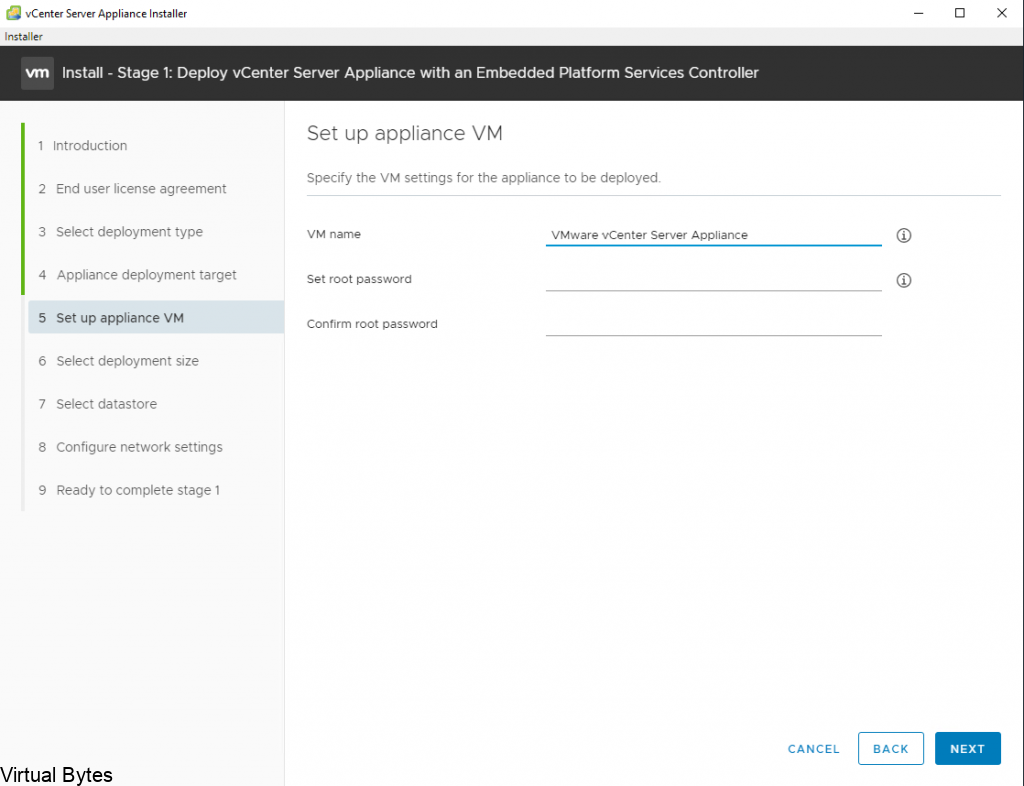
- Setup the appliance –
- Specify a name for your vCenter Server (ex. vCenter, VCSA, etc)
- Specify the VCSA root password
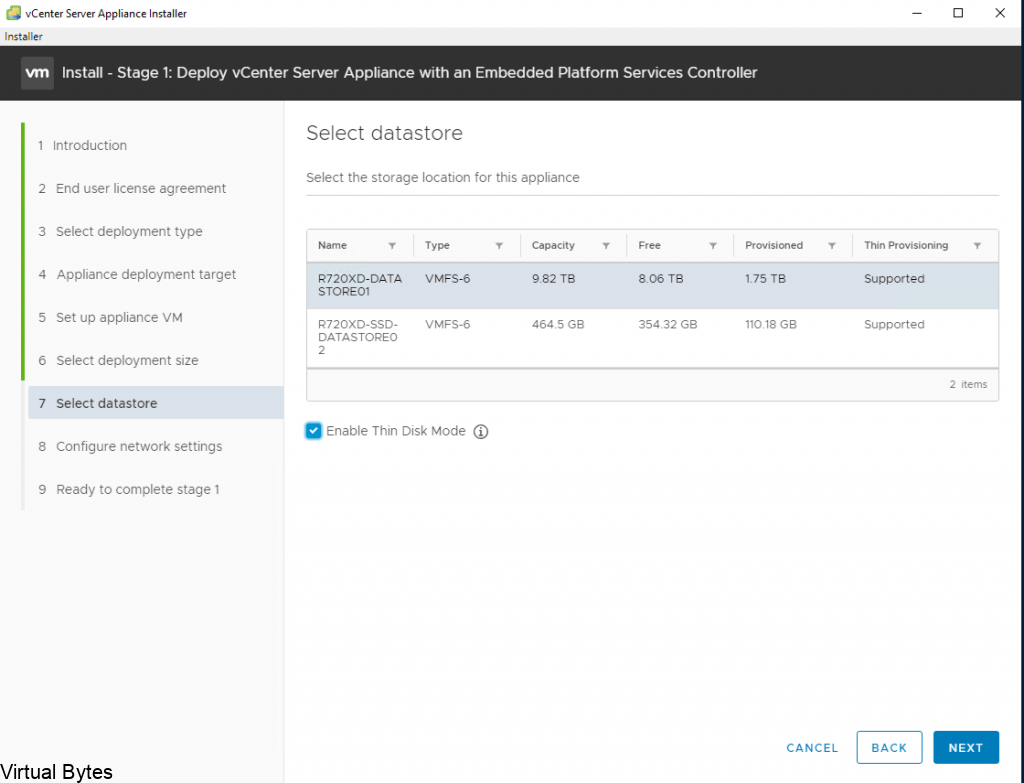
- During this Stage 1 – Here you can specify the VCSA installation to the specified datastore. Enabling Thin Disk Mode – will per-allocate the actual used storage of the virtual machine on the datastore (This saves storage from being filled)
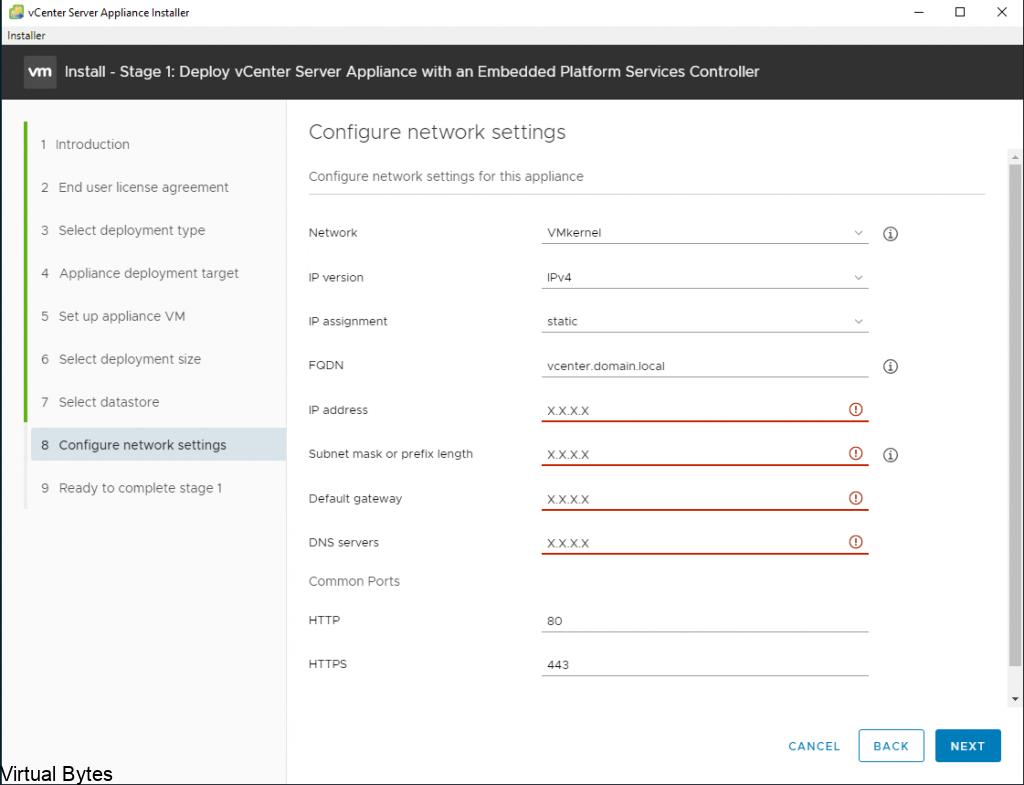
- VMware recommends to install vCenter under a FQDN (Fully Qualified Domain Name) with a FQDN – this allows you to change the IP address of a VCSA.
Be cautious of filling the “Configure network settings” page – This will lead to a inoperable vCenter instance. - Recommendation – Setup an ‘A’ Record on your local DNS server or Domain Controller to point to the fresh new vCenter Server Appliance
VERIFY! VERIFY! VERIFY! – If you do not verify your appliance deployment configuration and you mis-configure a setting – You will be reinstalling VCSA from scratch again. (BE CAREFUL!)
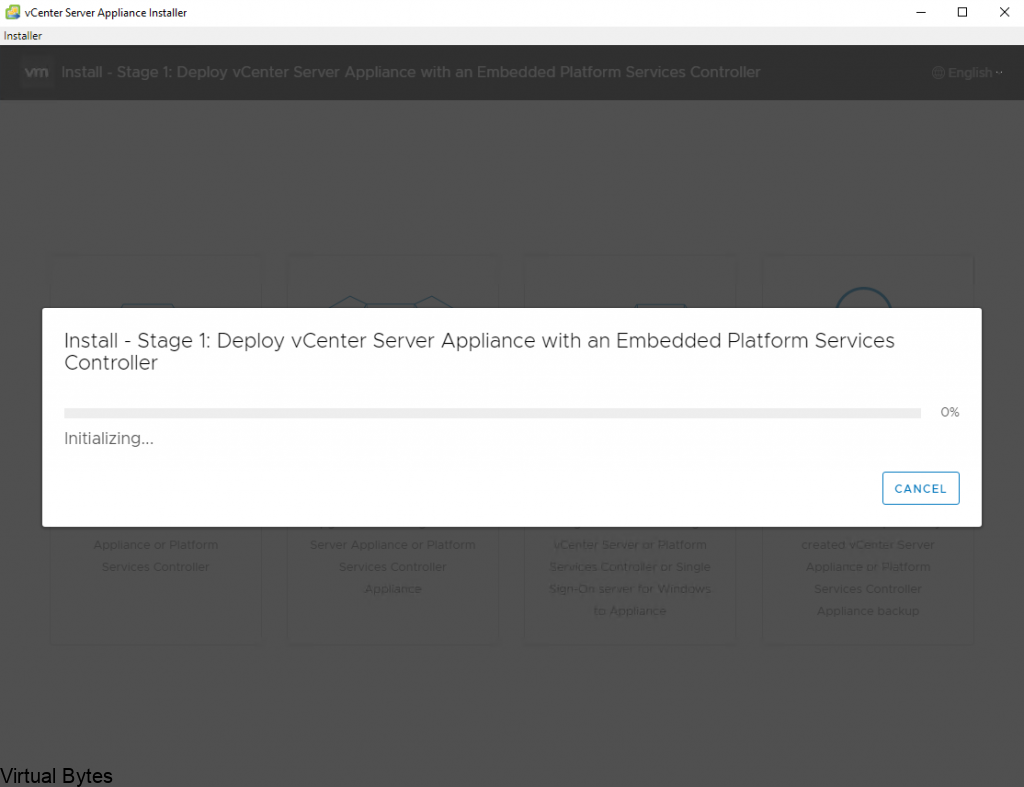
- This stage will take few minutes – Grab a coffee or water! 🙂
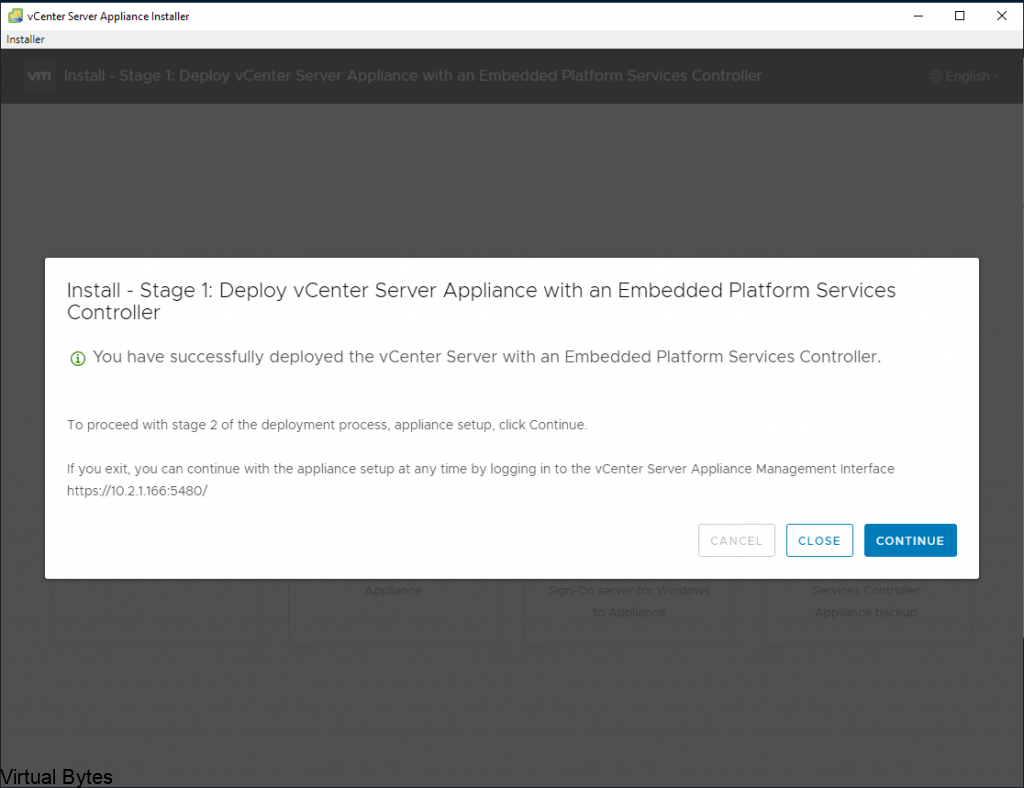
- Once the Deploy vCenter Server Appliance is completed – You will see another window to “Continue” – Click Continue and this will lead you to the next window.
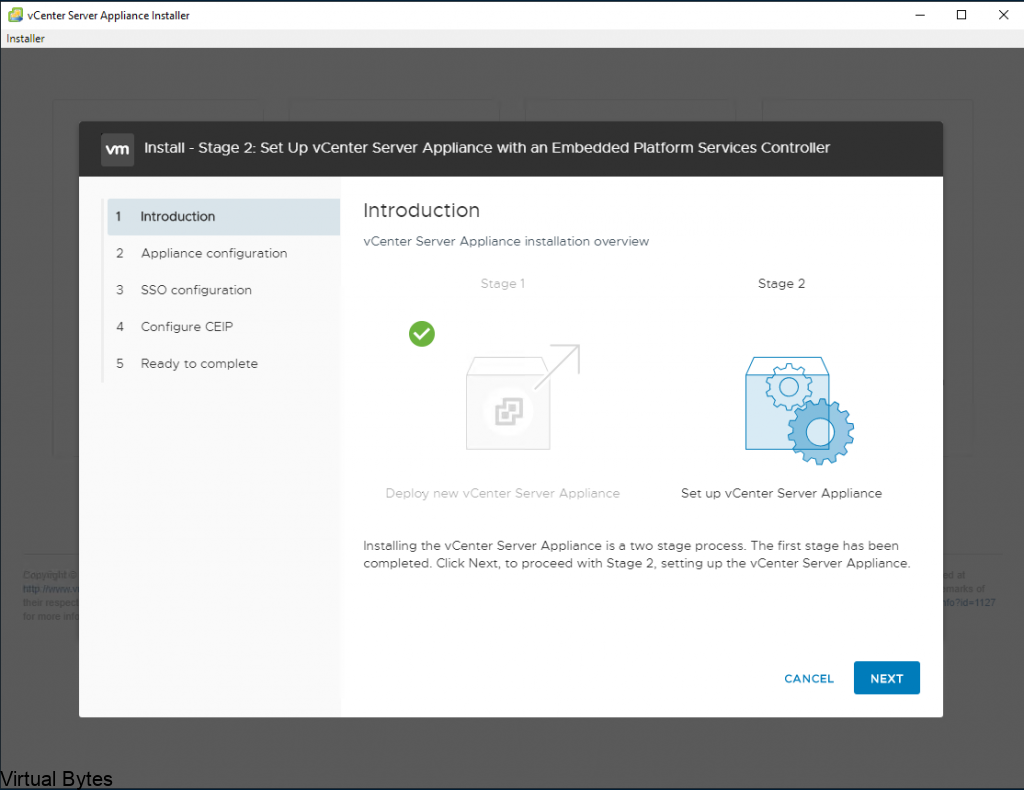
- Stage 2 – This stage you will get to configure the Appliance configuration such as (SSH, SSO, CEIP)
- SSH – is recommend to be turned off for security reasons, unless you are setting up more than one vCenter server and setting up vCenter High Availability
- SSO – the single sign on, the default is vsphere.local, if you have a on premise domain controller, make sure you do not use the same domain name, this will prevent you from adding vCenter to the Active Directory domain forest.
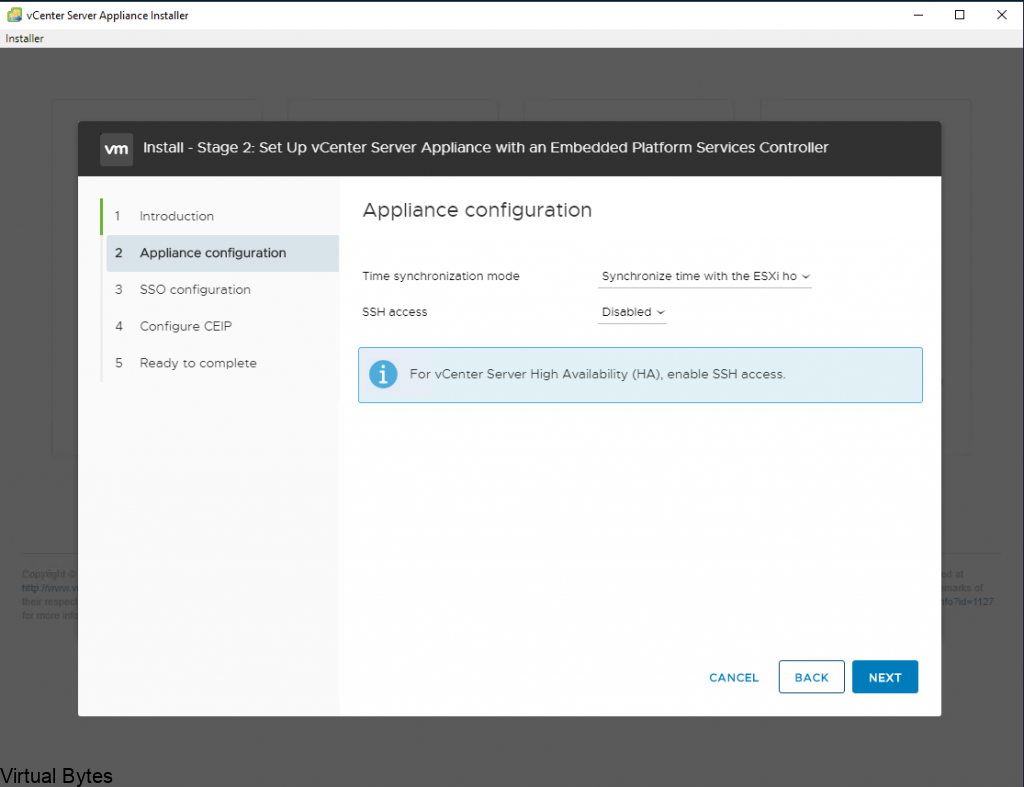
- Most recommended option is to synchronize the time with the ESXi Host – Also making sure that the NTP Service is running on the ESXi Host and is up to date with a relative time server.
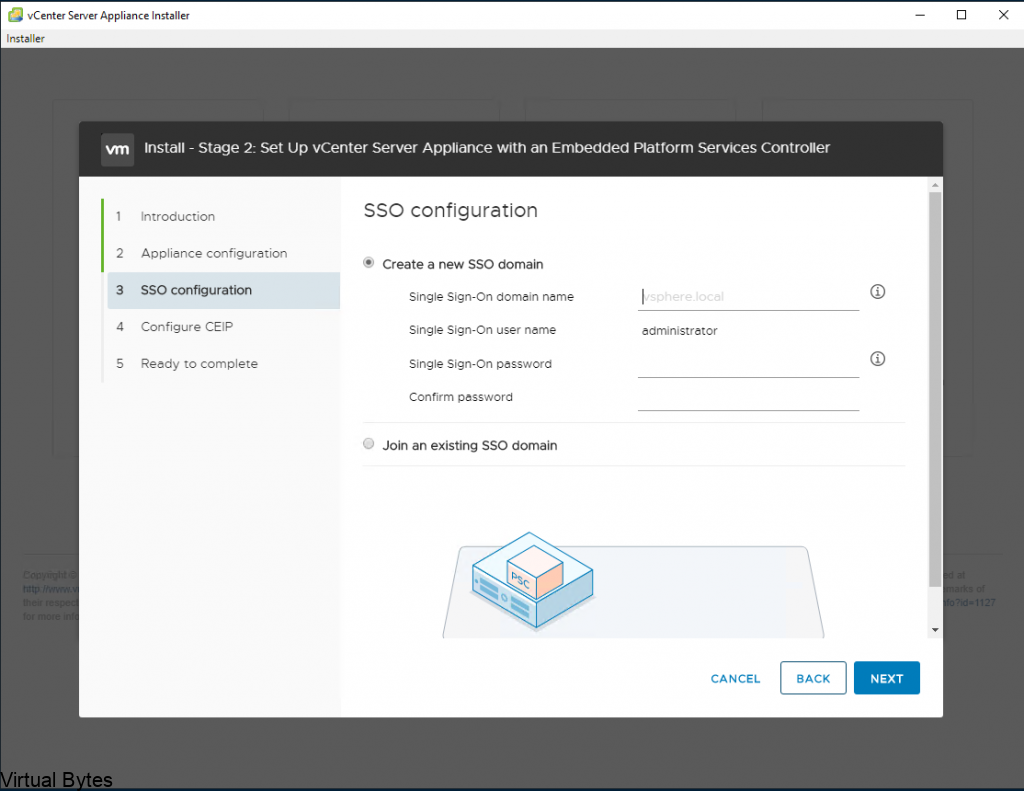
- During this option – SSO ( Single Sign On ) If you plan to join your vCenter to a Active Directory Domain – Make sure to specify a different domain or keep vsphere.local
VERY IMPORTANT! Make sure the password you specify in this configuration window is accurate. If not you will be repeating the installation all over again – due to a password mis-configuration
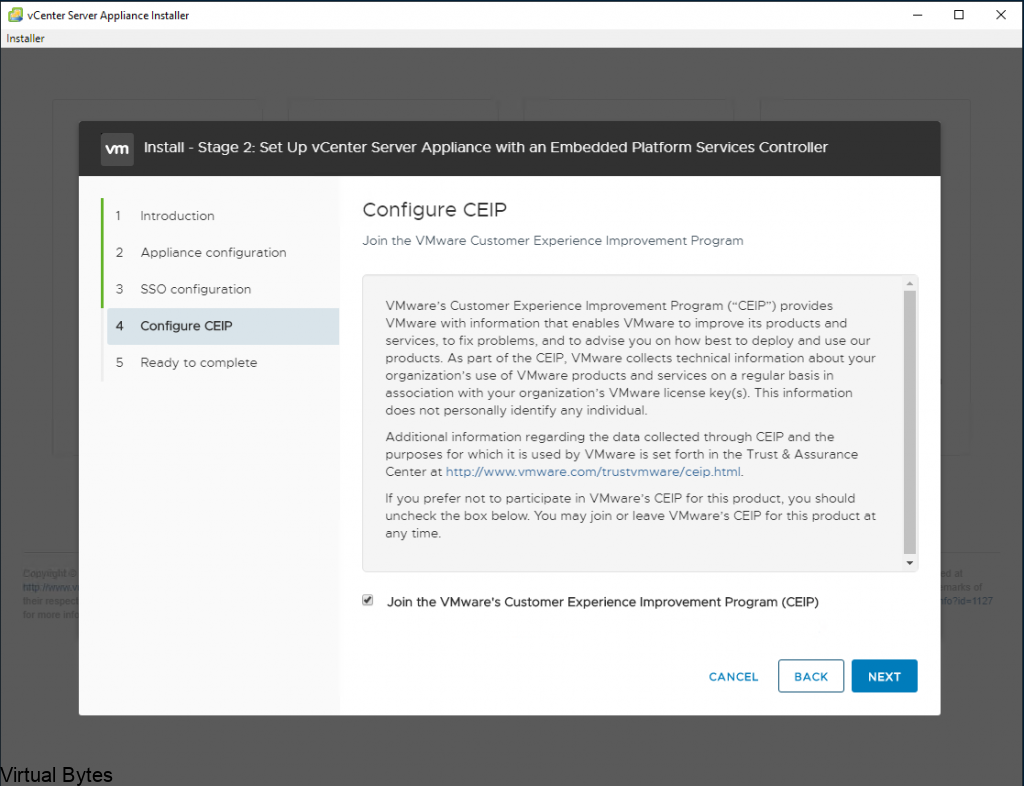
- Your choice to Join the CEIP Program
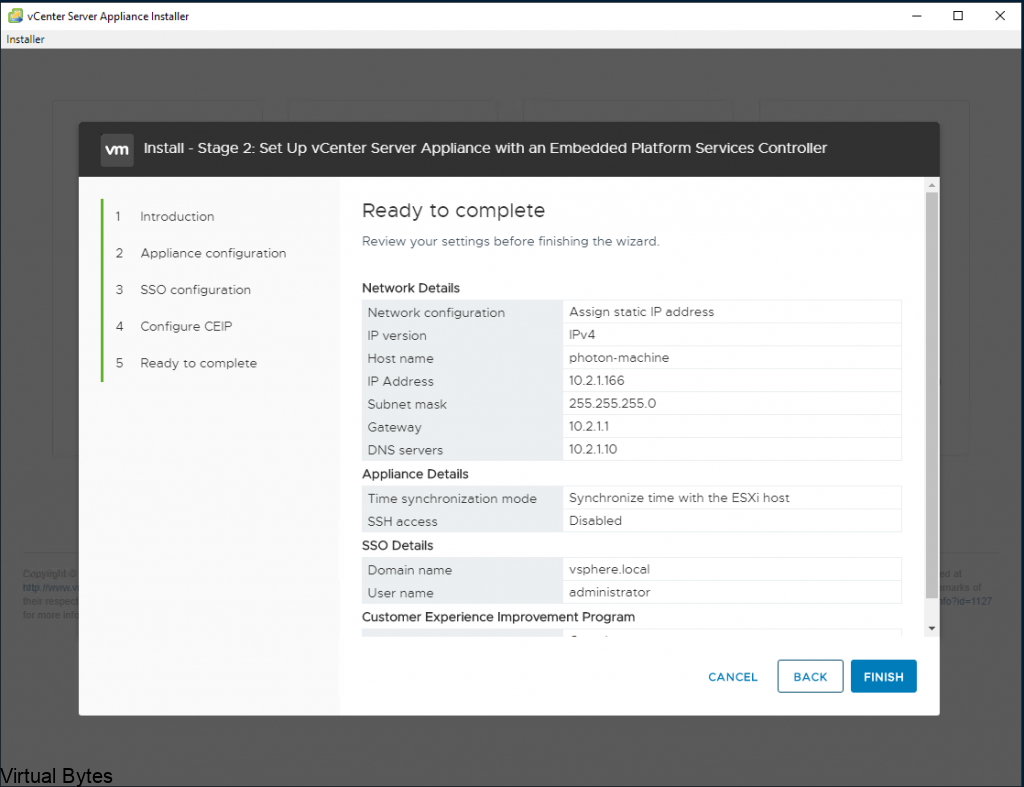
- Verify the finalization stage – this stage will configure your vCenter Server Appliance.
VERY IMPORTANT! Make sure the password you specify in this configuration window is accurate. If not you will be repeating the installation all over again due to a password mis-configuration
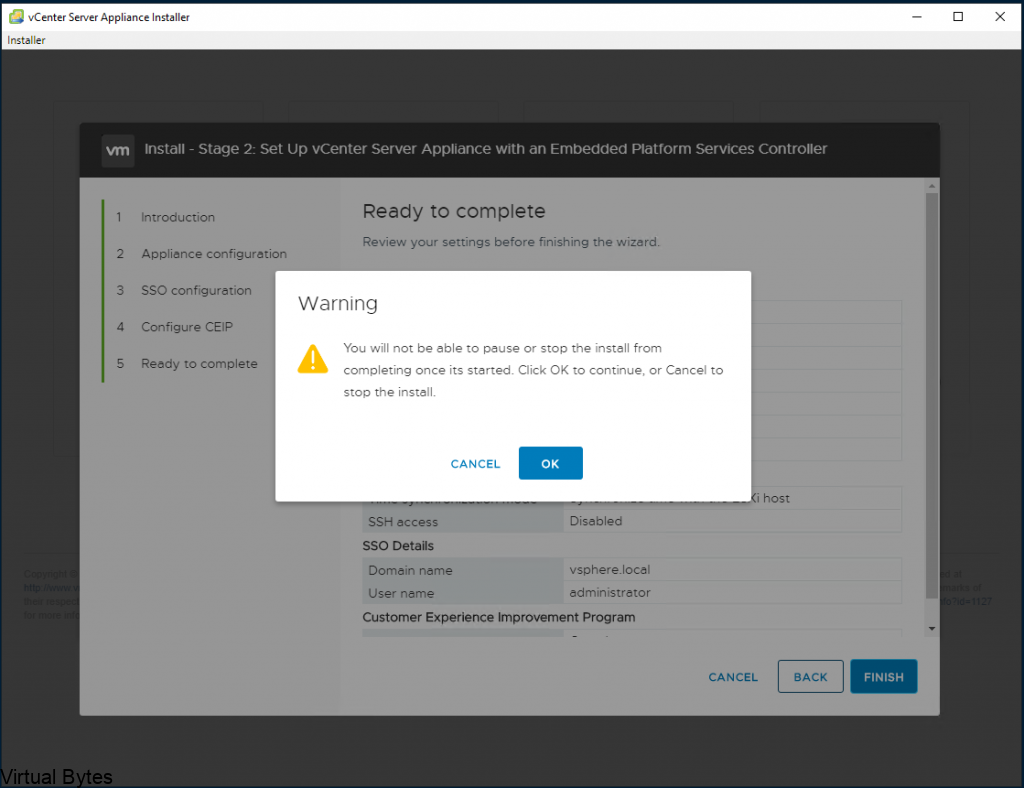
- Once you confirm the final confirmation – There is no going back! Unless you took a snapshot of the vCenter Server Appliance!
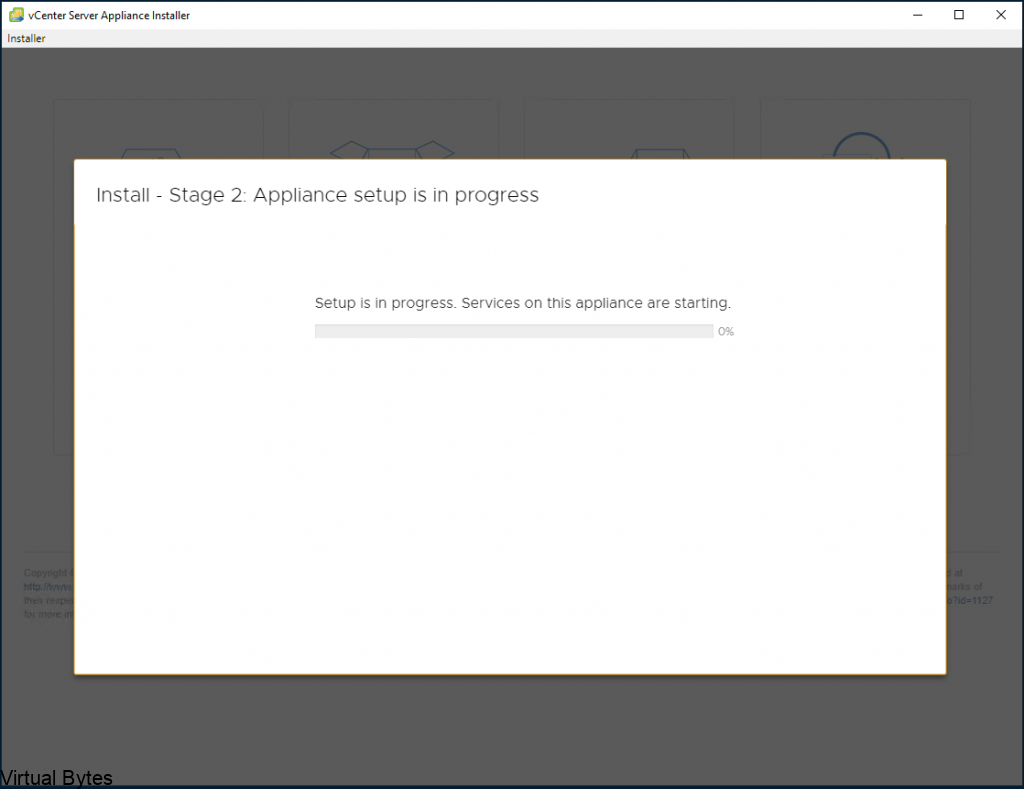
- Enjoy your coffee or water – and wait patiently (This takes around 10-20 minutes, depending on the hardware)
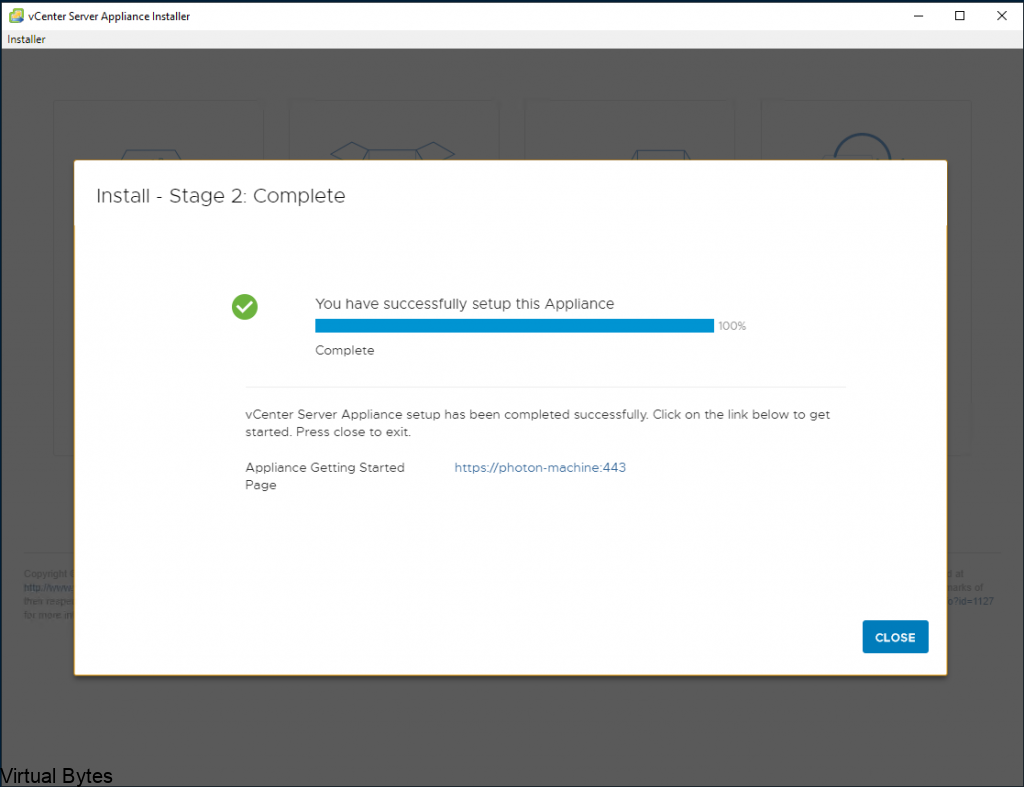
- You’ve installed vCenter Server Appliance! Now you may log into it URL to your server will be a – DNS A Record you configured in your local DNS Server.
https://your_vcenter_dns_name