Hey there tech enthusiasts! Are you ready to dive into the nitty-gritty details of upgrading your VMware Cloud Foundation offline bundle? Well, you’ve come to the right place! In this blog post, we’ll be breaking down everything you need to know about upgrading your VMware Cloud Foundation offline bundle, step by step.
This Offline Walkthrough is valid for any VMware Cloud Foundation – Offline Upgrade, ensure you have at lease the most up-to-date bundle utility to proceed
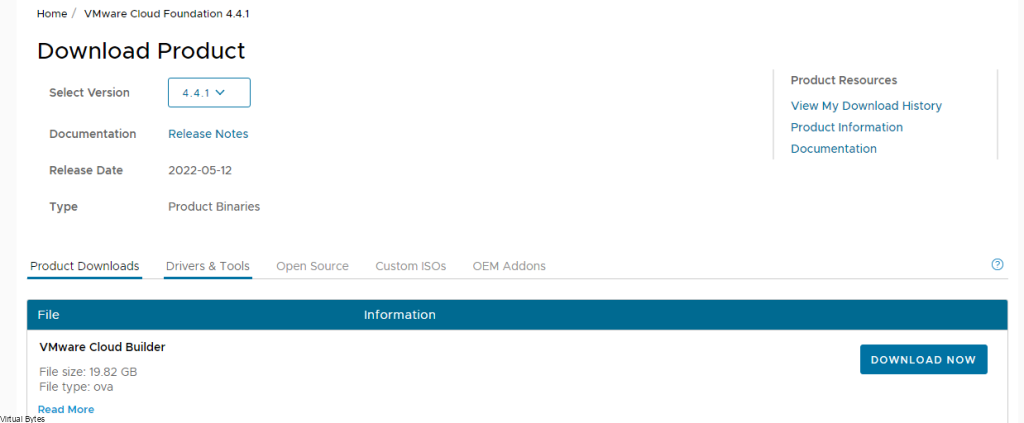
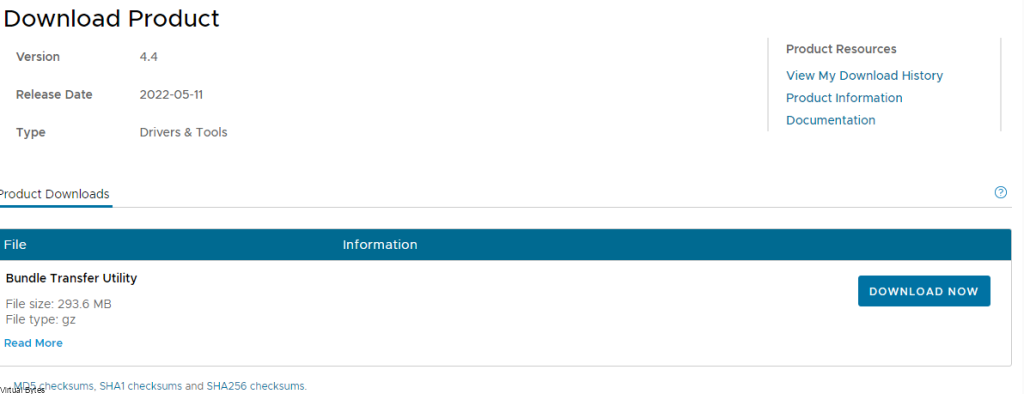
Go to Drivers & Tools
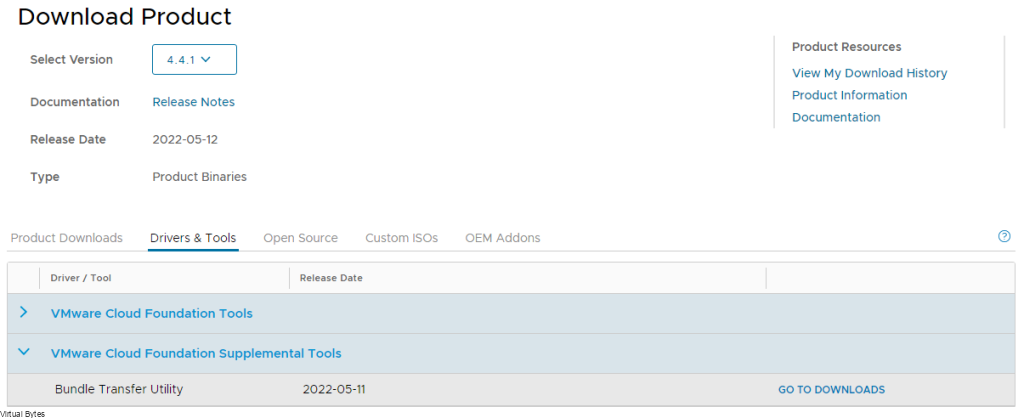
Download Bundle Transfer Utility
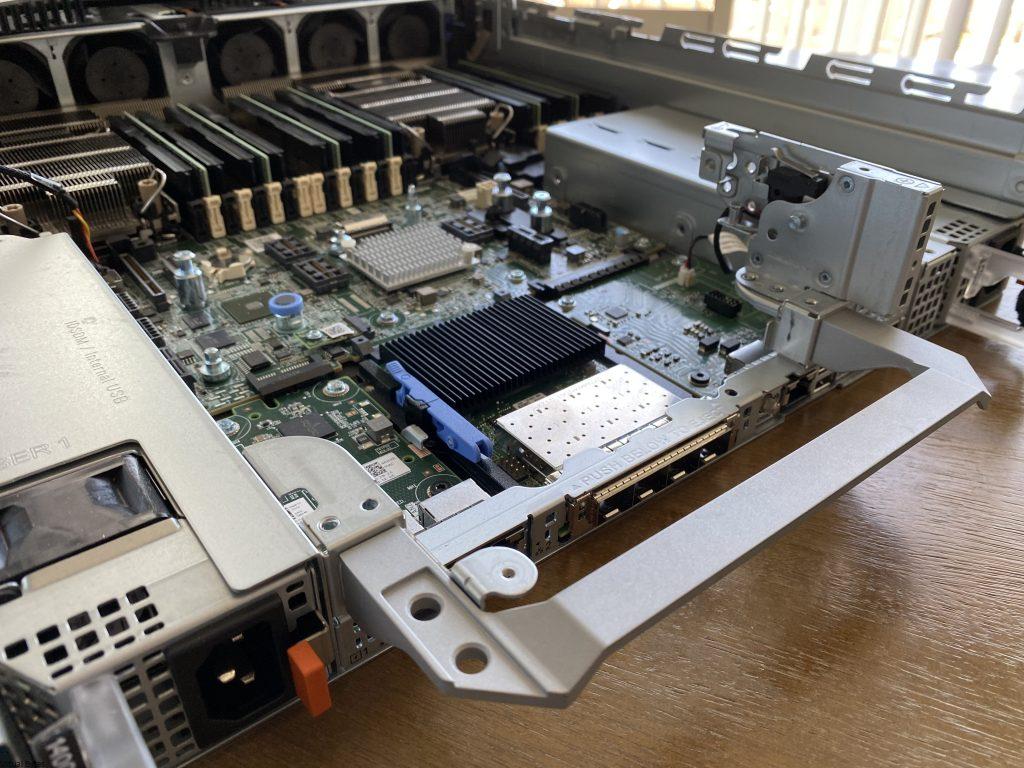
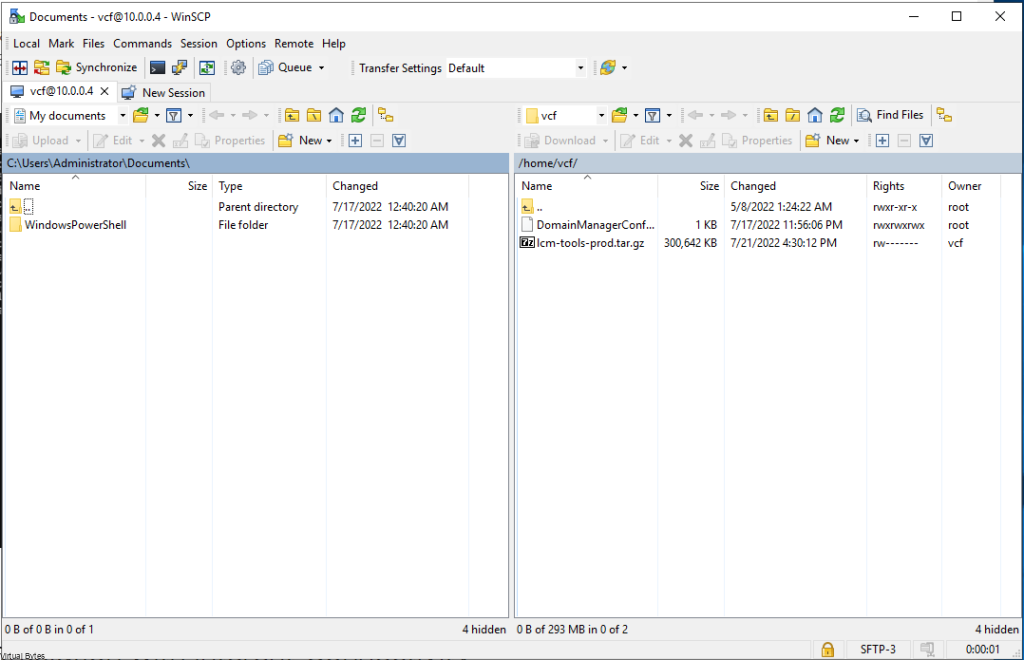
Upload the Bundle Utility tool to SDDC Manager appliance via WINSCP or SCP.

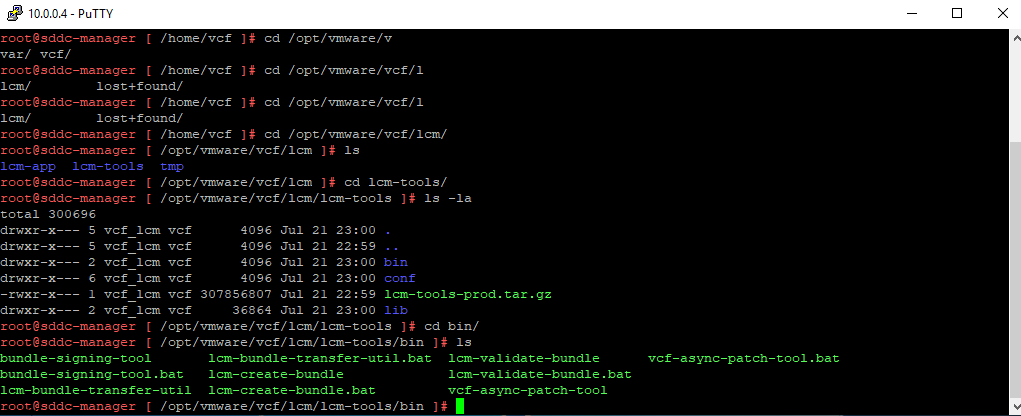
Change Director to
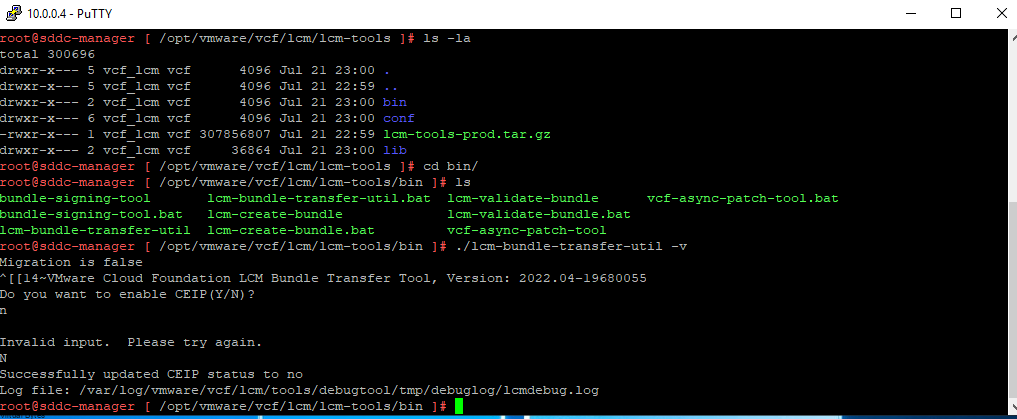
/opt/vmware/vcf/lcm/lcm-tools/binThen run the command below to generate a marker file (This lets the bundle utility know what is needed to be downloaded)
./lcm-bundle-transfer-util --generateMarkerThen open up WINSCP and connect to SDDC Manager (Login as VCF user)
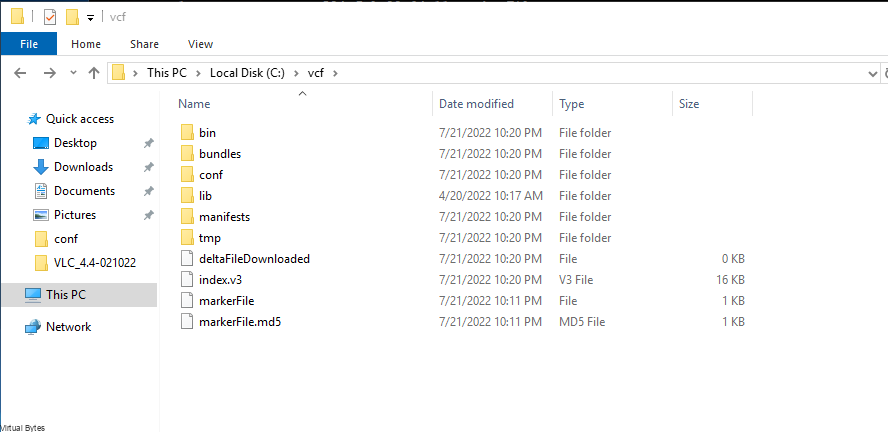
Once you copeid them from the /root/ directory to your home/vcf directory, then refresh your WinSCP window and you shall see the marker file.
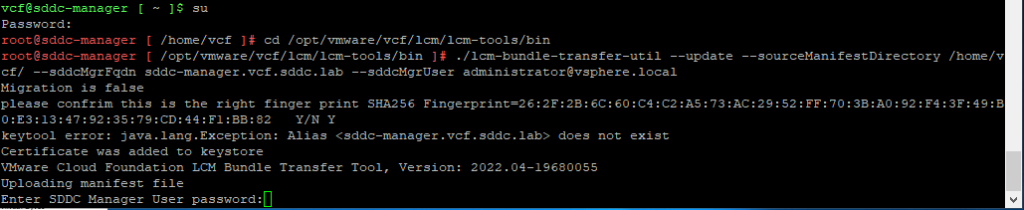
If you do run into permission issues, elevate from vcf to root via ” su ” , type in password and then once your as root, run these commands.
chmod 777 markerFilechmod 777 markerFile.md5chown vcf:vcf markerFilechown vcf:vcf markerFile.md5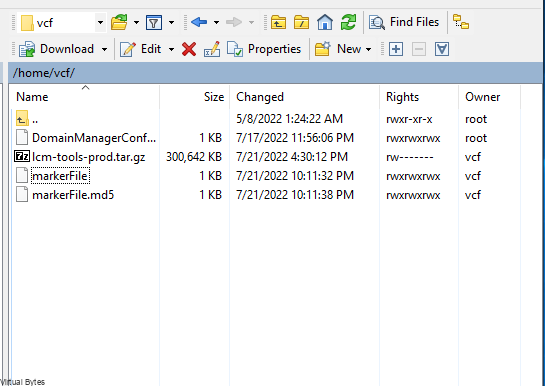
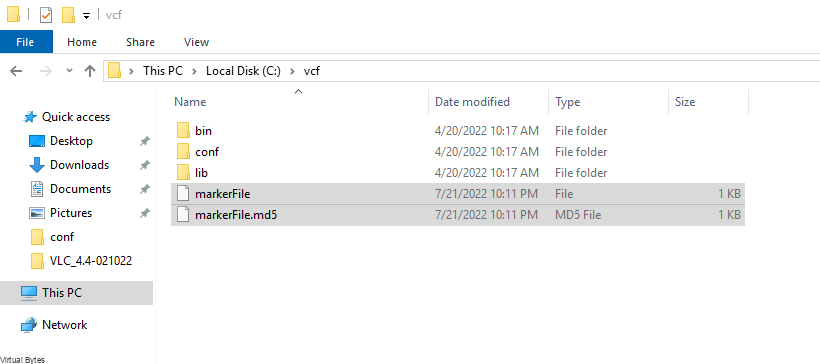
Then copy the two maker files into your vcf directory on C:\
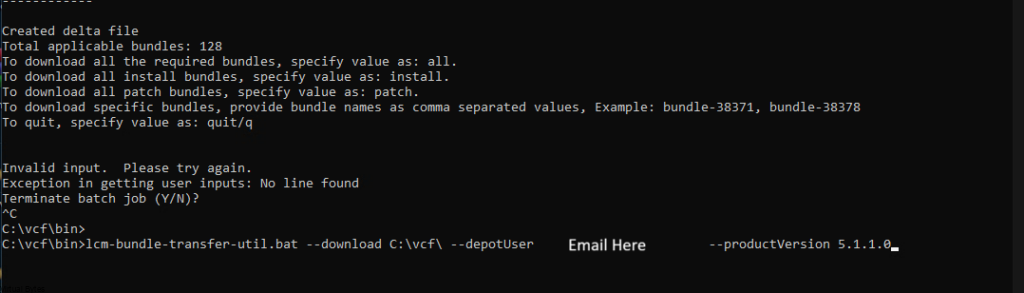
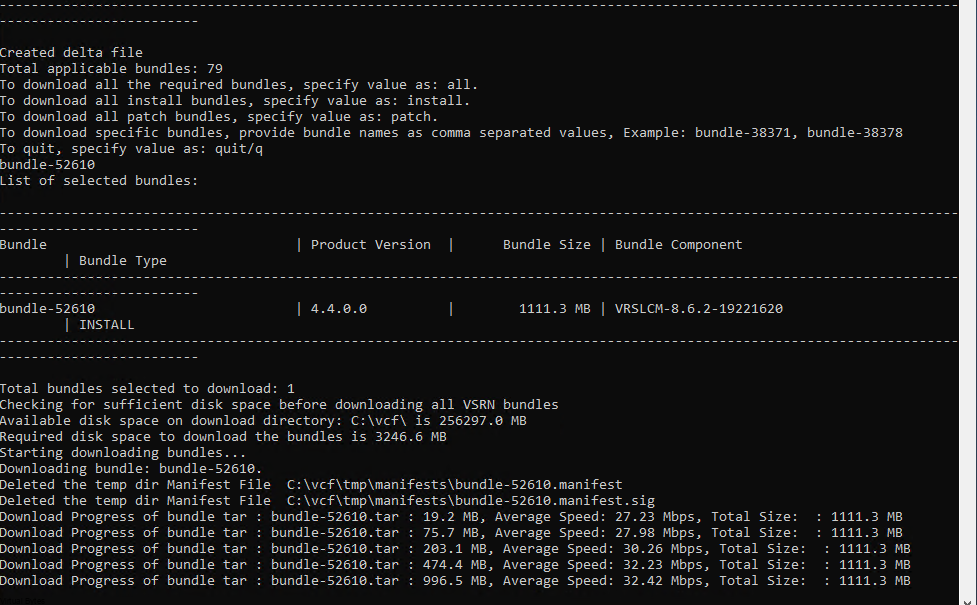
Run the command, you will see a long list of bundles-(xxxxx) to download, some will be patches, and installs, but you want the correct version for your VCF Bill of Materials.
Run the command below
./lcm-bundle-transfer-util -upload -bundleDirectory /nfs/vmware/vcf/nfs-mount/offlinebundle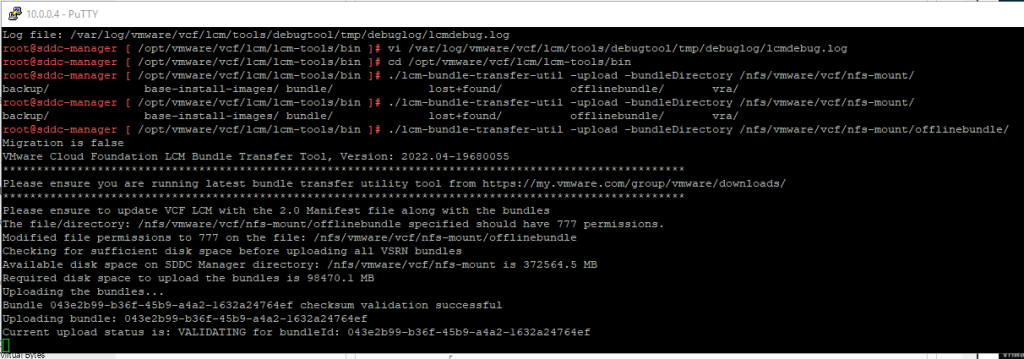
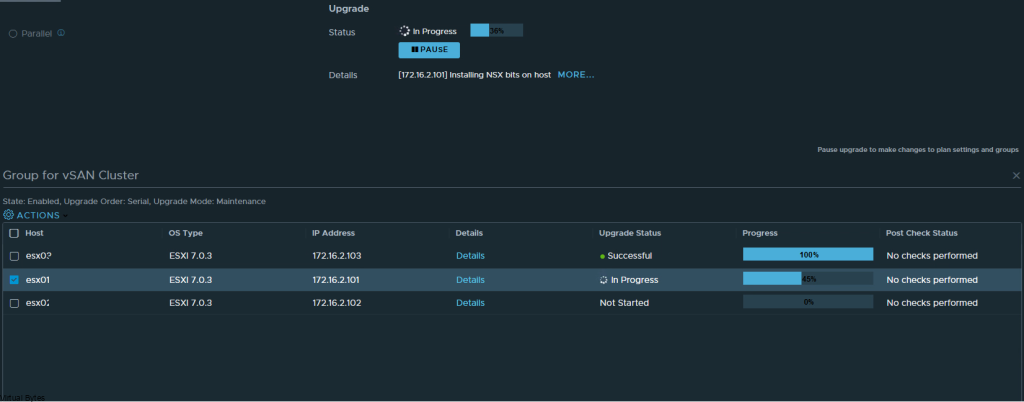
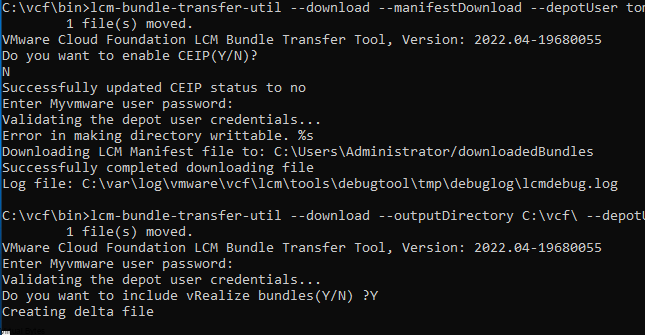
Thats all! Now let the bundles keep getting ingested, this will take a bit depending on the amount of bundles.