Want to upgrade to VMware NSX? Yes, thats the new name for VMware NSX-T Datacenter. It has been renamed. More information from VMware.
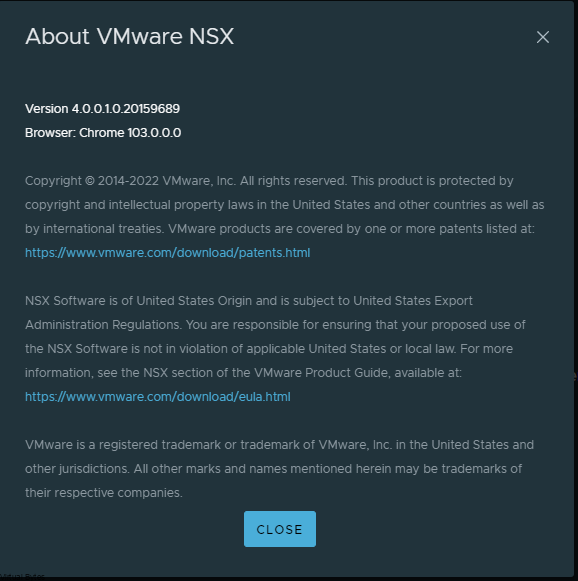
Product Name Change: With the release of 4.0.0.1 the product name changes from “VMware NSX-T Data Center” to “VMware NSX.” This new name better reflects the multi-faceted value that NSX brings to customers. This update is apparent in the product graphical user interface as well as documentation. This change has no impact to the functionality of the product or changes to the API that impacts compatibility with previous releases. Want More info? Check out VMware’s site
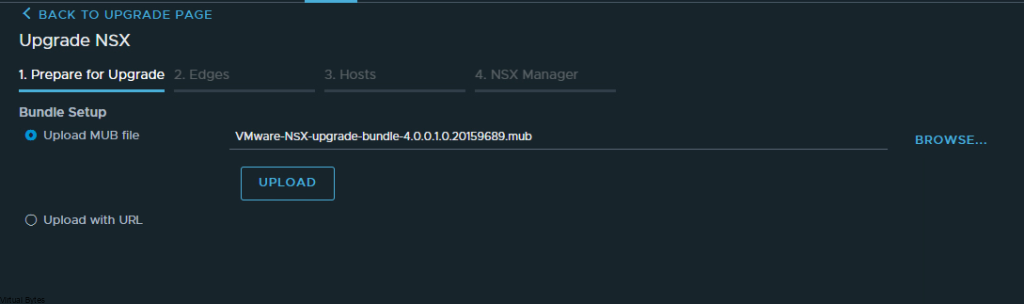
First things first! Lets log into your NSX-T primary node. Then go to System and Upgrade.
Upload the VMware-NSX-upgrade-bundle-4.0.0.1.0.20159689.mub file.
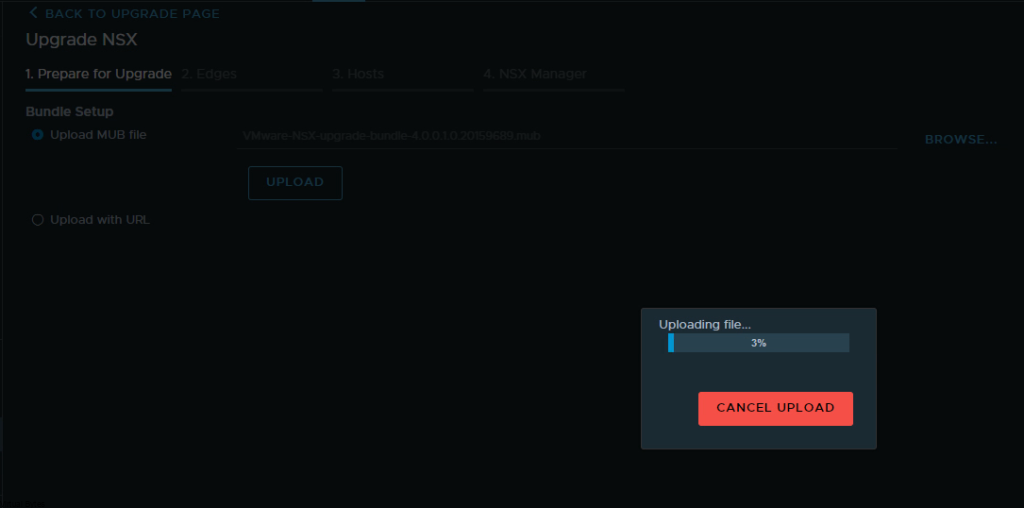
This will take few min to upload, depending on your connection speeds.

This will verify the matrix and other settings prior to upgrading.
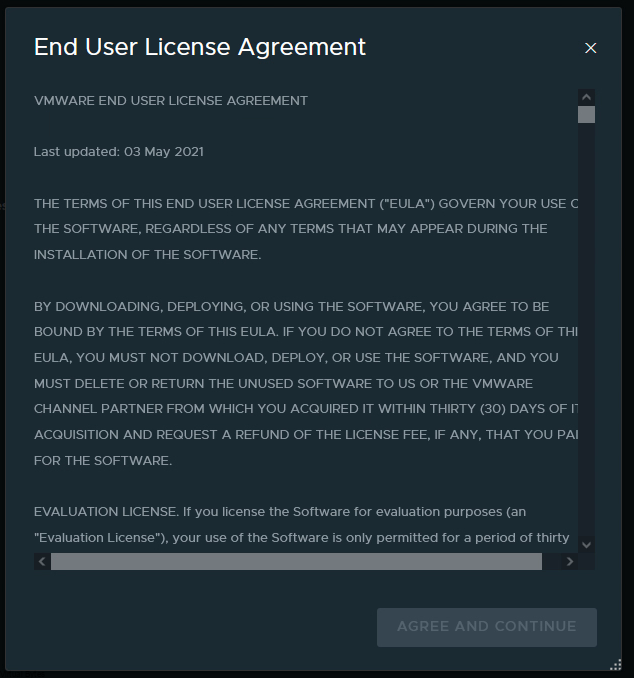
Once, the compatibility has been checked. Next you will need to accept the EULA.
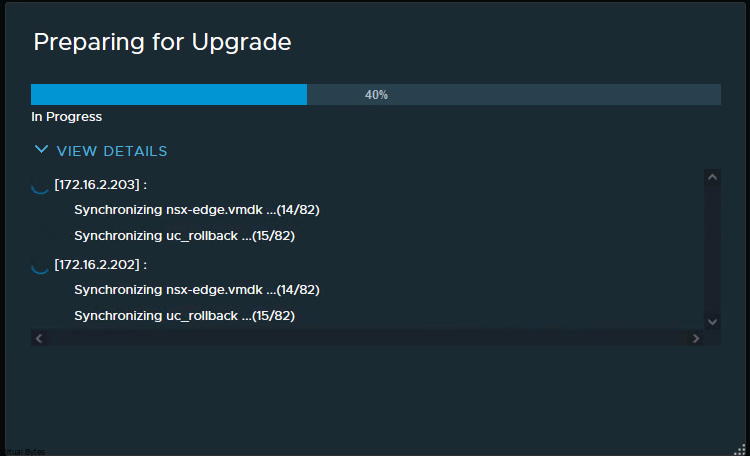
Now, lets fire up the upgrade! This will upload the required files to each of the NSX-T Managers.
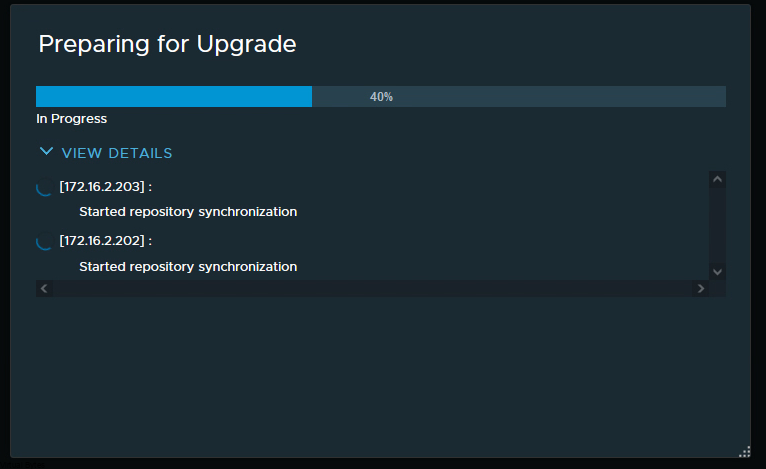
Continuation of the Upgrade Preperation
Run a Pre-Check before you execute the upgrade!
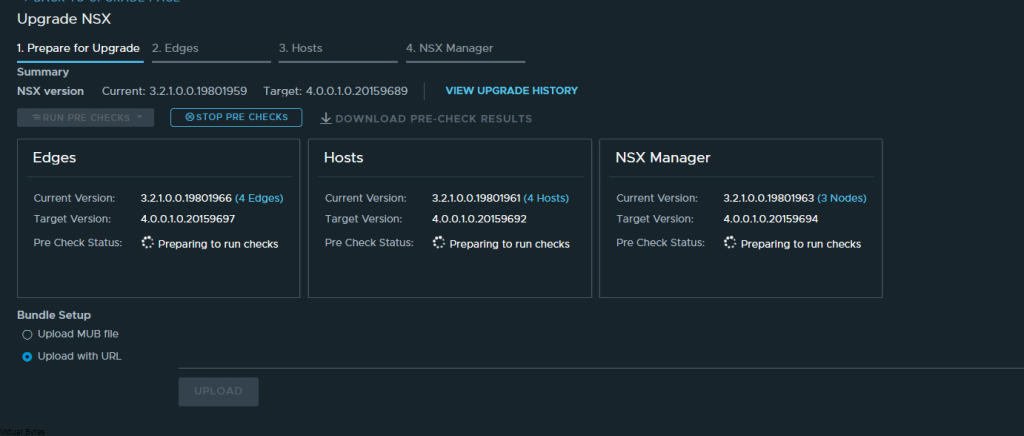
After, everything has passed the pre-checks. You may start the upgrades, but make sure you have backups if something happens and you need to restore! If you need to know how to setup backups check out my other post.
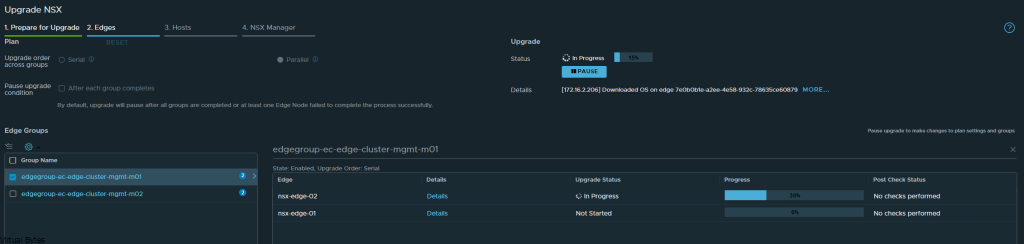
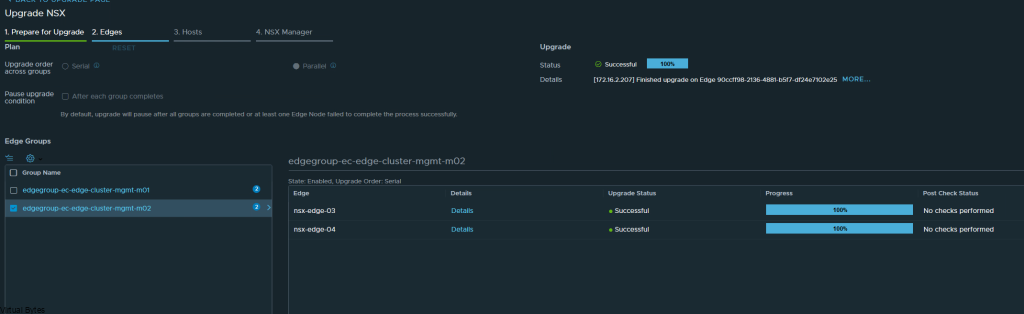
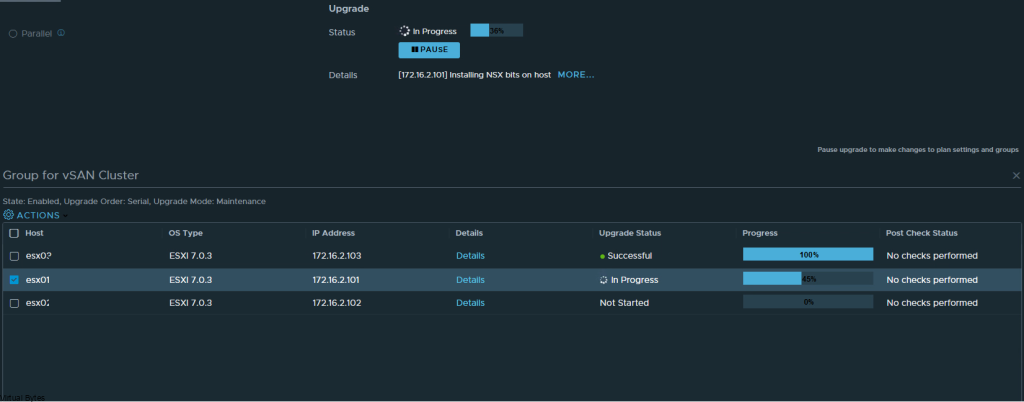
This will take few minutes, you may step away and come back, you should see the progress go through, starting from the NSX Edge Nodes, then ESXi Hosts, then VMware NSX Managers.
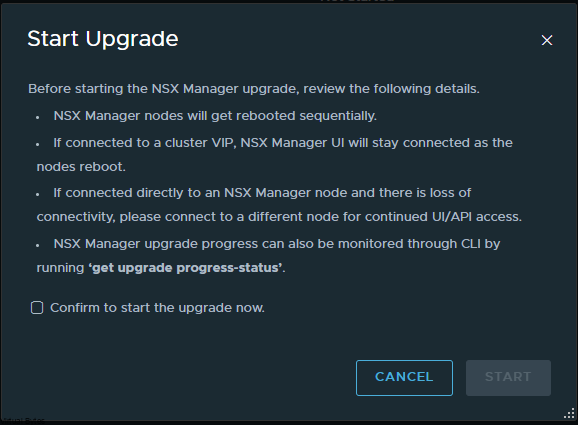
This will start the upgrade of the NSX Managers. Make sure again, that you have backups configured!!
After 15-20 minutes, depending on the environment your upgrade should be done! And that is it! Very simple way to upgrade NSX without any downtime!