Today’s post is about VMware Cloud Director 10.4.x and Terraform!
With Terraform there are endless possibilities, creating a virtual data center and being able to tailor to your liking and keeping it in an automated deployment. In this multi-part blog post we will get into VCD and Terraform Infrastructure as Code automation. This will be a multi-part post, for now we are starting off at Part 1!
What You will Need:
- A Linux VM to execute Terraform from
- Latest Terraform Provider (I am using beta 3.9.0-beta.2 )
- Gitlab / Code Repo (Optional to store your code)
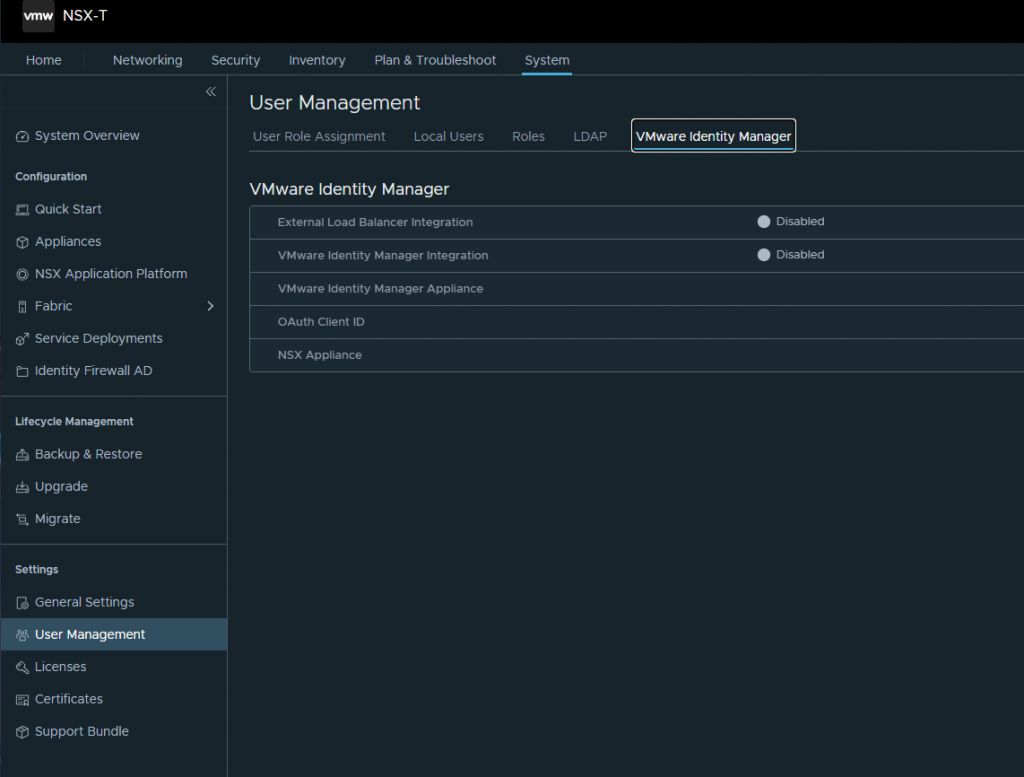
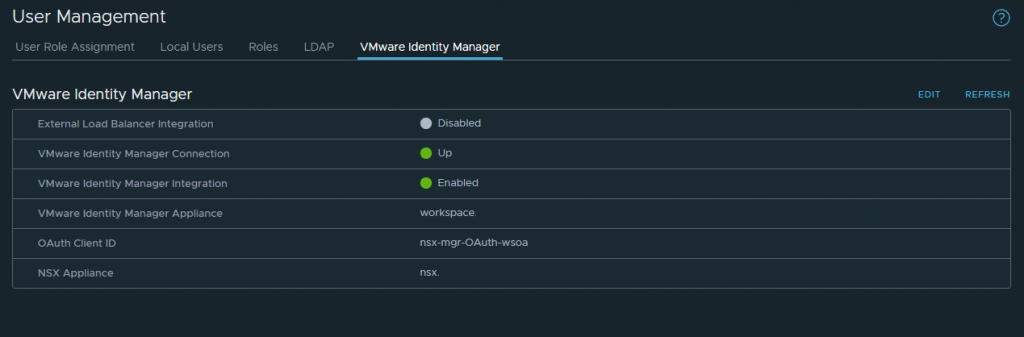
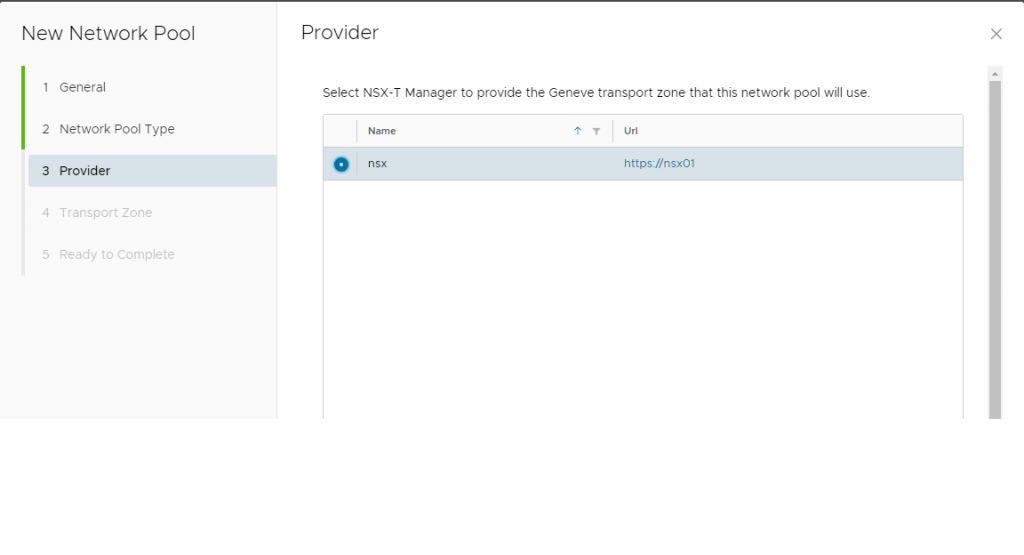
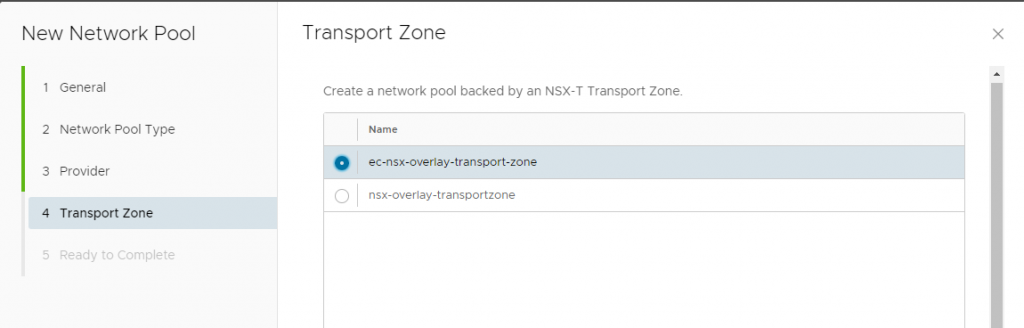
- VMware Cloud Director with NSX-T Integrated already
- Local Account with Provider Permissions on VCD (mine is terraform)
Lets Begin!
To begin our terraform main.tf, we will specify the terraform provider VCD version which I am using 3.9.0-beta.2
terraform {
required_providers {
vcd = {
source = "vmware/vcd"
version = "3.9.0-beta.2"
}
}
}
provider "vcd" {
url = "https://cloud.virtualbytes.io/api"
org = "system"
user = "terraform"
password = "VMware1!"
auth_type = "integrated"
max_retry_timeout = 60
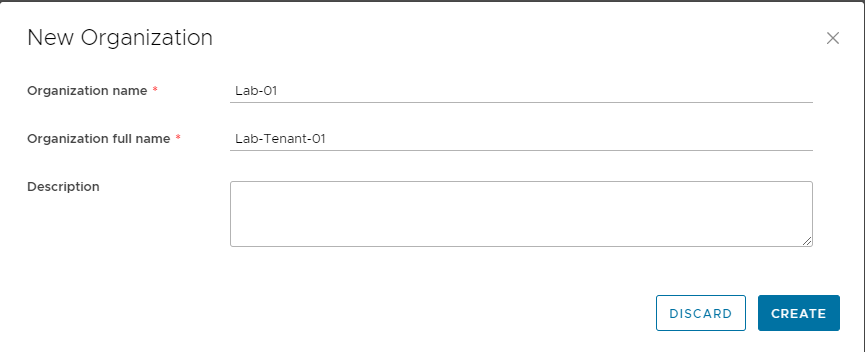
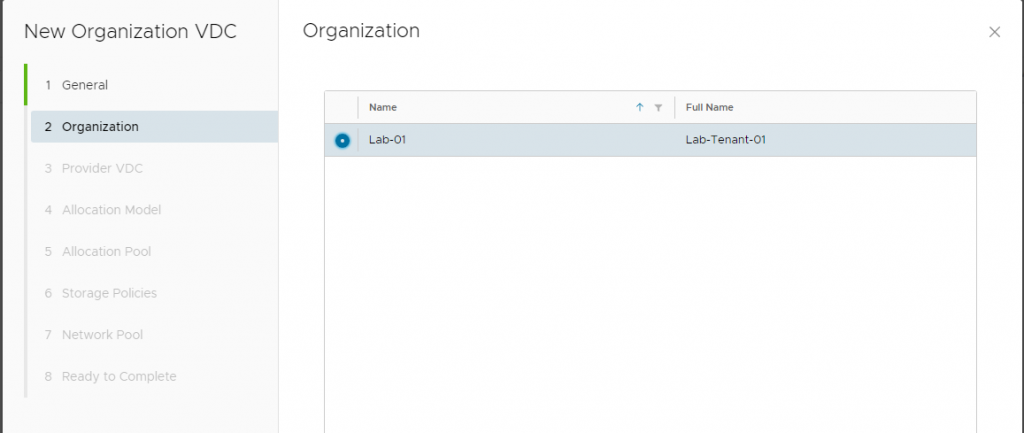
allow_unverified_ssl = trueOnce you have your Terraform Provider configured and administrative privilege account next, we will start creating an Organization within VCD.
# Creating VMware Cloud Director Organization#
resource "vcd_org" "demo-org-10" {
name = "demo-org-10"
full_name = "demo-org-10"
description = ""
is_enabled = true
delete_recursive = true
delete_force = true
vapp_lease {
maximum_runtime_lease_in_sec = 3600 # 1 hour
power_off_on_runtime_lease_expiration = true
maximum_storage_lease_in_sec = 0 # never expires
delete_on_storage_lease_expiration = false
}
vapp_template_lease {
maximum_storage_lease_in_sec = 604800 # 1 week
delete_on_storage_lease_expiration = true
}
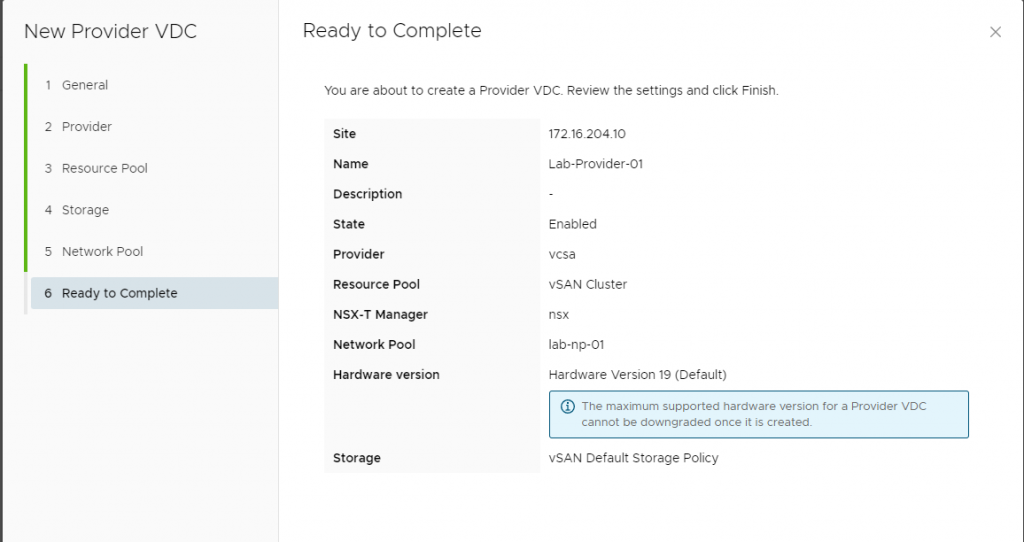
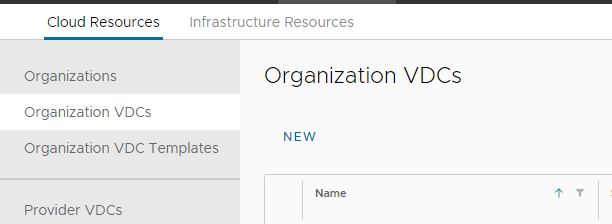
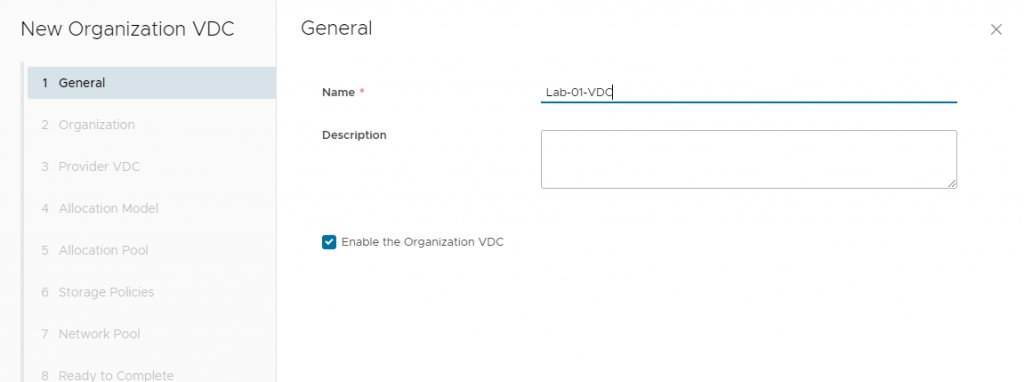
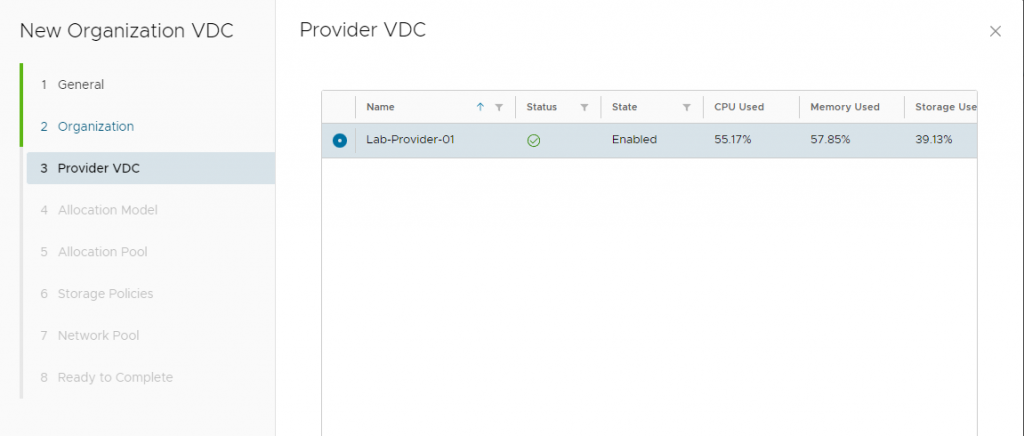
}Next the code below will create a Virtual Data Center within that Organization you have created above.
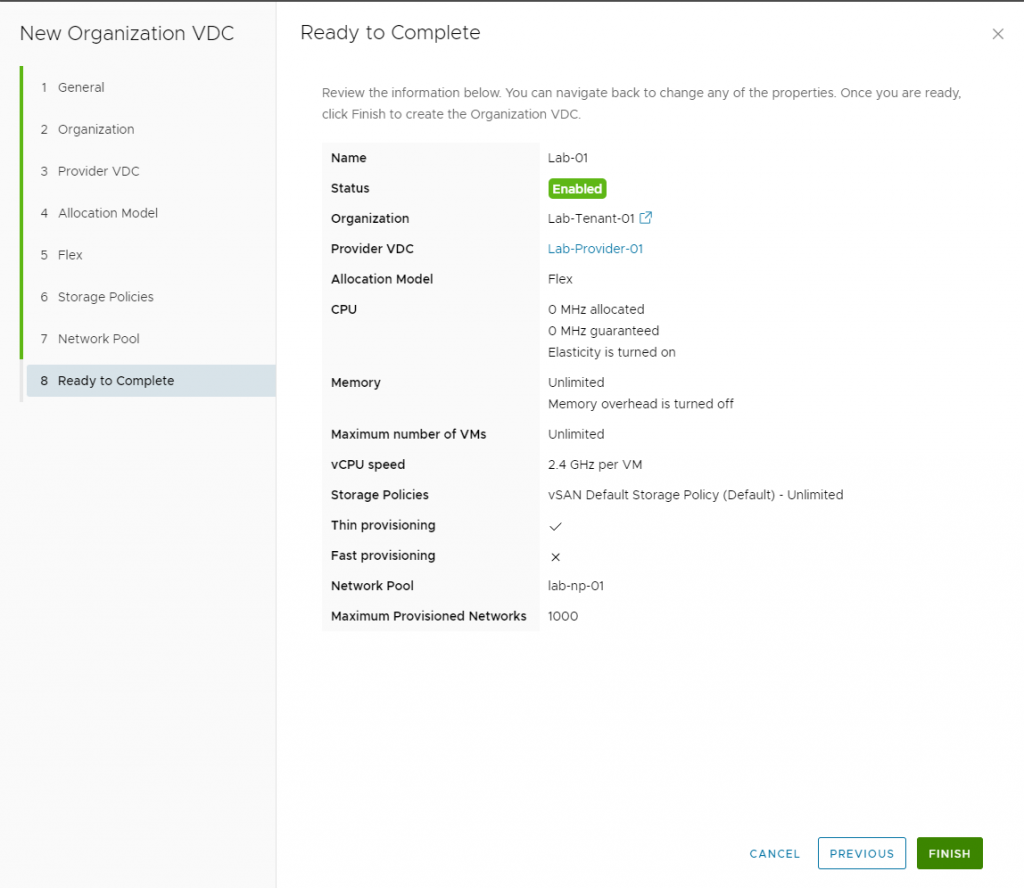
resource "vcd_org_vdc" "demo-org-10" {
depends_on = [vcd_org.demo-org-10]
name = "demo-org-10"
description = ""
org = "demo-org-10"
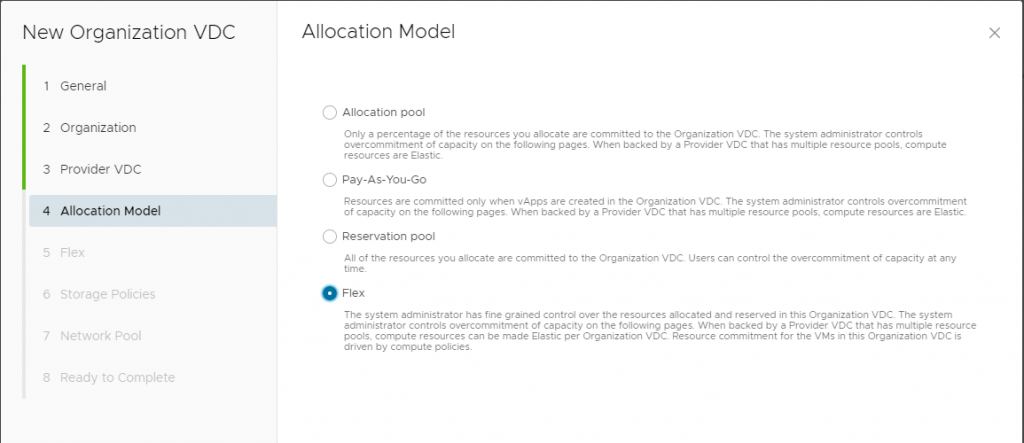
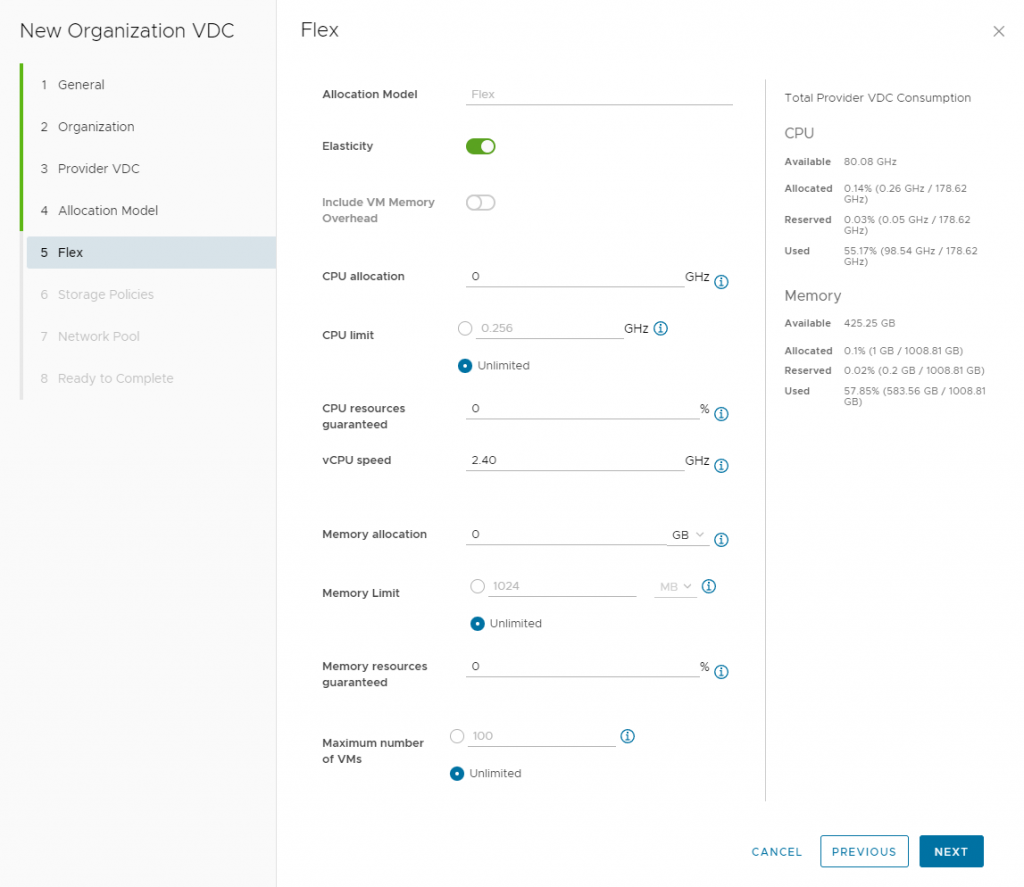
allocation_model = "Flex"
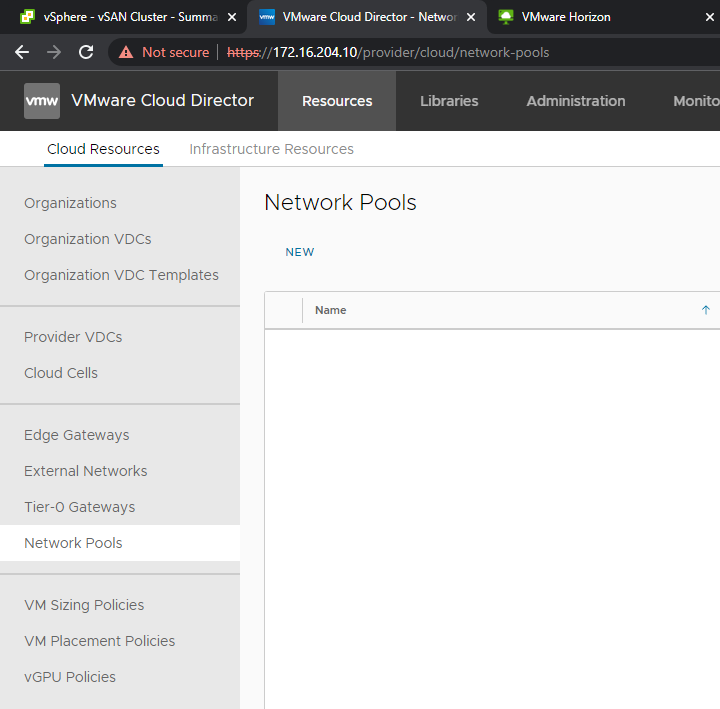
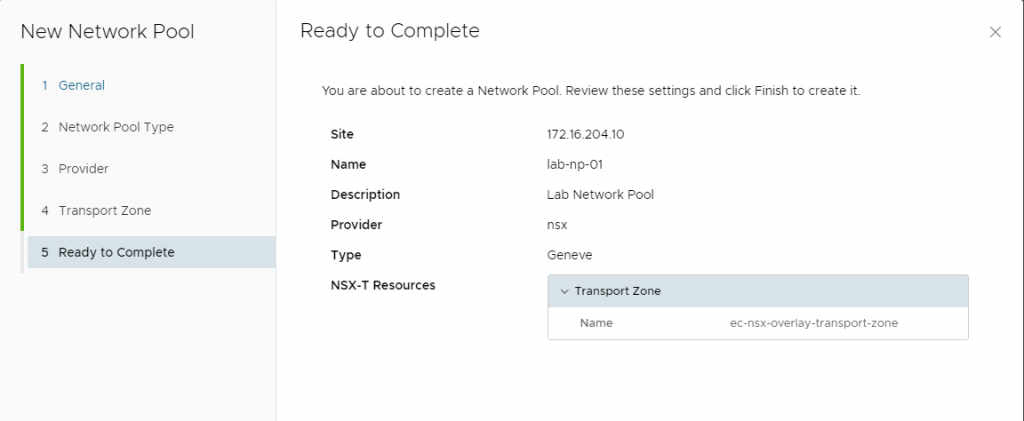
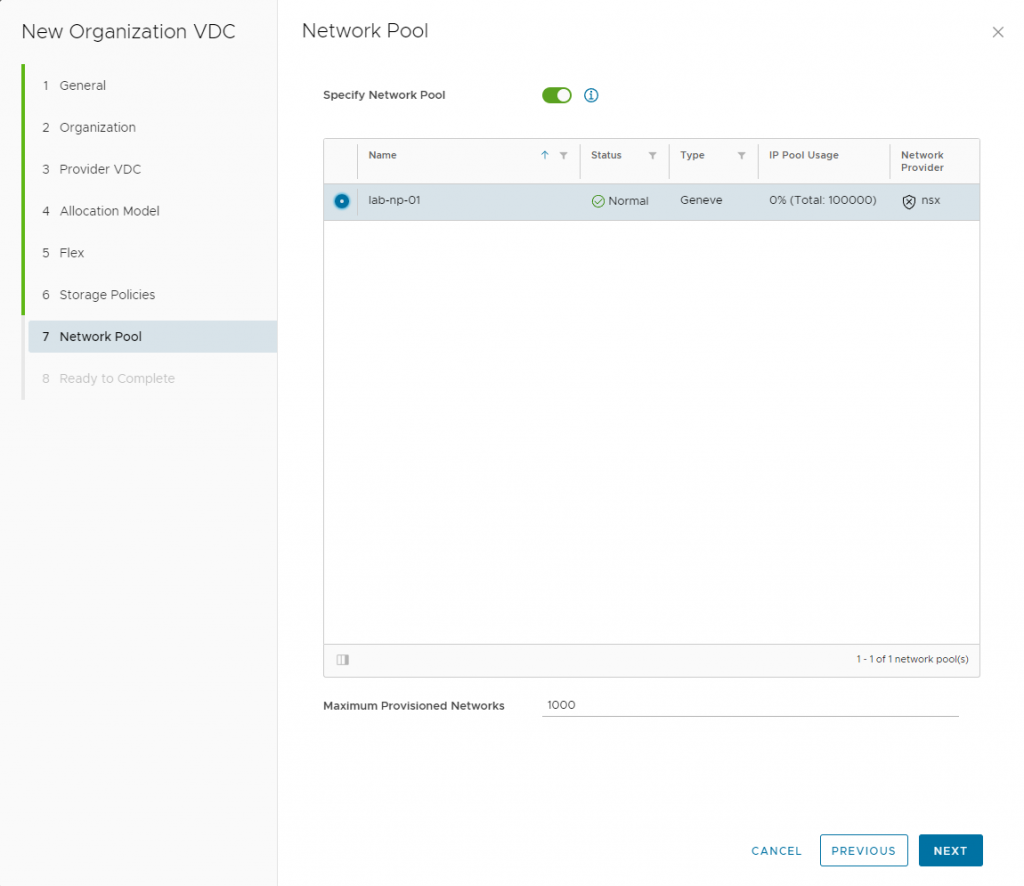
network_pool_name = "VB-POOL-01"
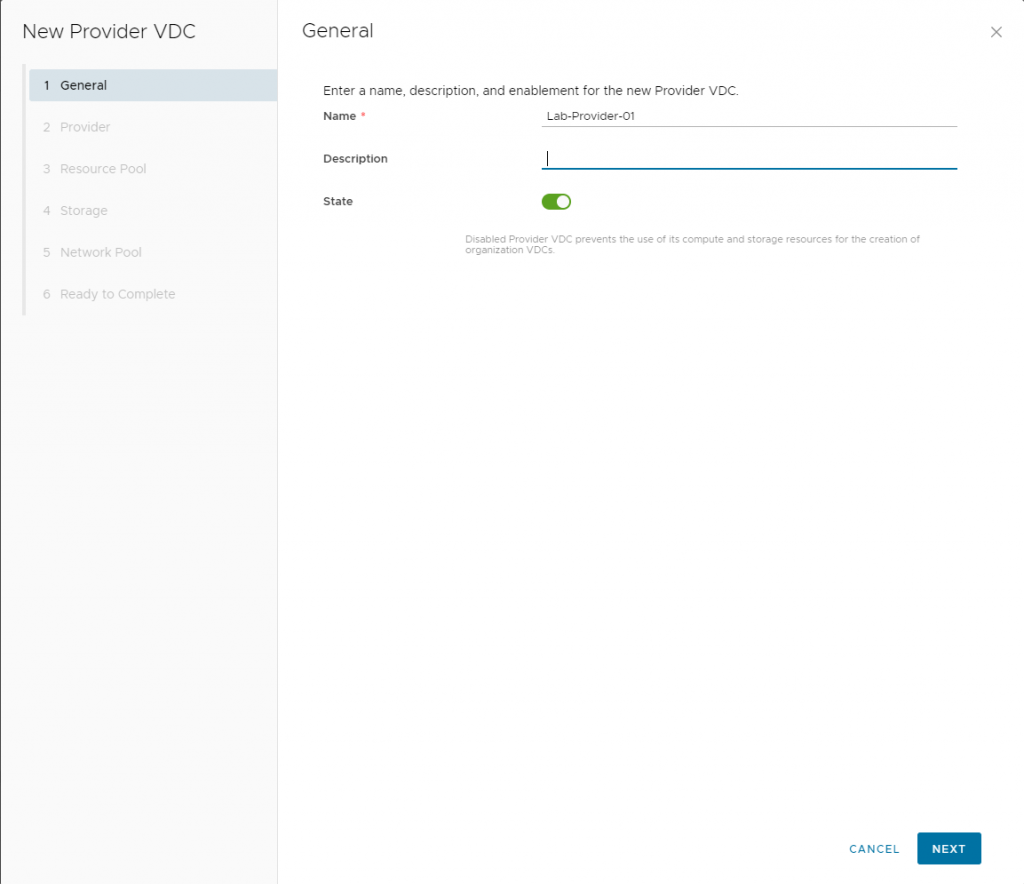
provider_vdc_name = "Provider-VDC"
elasticity = true
include_vm_memory_overhead = true
compute_capacity {
cpu {
allocated = 2048
}
memory {
allocated = 2048
}
}
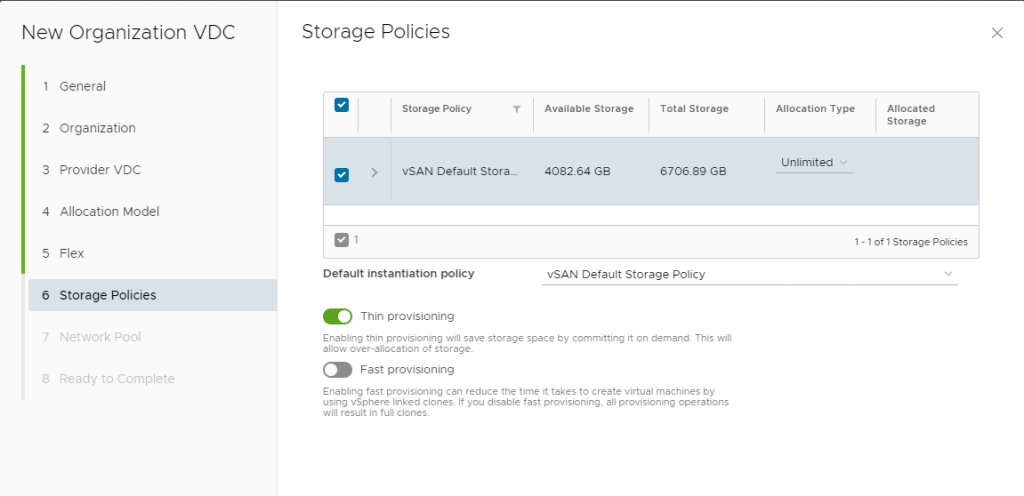
storage_profile {
name = "vCloud"
limit = 10240
default = true
}
network_quota = 100
enabled = true
enable_thin_provisioning = true
enable_fast_provisioning = true
delete_force = true
delete_recursive = true
}Next, we will specify the automation to create a template library within that Virtual Data Center.
#Creating Virtual Data Center Catalog#
resource "vcd_catalog" "NewCatalog" {
  depends_on = [vcd_org_vdc.demo-org-10]
  org = "demo-org-10"

  name             = "Templates"
  description      = "Template Library"
  delete_recursive = true
  delete_force     = true
}
The next step will depend on if you have NSX already configured and ready to consume a Tier-0 VRF into this Provider Gateway we are about to ingest into this Virtual Data Center. My Tier-0 VRF is labeled = vrf-tier-0-edge-03-gw-lab, as I tell Terraform the existing data where to pull from NSX and to assign it to this VDC.
# Add NSX Edge Gateway Tier 0 to VDC
data "vcd_nsxt_manager" "main" {
  name = "nsx-m01"
}

data "vcd_nsxt_tier0_router" "vrf-tier-0-edge-03-gw-lab" {
  name            = "vrf-tier-0-edge-03-gw-lab"
  nsxt_manager_id = data.vcd_nsxt_manager.main.id
}

resource "vcd_external_network_v2" "ext-net-nsxt-t0" {
  depends_on = [vcd_org_vdc.demo-org-10]
  name        = "lab-03-pro-gw-01"
  description = "vrf-tier-0-edge-03-gw-lab"

  nsxt_network {
    nsxt_manager_id      = data.vcd_nsxt_manager.main.id
    nsxt_tier0_router_id = data.vcd_nsxt_tier0_router.vrf-tier-0-edge-03-gw-lab.id
  }

  ip_scope {
    enabled        = true
    gateway        = "192.168.249.145"
    prefix_length = "29"

    static_ip_pool {
      start_address  = "192.168.249.146"
      end_address   = "192.168.249.149"
    }
  }
}
Now, that we have created a Provider Gateway by consuming a VRF Tier-0 from NSX, next we will create a Tier-1 Gateway and attach it into the Virtual Data Center so we can add segments!
resource "vcd_nsxt_edgegateway" "lab-03-pro-gw-01" {
  depends_on = [vcd_org_vdc.demo-org-10]
  org         = "demo-org-10"
  owner_id    = vcd_vdc_group.demo-vdc-group.id
  name        = "lab-03-pro-gw-01"
  description = "lab-03-pro-gw-01"

  external_network_id = vcd_external_network_v2.ext-net-nsxt-t0.id

    subnet {
    gateway       = "192.168.249.145"
    prefix_length = "29"
    # primary_ip should fall into defined "allocated_ips"
    # range as otherwise next apply will report additional
    # range of "allocated_ips" with the range containing
    # single "primary_ip" and will cause non-empty plan.
    primary_ip = "192.168.249.146"
    allocated_ips {
      start_address  = "192.168.249.147"
      end_address   = "192.168.249.149"
    }
  }
}
Now we can create a segment and attach it to our Tier-1 Gateway within the Virtual Data Center!
#### Create VMware Managment Network /24
resource "vcd_network_routed_v2" "nsxt-backed-1" {
  depends_on = [vcd_org_vdc.demo-org-10]
  org         = "demo-org-10"
  name        = "vmw-nw-routed-01"
  edge_gateway_id = vcd_nsxt_edgegateway.lab-03-pro-gw-01.id
  gateway       = "10.10.10.1"
  prefix_length = 24
  static_ip_pool {
    start_address = "10.10.10.5"
    end_address   = "10.10.10.10"
  }
}
This is it for Part 1! Stay tuned for Part 2 where we will customize this VDC we created with Terraform!