Tonight’s troubleshooting tidbit – I have deployed VMware Aria Automation, started doing some automation, I ran into a issue were the Remote Console did not want to open it came with an error – “Cannot establish a remote console connection. Verify that the machine is powered on. If the server has a self-signed certificate, you might need to accept the certificate, then close and retry the connection.”
- SSH into one vRA virtual appliance in the cluster
- Edit the provisioning service deployment by running the following commandkubectl -n prelude edit deployment provisioning-service-app
- Set the following property in the JAVA_OPTS list to true-Denable.remote-console-proxy=false
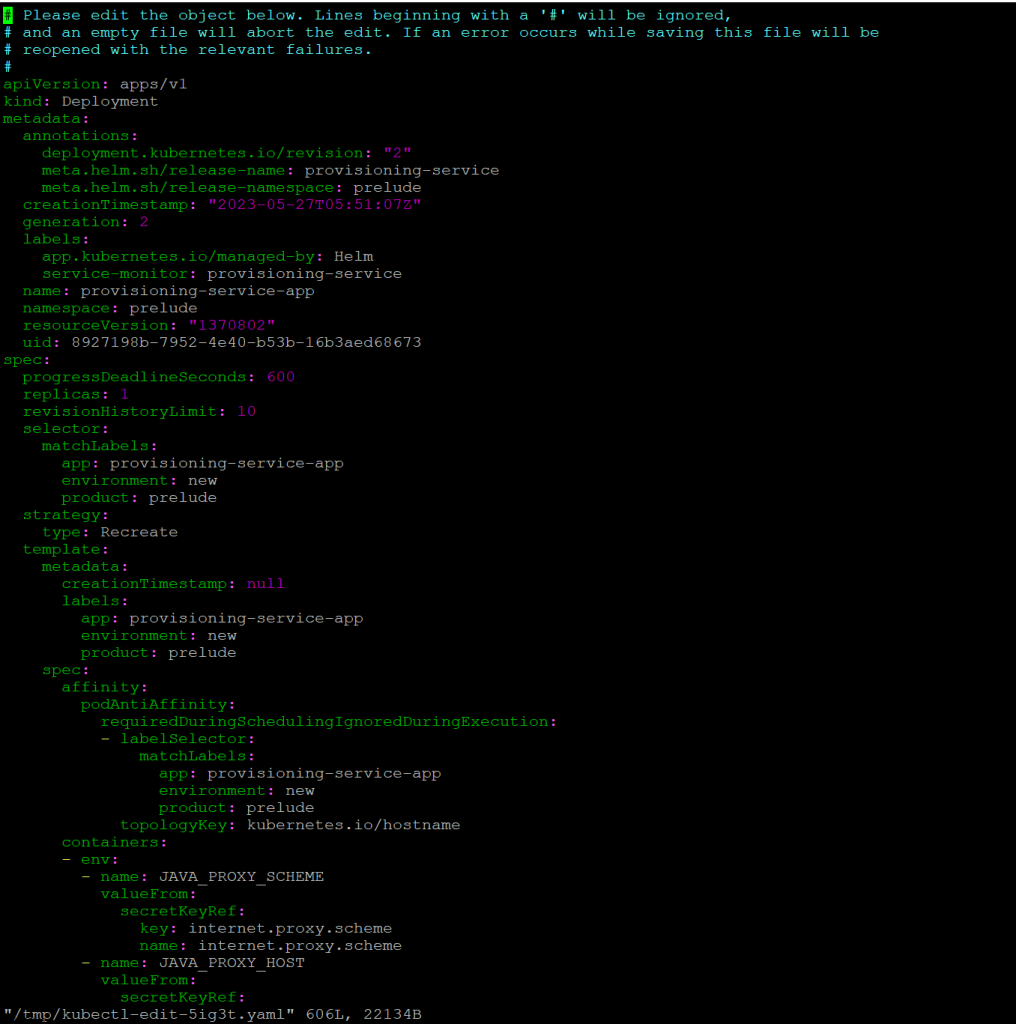
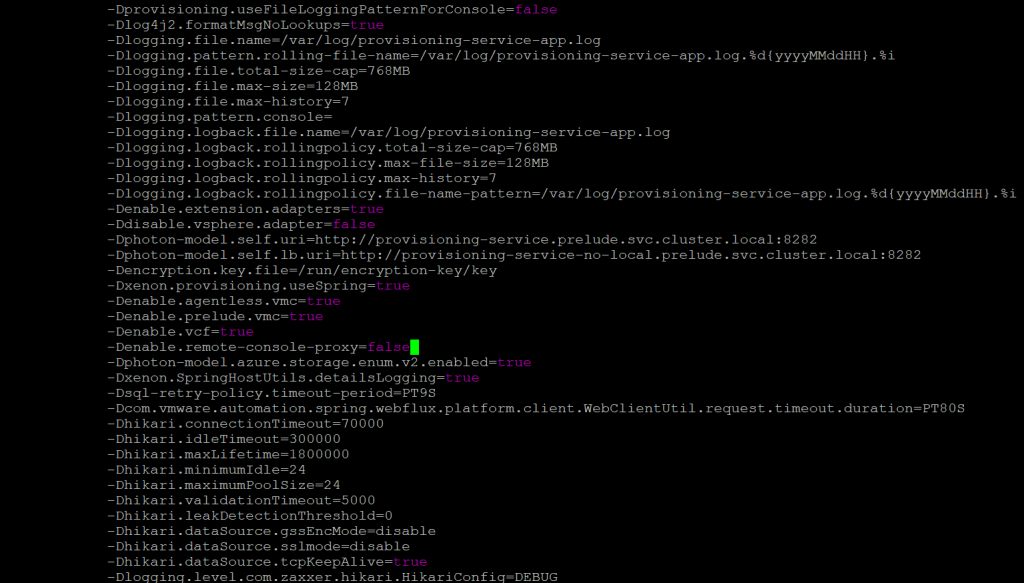
Here you will see the orginal screenshot having the Denable.remote-console-proxy=true, which next screenshot we will switch it to false
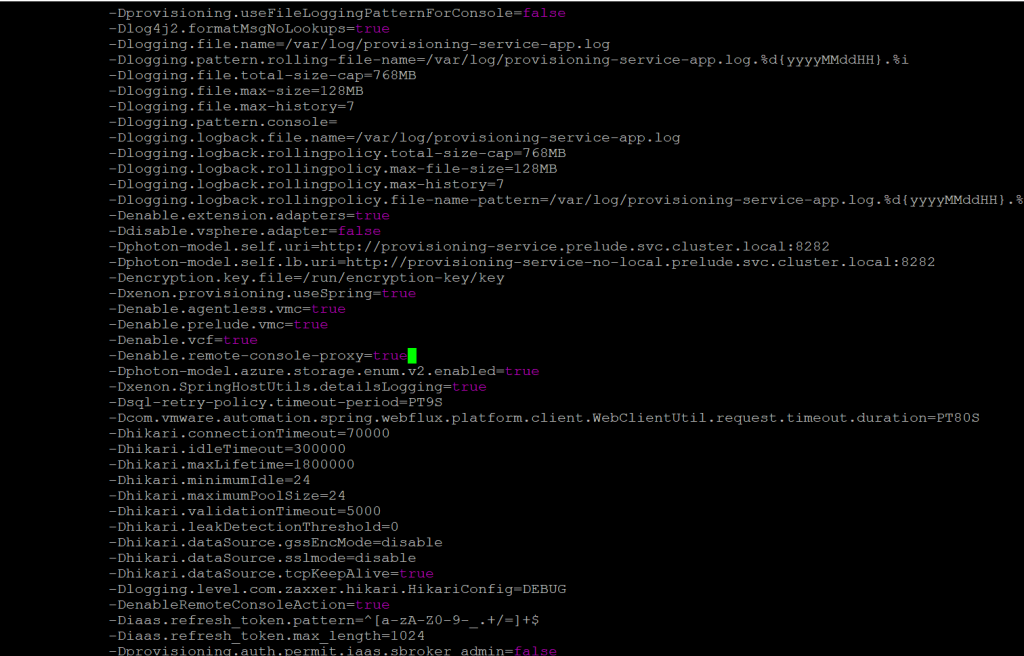
Denable.remote-console-proxy=false
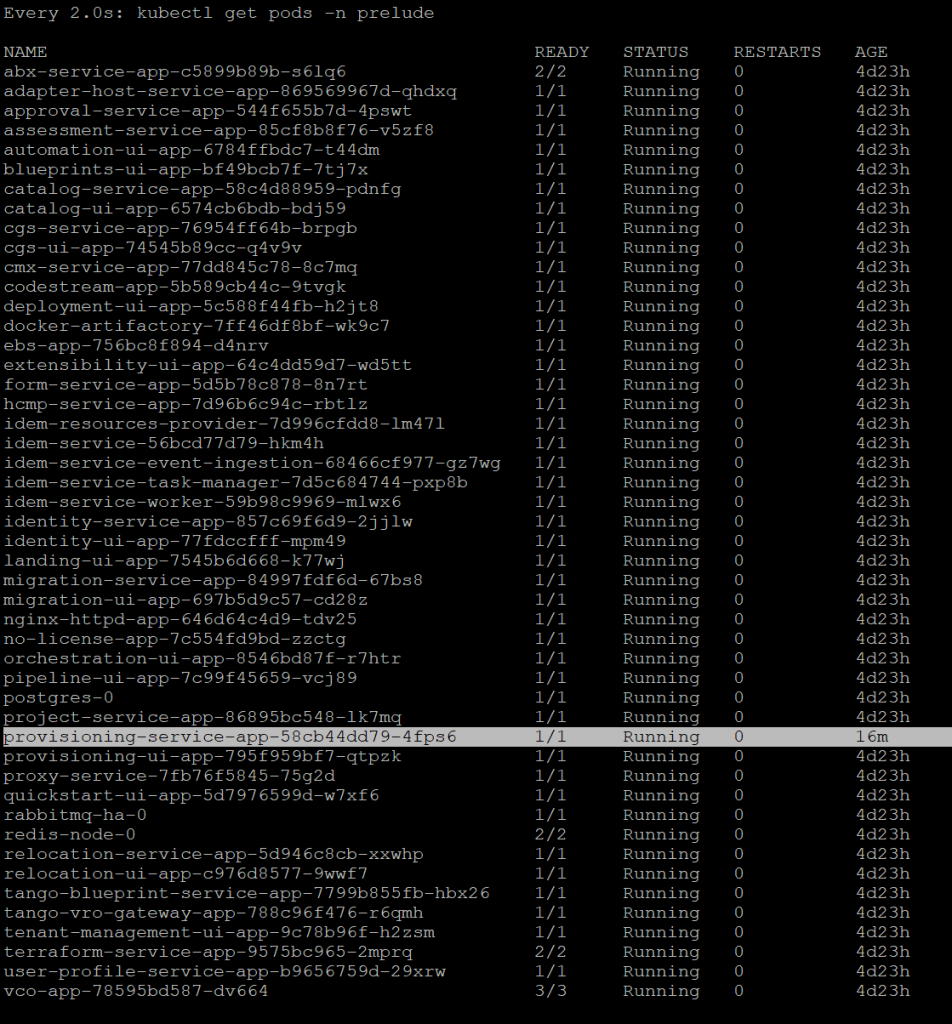
After you save with wq! you will go back to the main SSH session and what I did was executed command – watch kubectl get pods -n prelude . This allowed me to verify and watch if there was no errors during startup.