Today’s topic is on VMware NSX Advanced Load Balancer (AVI). We will walk through the steps of deploying a NSX ALB overlayed on top of your NSX Environment.
Features
- Multi-Cloud Consistency – Simplify administration with centralized policies and operational consistency
- Pervasive Analytics – Gain unprecedented insights with application performance monitoring and security
- Full Lifecycle Automation – Free teams from manual tasks with application delivery automation
- Future Proof – Extend application services seamlessly to cloud-native and containerized applications

More information at VMware’s site here
What You Will Need:
- A Configured and running NSX Environment
- NSX ALB Controller OVA (controller-22.1.3-9096.ova)
- Supported Avi controller versions: 20.1.7, 21.1.2 or later versions
- Obtain IP addresses needed to install an appliance:
- Virtual IP of NSX Advanced Load Balancer appliance cluster
- Management IP address
- Management gateway IP address
- DNS server IP address
- Cluster VIP and all controllers management network must be in same subnet.
Lets start with deploying controller OVF
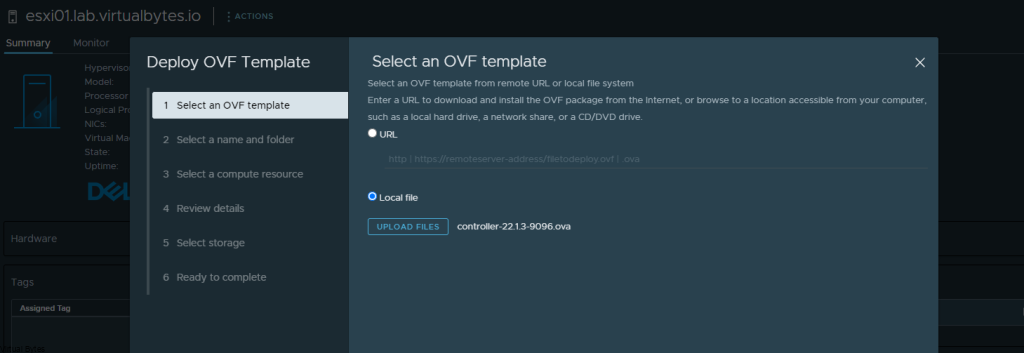
I like to keep neat and consistent names the following names I utilized:
Virtual Machine Names:
- nsx-alb-01
- nsx-alb-02
- nsx-alb-03
You need total of 3 Controllers deployed to create a High Available NSX ALB.

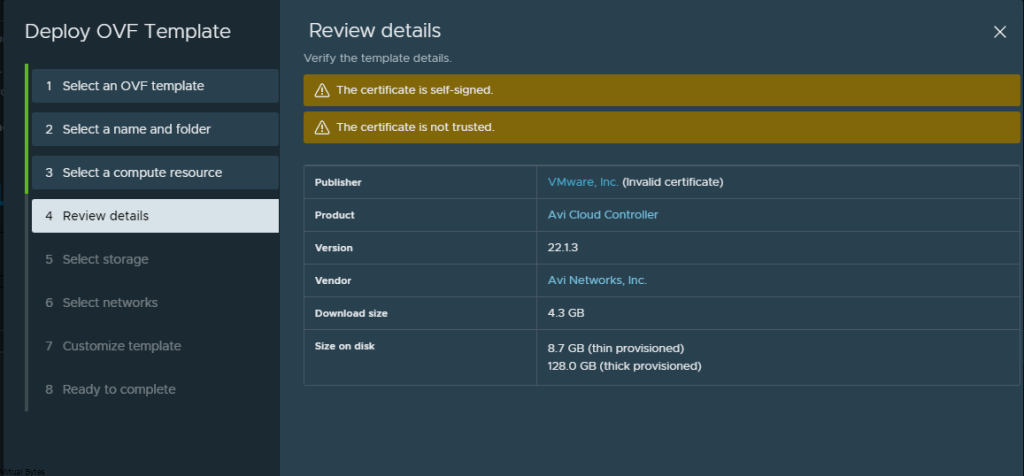
Click the Ignore All, or you will get this error as show below

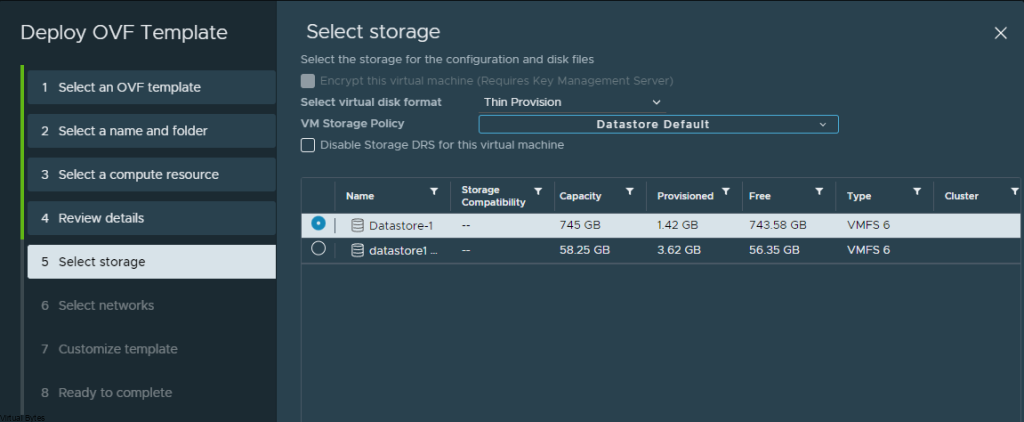
Select your datastore ->
Click Next ->
My DNS Records:
- nsx-alb-01.virtualbytes.io
- nsx-alb-02.virtualbytes.io
- nsx-alb-03.virtualbytes.io
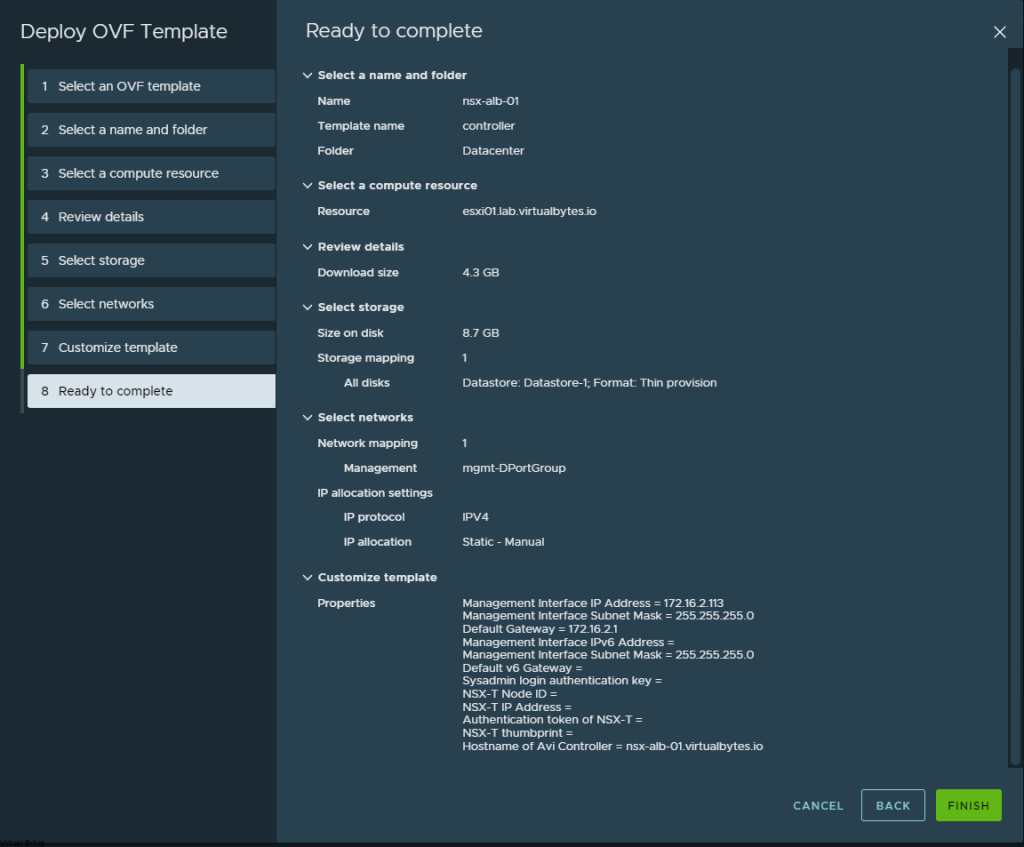
We are deploying!

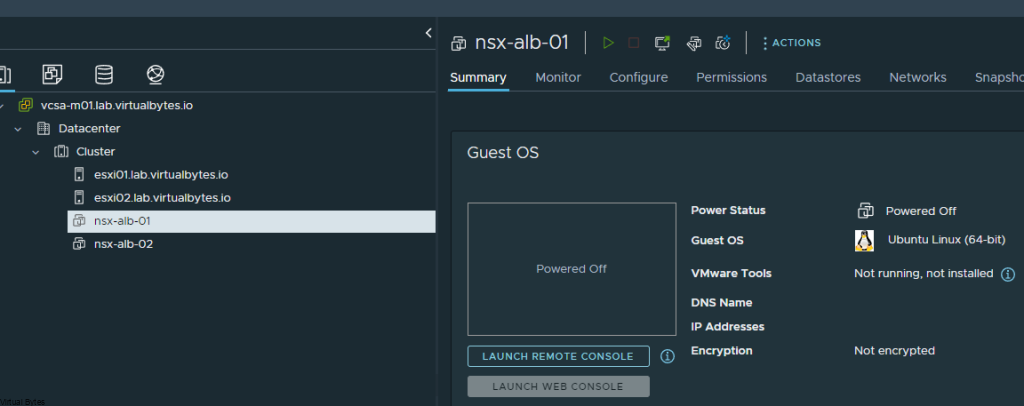
Access your first appliance via its FQDN that you have set in the steps above.
Create your password for local admin account
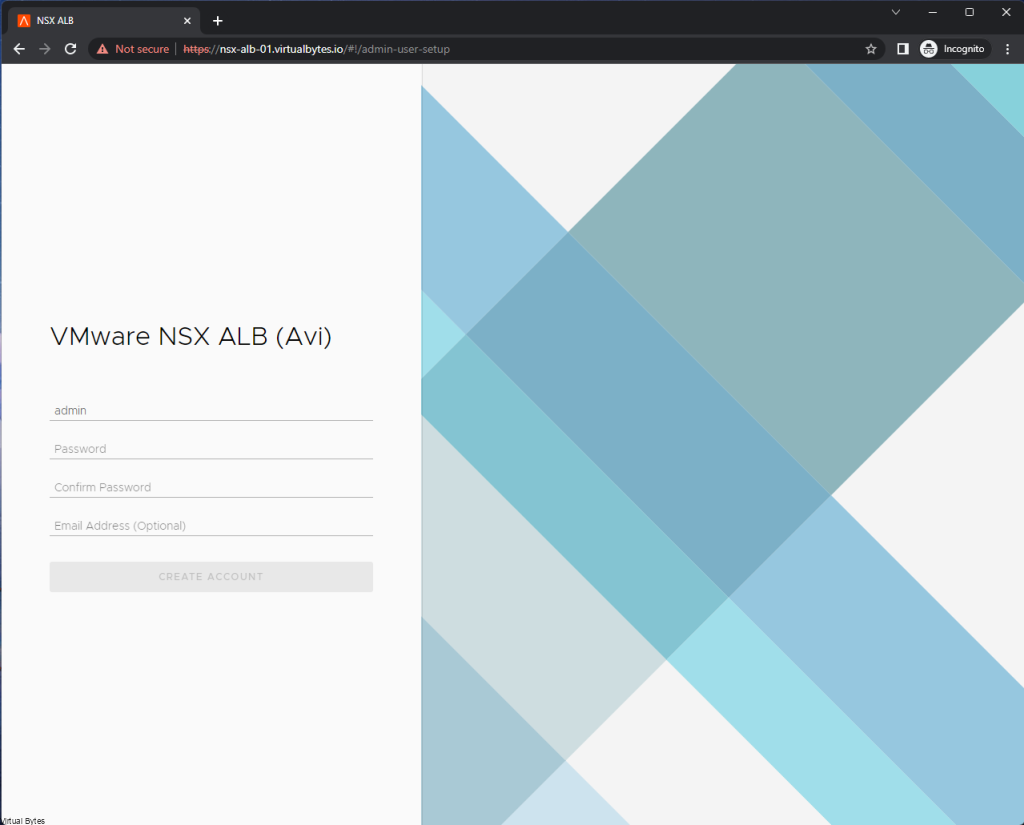
Create your passphrase, and your DNS resolvers, and DNS Search Domains.
Skip SMTP if not needed, but if you need a mail server please fill out your required SMTP IP and Port

- Service Engines are managed within the tenant context, not shared across tenants to enable the Tenant Context Mode.
- Service Engines are managed within the provider context, shared across tenants to enable the Provider Context Mode.
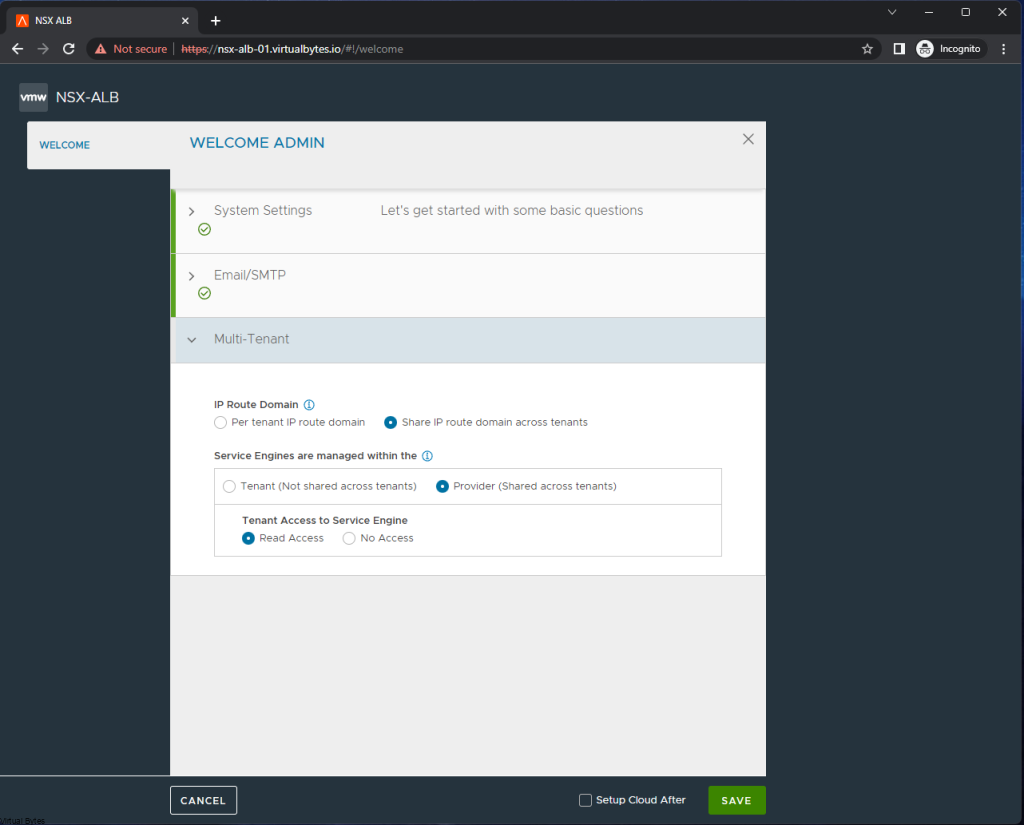
That is it for the initial deployment, next we will add our other 2 additional NSX ALB nodes for HA setup.
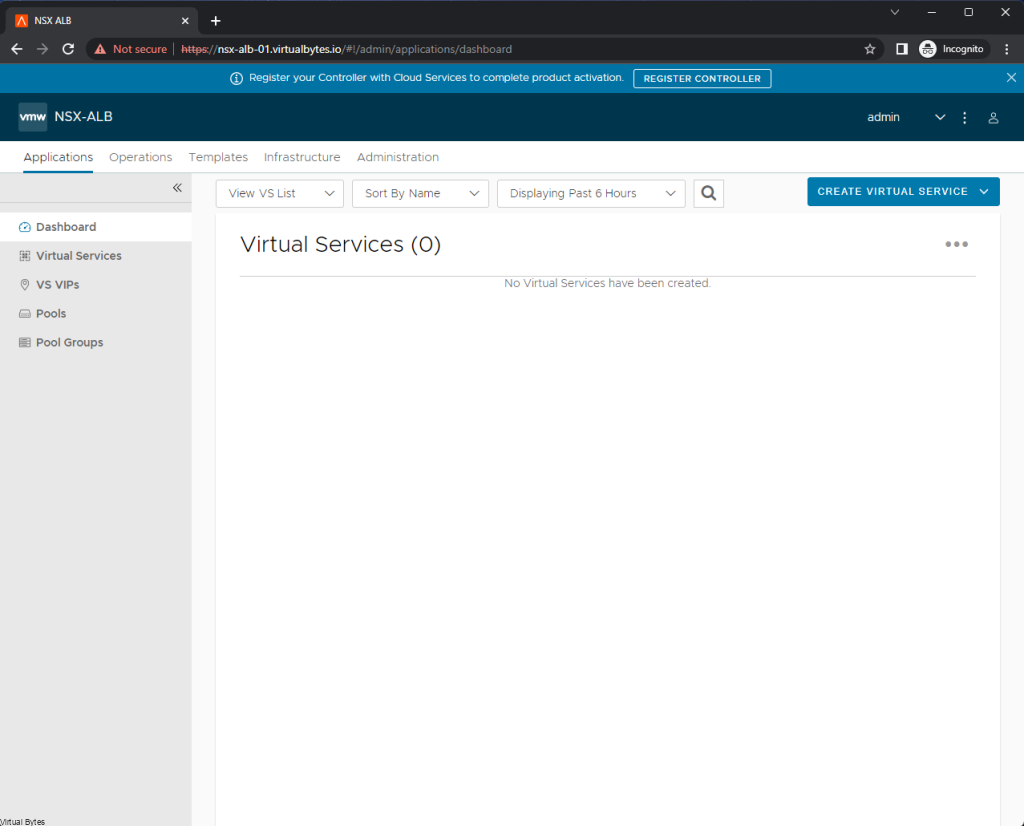
Go to Administration -> Controller -> Nodes
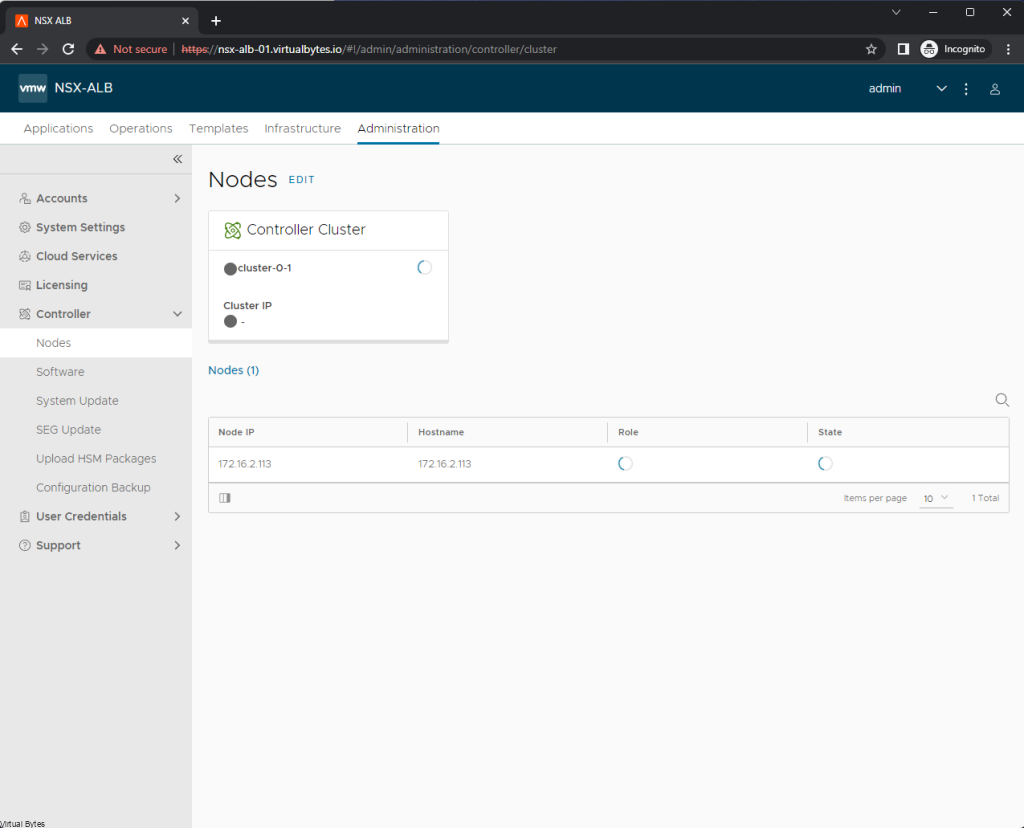
Click Edit ->
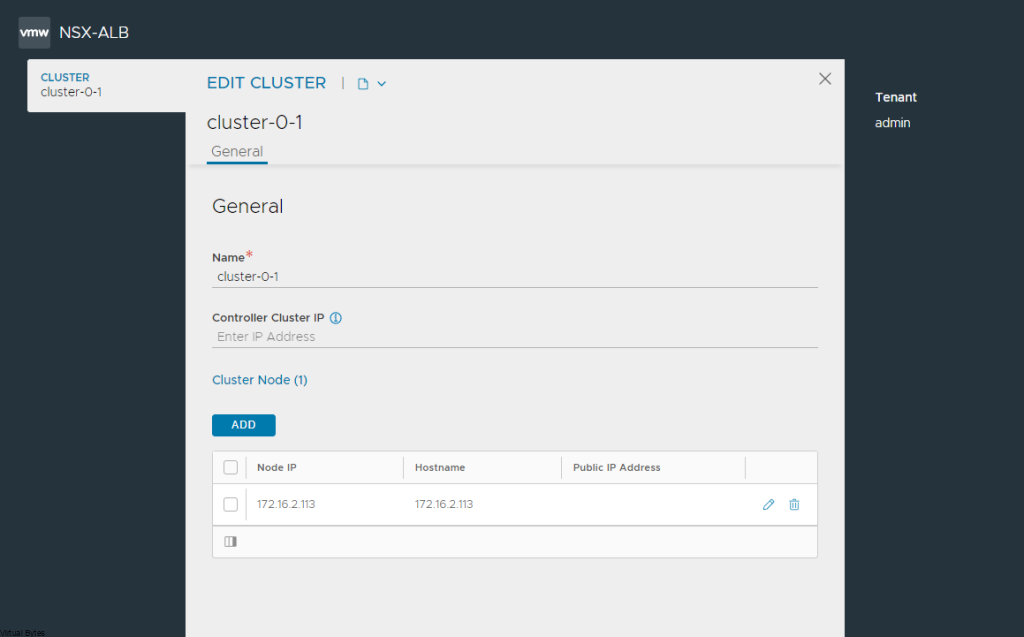
For your 2 additional NSX ALB nodes you will need to provide an IP Address and hostname and password.

Sample of what it should look like for all 3 ALB appliances

A simple topology of what we have deployed.

That is it! from now on you can configure for what use case you will NSX-ALB for. A next blog post will go through how to step up a NSX-T Cloud.
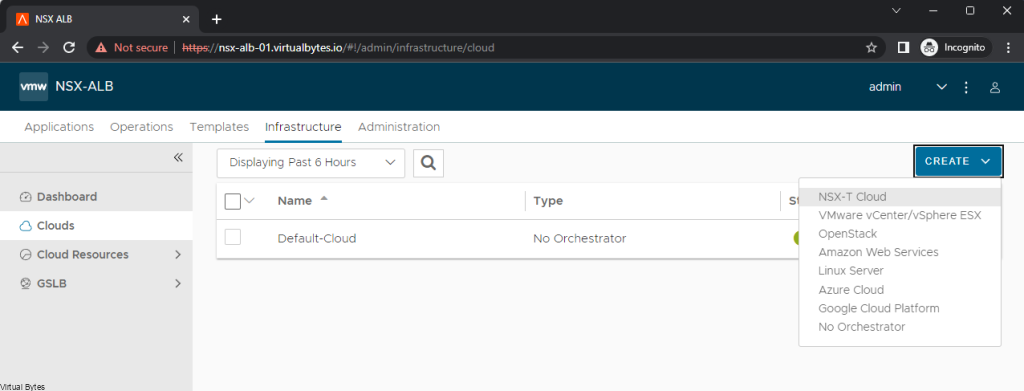
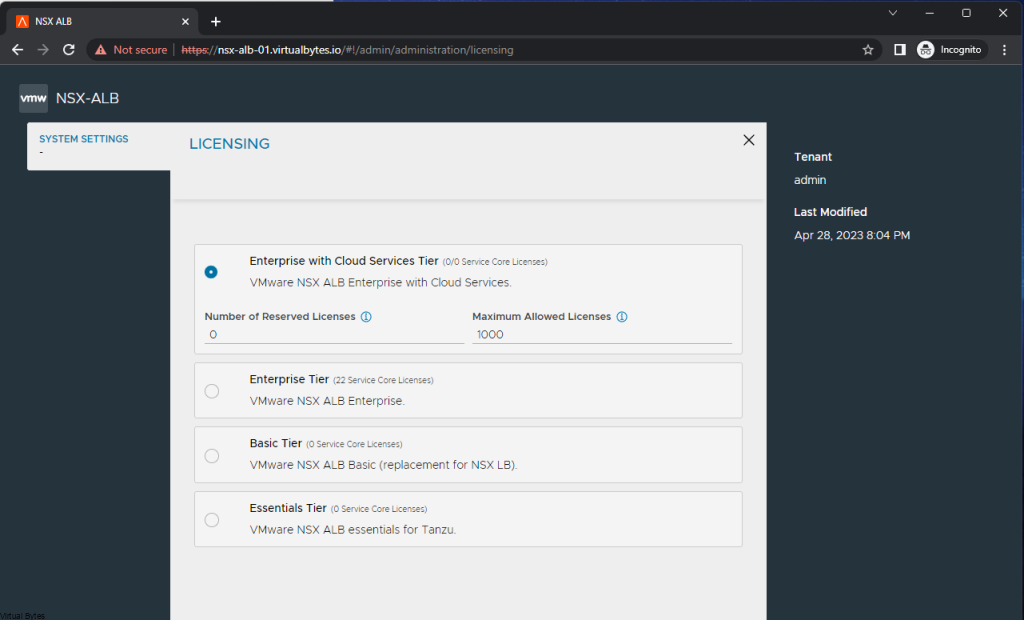
Licensing Flavors – If you click on the little cog icon next to the Licensing. You will see different tiers.
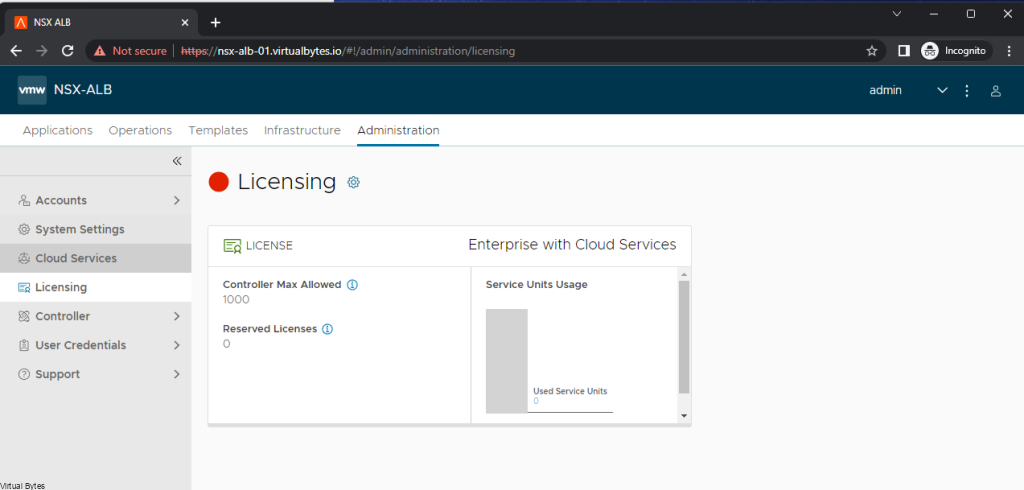
Different License Tiers that are apart of NSX-ALB Licensing model.
