The VMware SDDC Manager async patch tool allows you to upgrade individual products outside of the standard VMware Cloud Foundation (VCF) baseline. This tool can be used to upgrade products such as vCenter, NSX, and ESXi to newer versions without affecting the overall VCF deployment.
To use the async patch tool, you will need to download the patch or upgrade package for the specific product you want to update. You can then upload the package to the SDDC Manager and initiate the upgrade process. The async patch tool will automatically handle the upgrade process for the individual product, ensuring that it is seamlessly integrated into your VCF environment.
Overall, the async patch tool provides a convenient way to keep your VMware products up to date without disrupting your VCF deployment.
VMware Docs for Async Patch Tool
Async Patch Tool Walkthrough
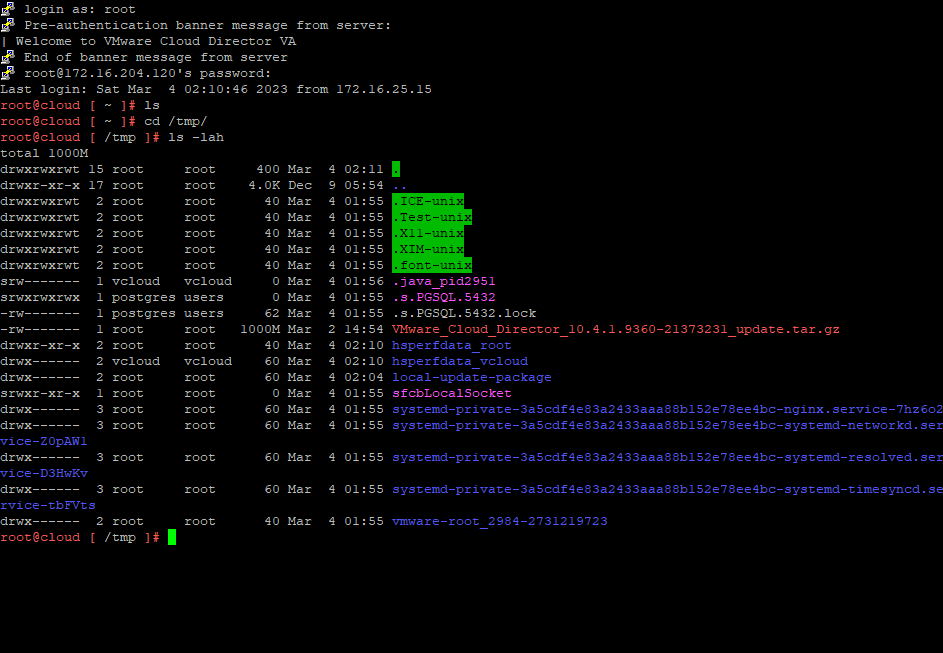
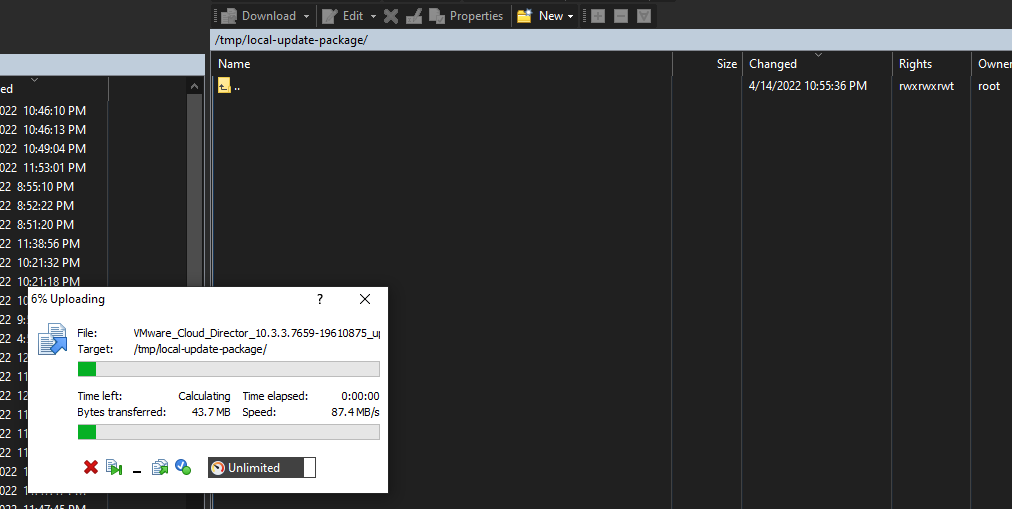
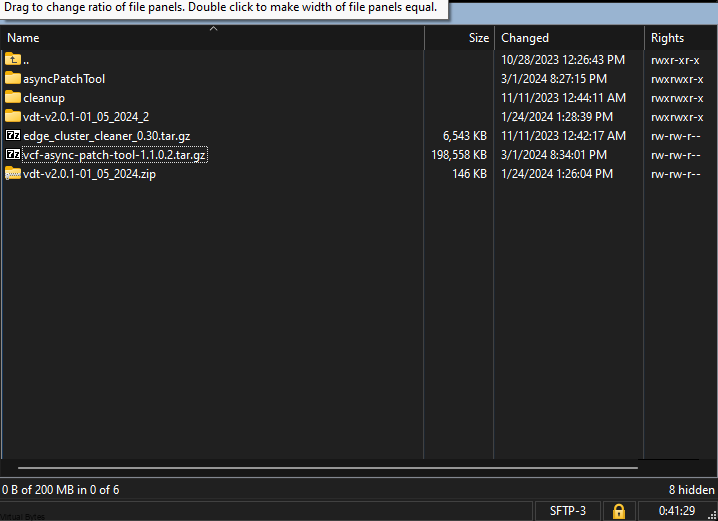
Lets begin! – Open WinSCP or/ SCP upload the vcf-async-patch-tool-1.1.0.2.tar.gz,
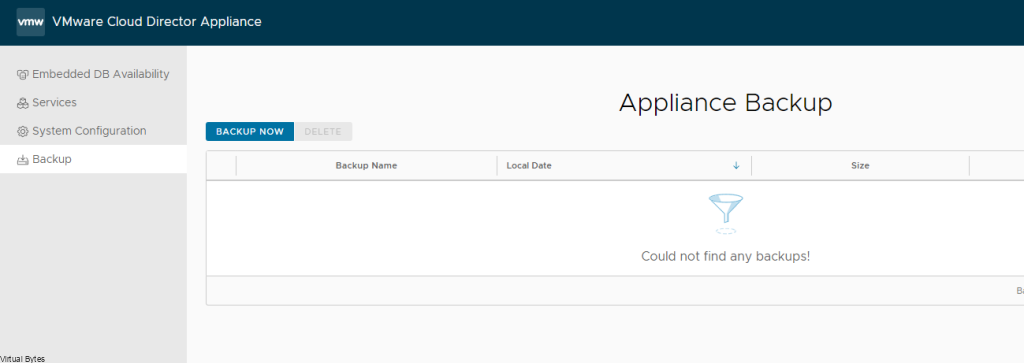
Then, take a snapshot of your vCenter and as well SDDC Manager for safety!
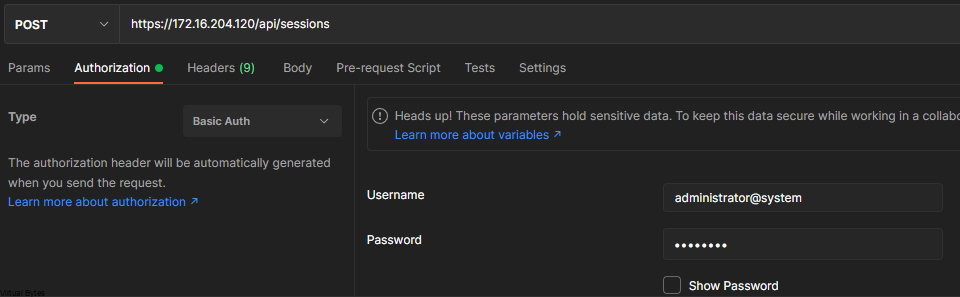
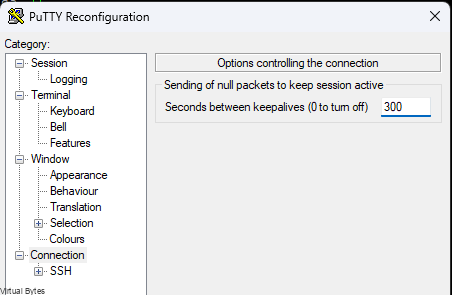
Once snapshots are done and verified then, SSH into your SDDC Manager with vcf user, but ensure to enable the SSH Time out. ( Example Below)
- 300 Second is five minutes
- Putty -> Change Settings -> Connection -> Seconds between keepalives (0 to turn off) > set to 300 > Apply
Then we will need to make the directory for async patch tool
mkdir /home/vcf/asyncPatchToolCopy the vcf-async-patch-tool-1.1.0.2.tar.gz, (or latest version) into /home/vcf/asyncPatchTool
tar -xvf vcf-async-patch-tool-1.1.0.2.tar.gz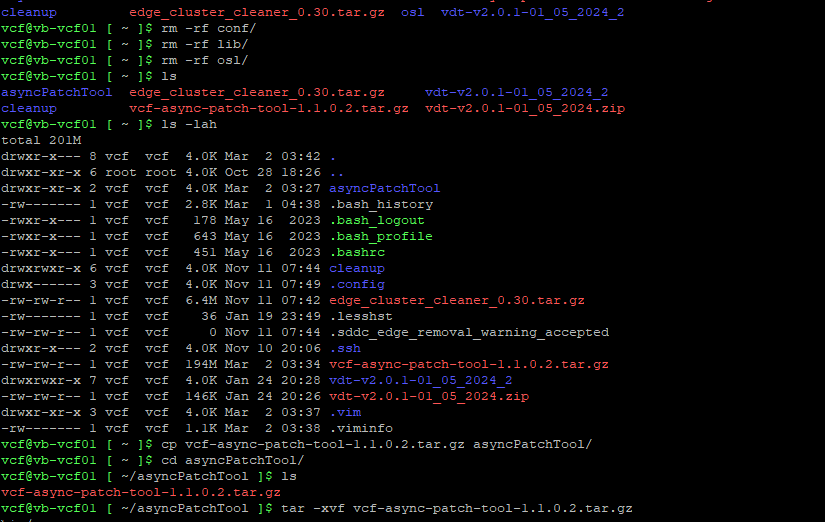
Set the permissions for the asyncPatchTool directory
cd /home/vcf/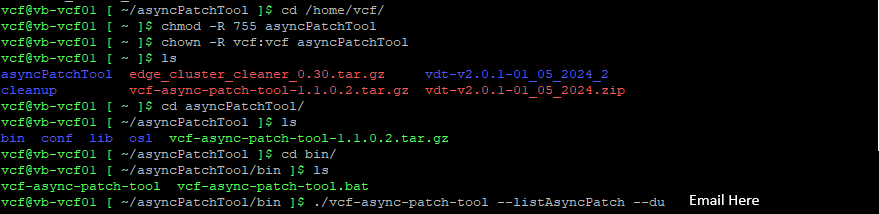
chmod -R 755 asyncPatchToolchown -R vcf:vcf asyncPatchTool
Next, you will execute the command below to enable async to pull patches.
./vcf-async-patch-tool --listAsyncPatch --du < Your E-Mail for Customer Connect >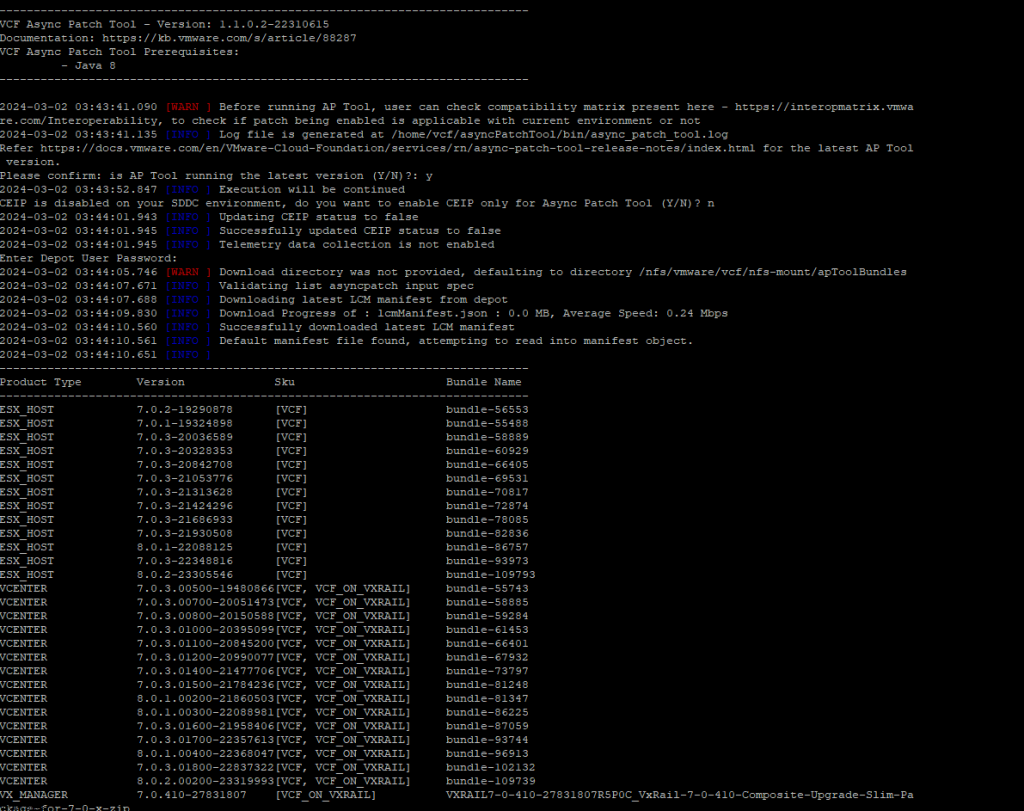
Next the Patch Tool will ask you if your running the latest version ( Y ) or ( N ) and CEIP as well.


- Enter Y to confirm that you are running the latest version of the Async Patch Tool.
- Read the information and enter Y to acknowledge the pre-requisites.
- Enter Y or N to choose whether or not to participate in the VMware Customer Experience Improvement Program (CEIP).
- Enter the password for the super user (vcf) account.
- Enter the password for the root user account.
- Enter the password for the management domain SSO user account.
- Enter your VMware Customer Connect (Depot) password.
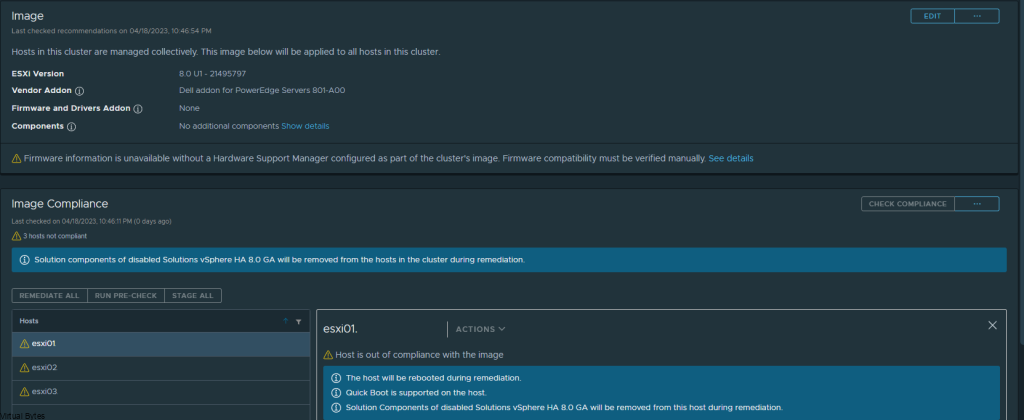
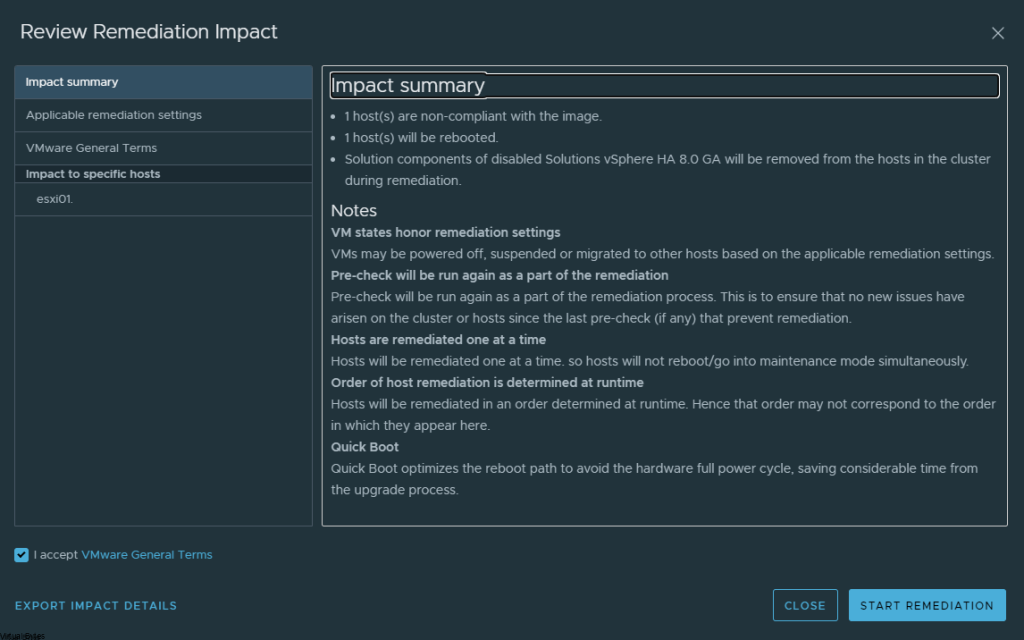
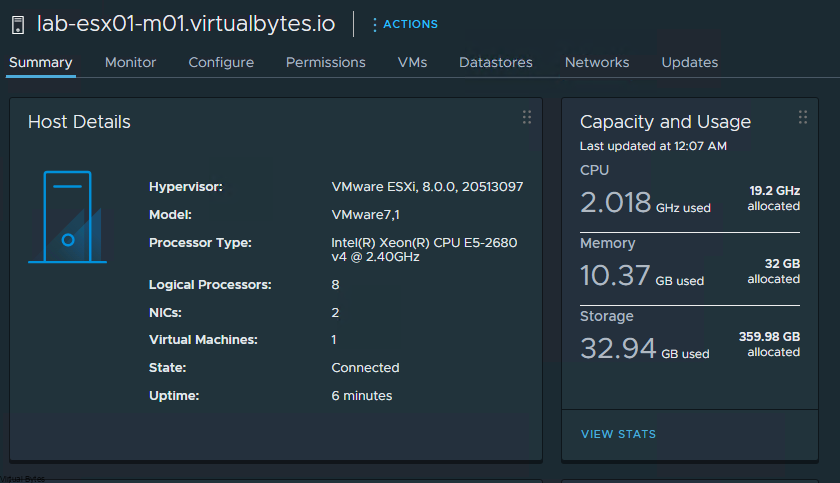
So, for my patch I select the latest vCenter Server 8U2b and I repeated the same setups for gaining my ESXi Patch as well.
./vcf-async-patch-tool -e --patch VCENTER:8.0.2.00200-23319993 --du <E Mail Customer Connect> --sddcSSOUser <SSOuser> --sddcSSHUser vcf --it ONLINE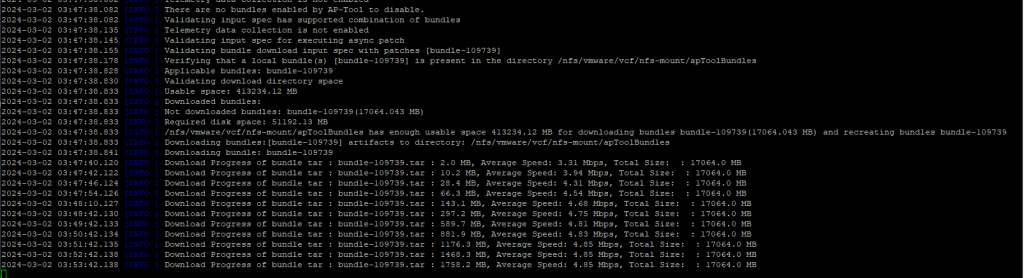
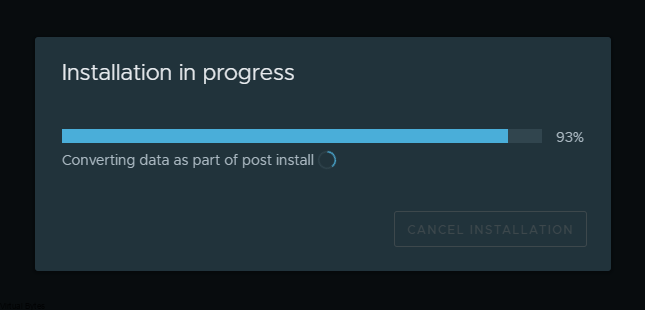
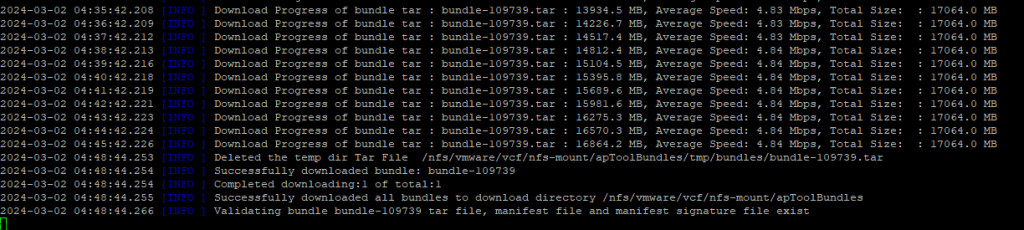
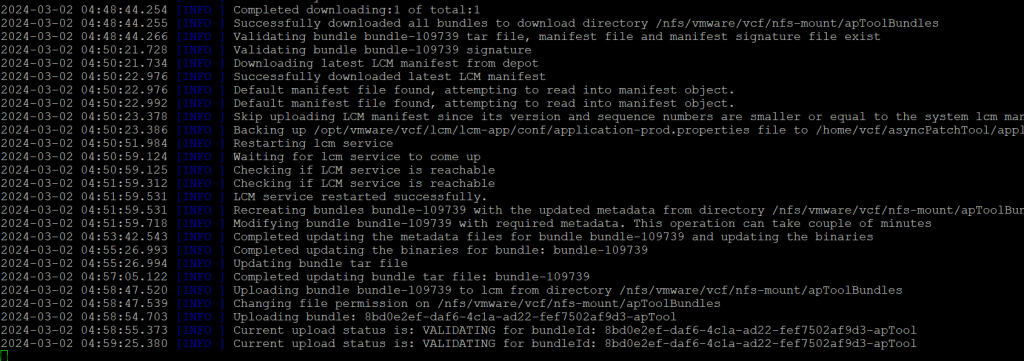
Status of Async Progress shown in these snips
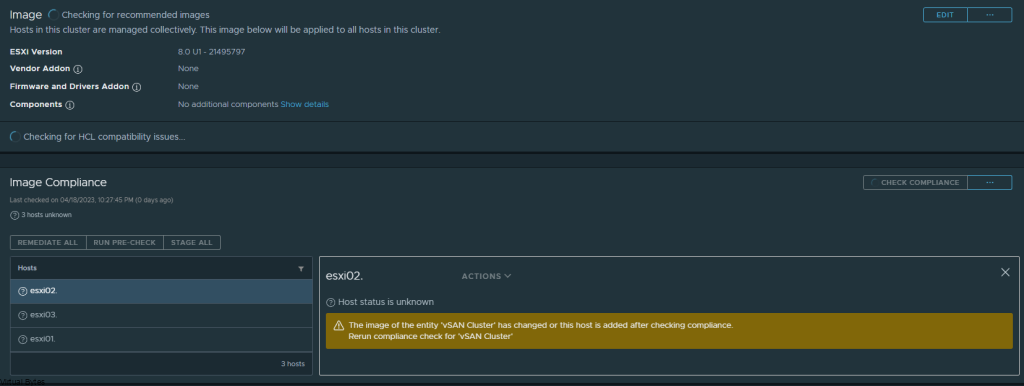
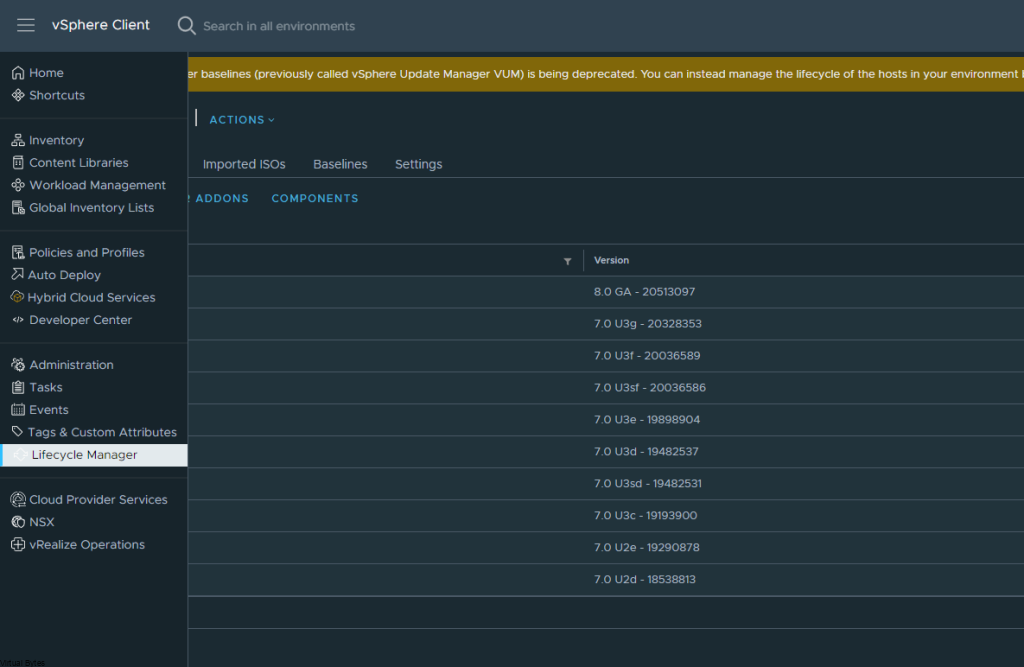
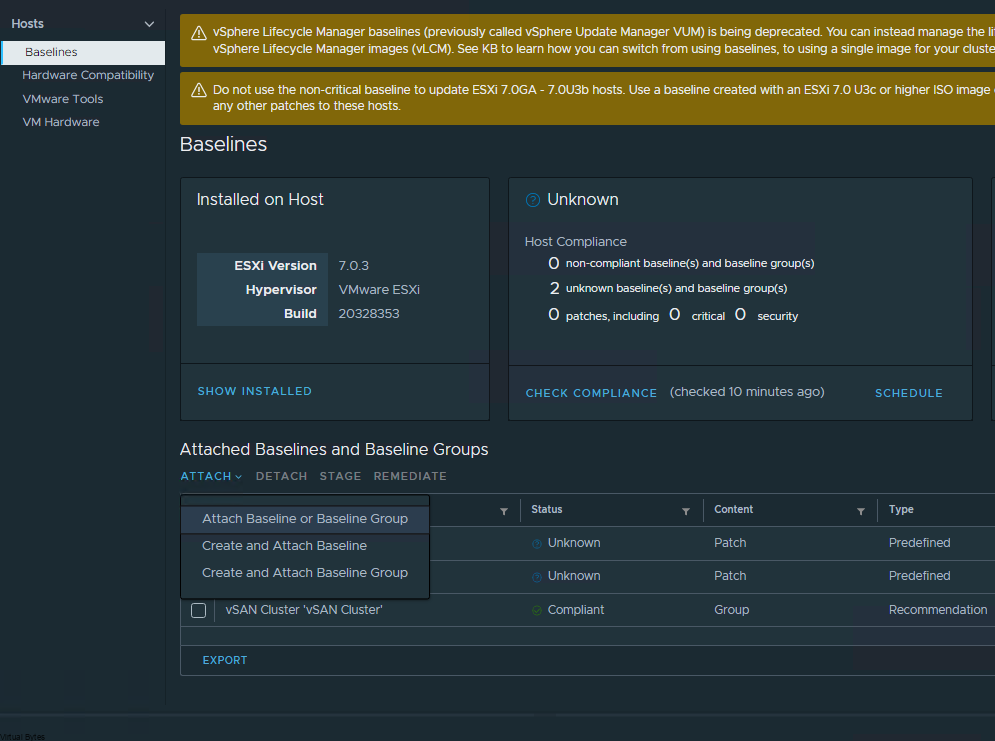
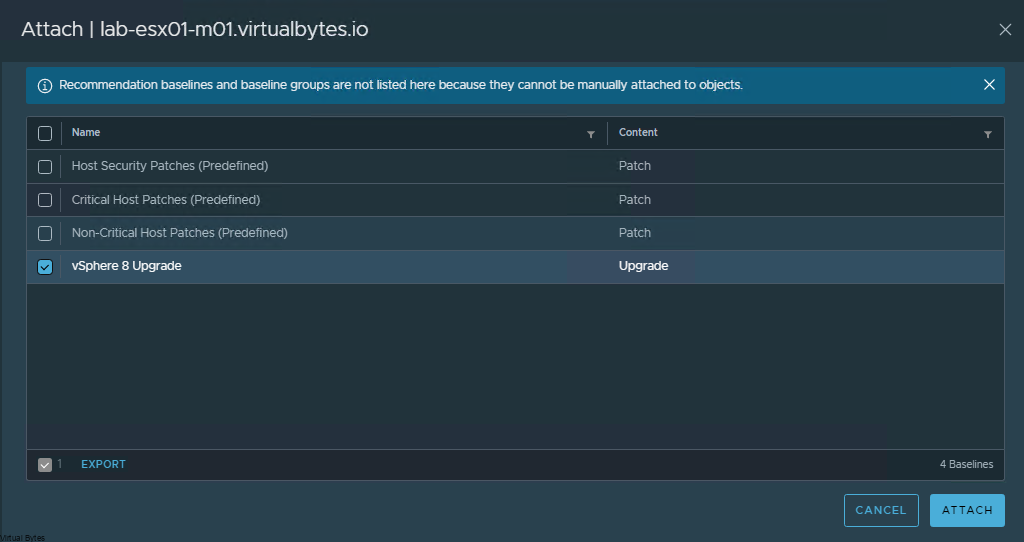
Now you will see Bundles showing up within Bundle Management!

Snippet Below Shows Running Async patch tool

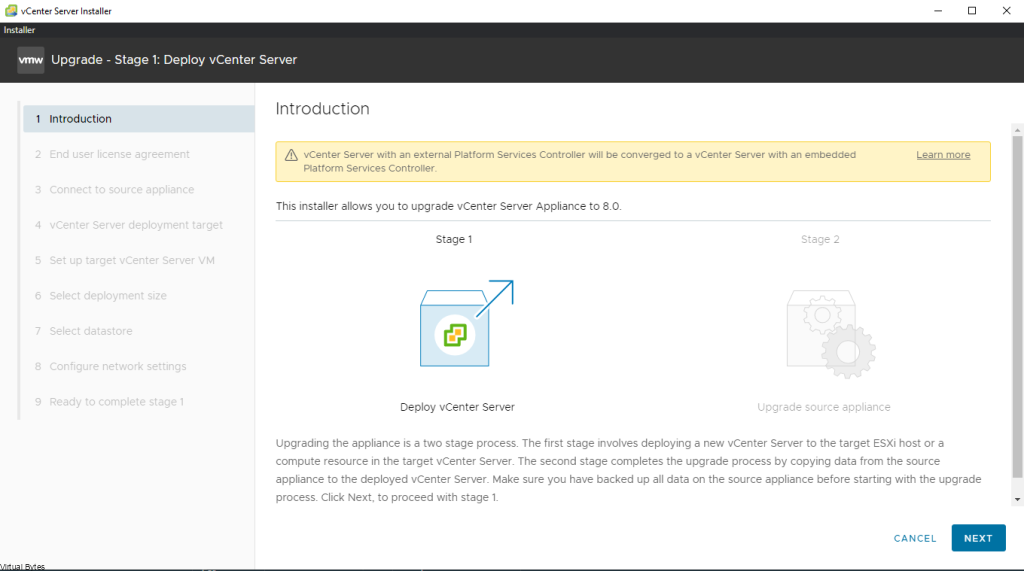
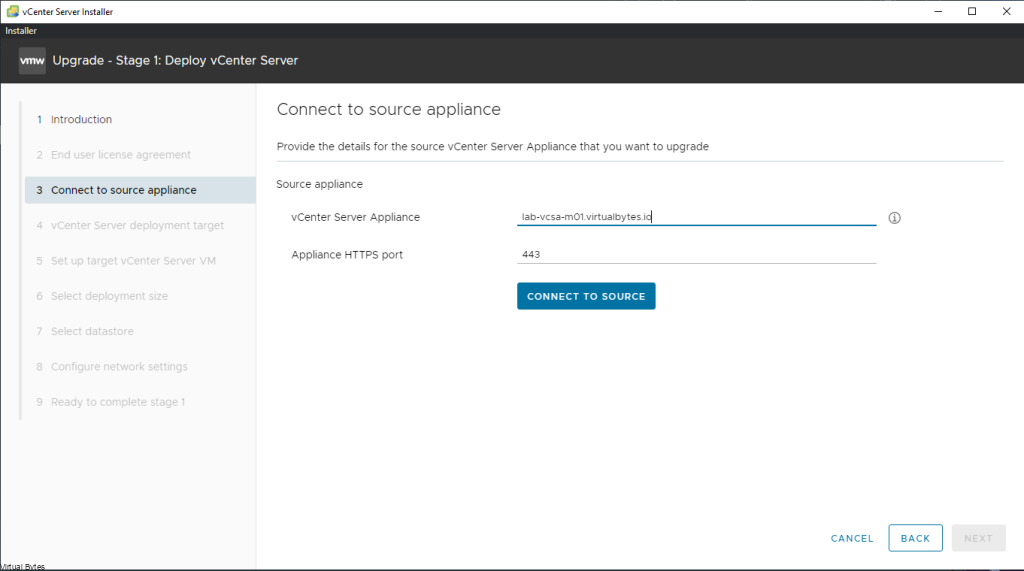
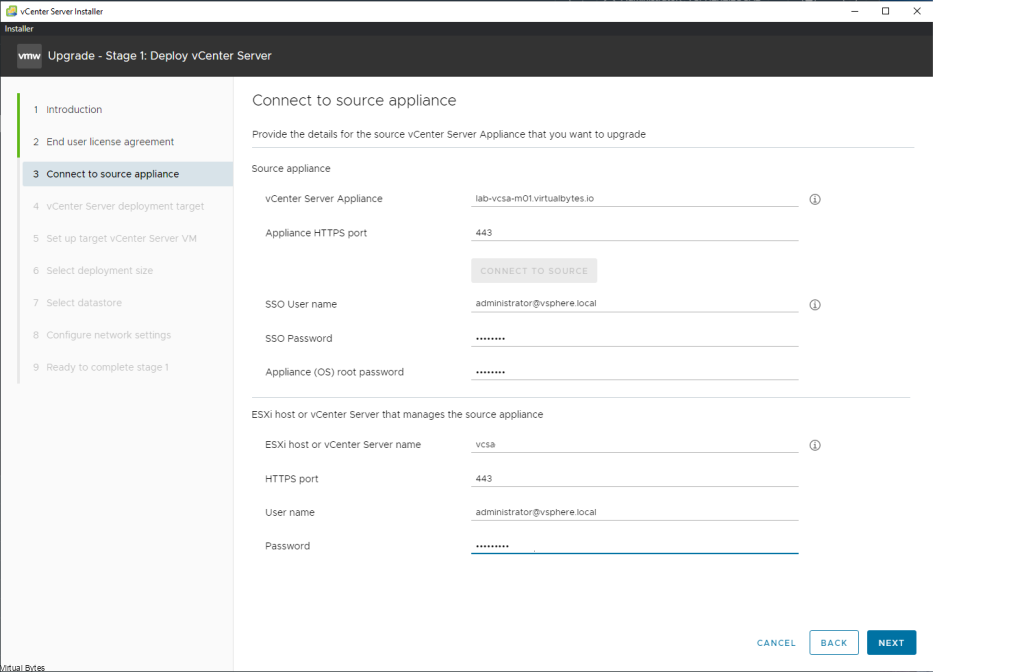
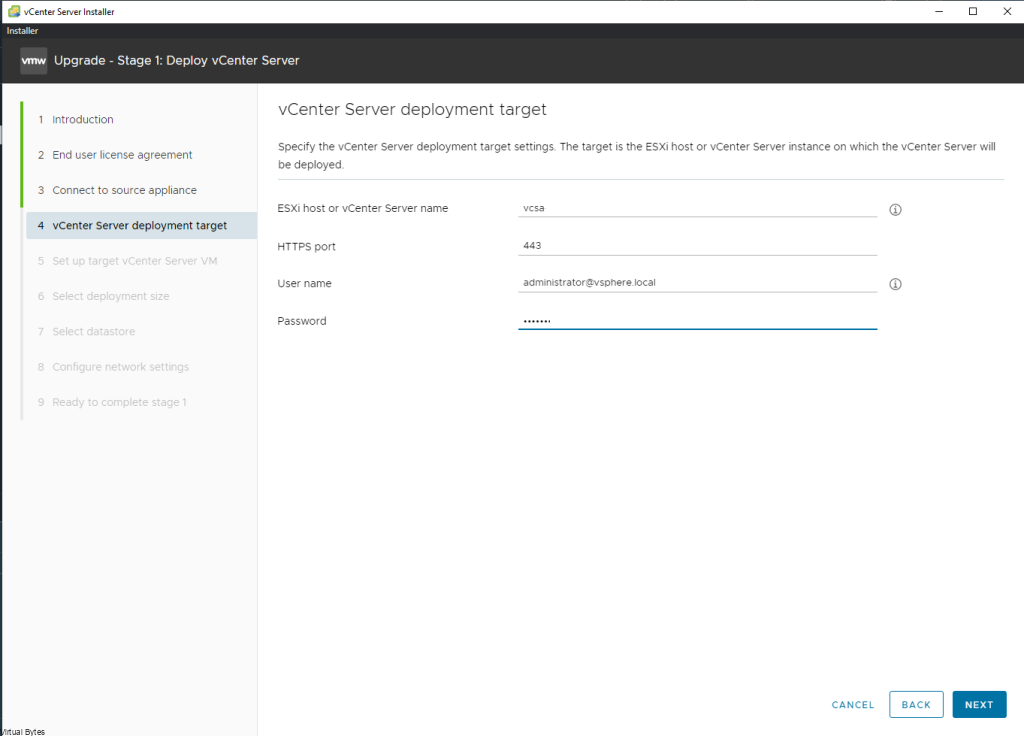
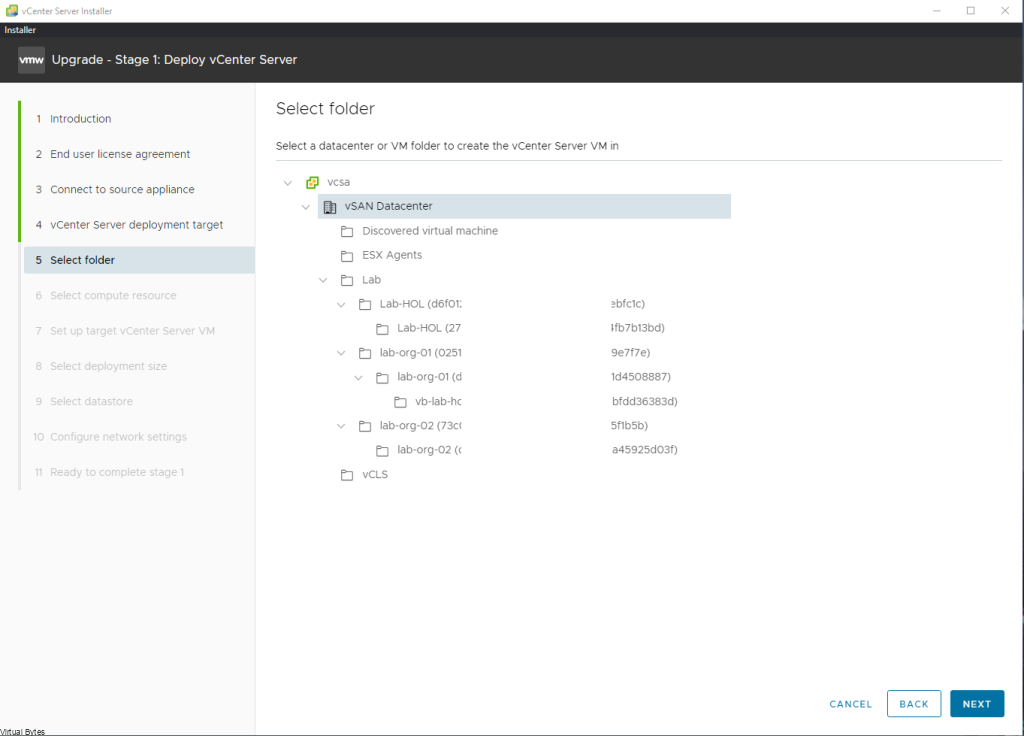
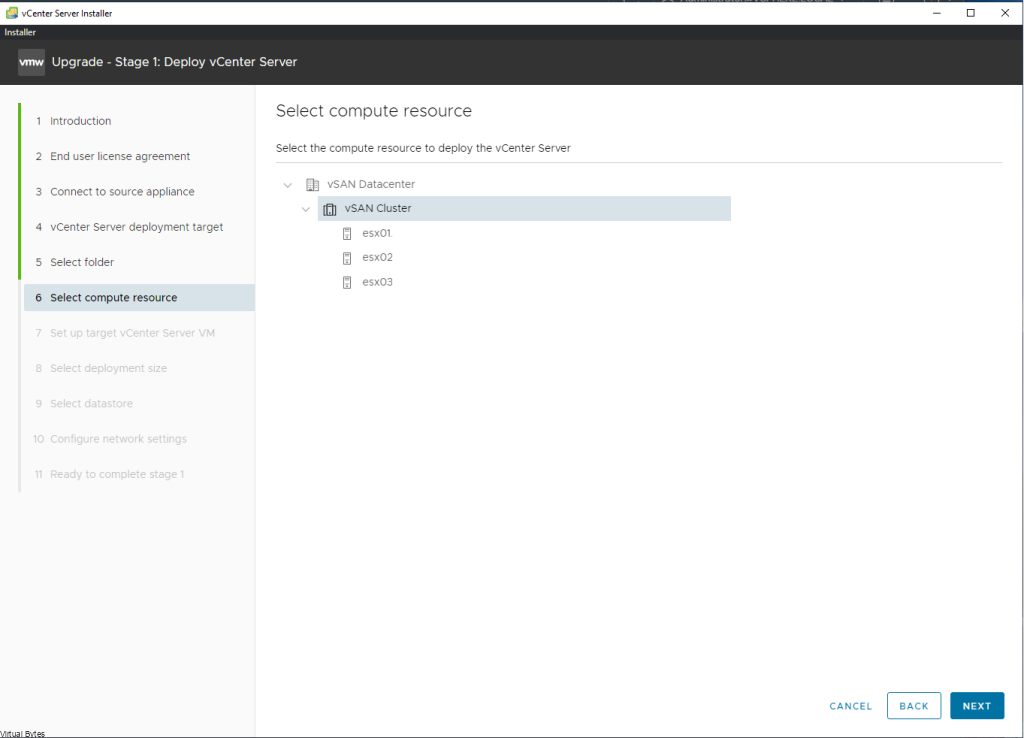
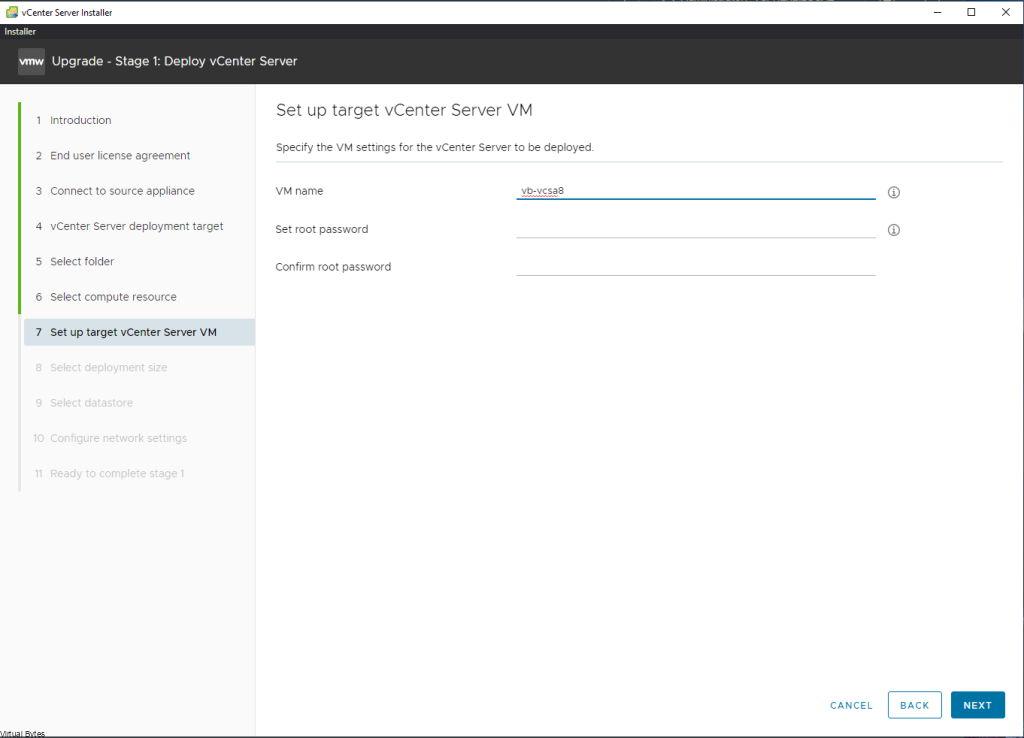
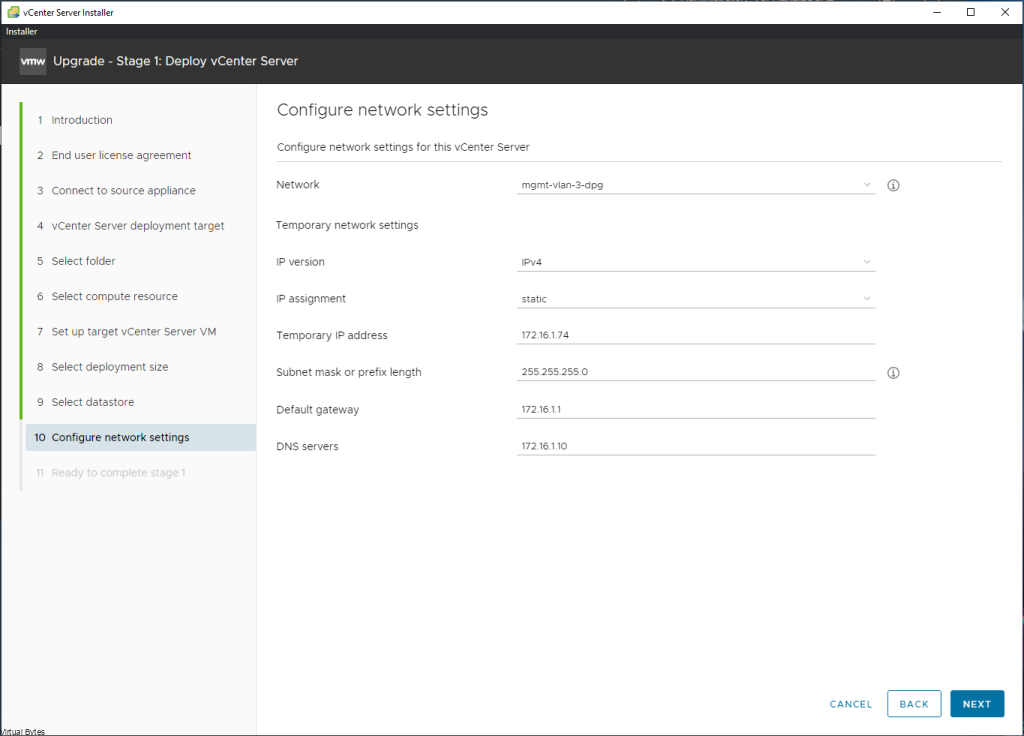
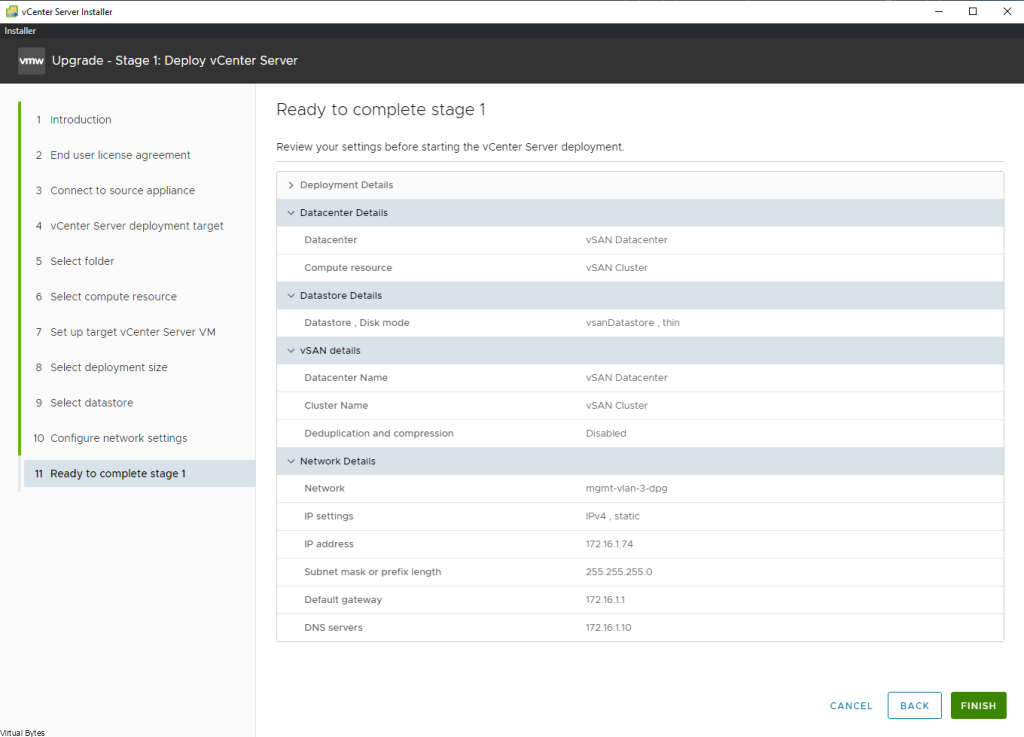
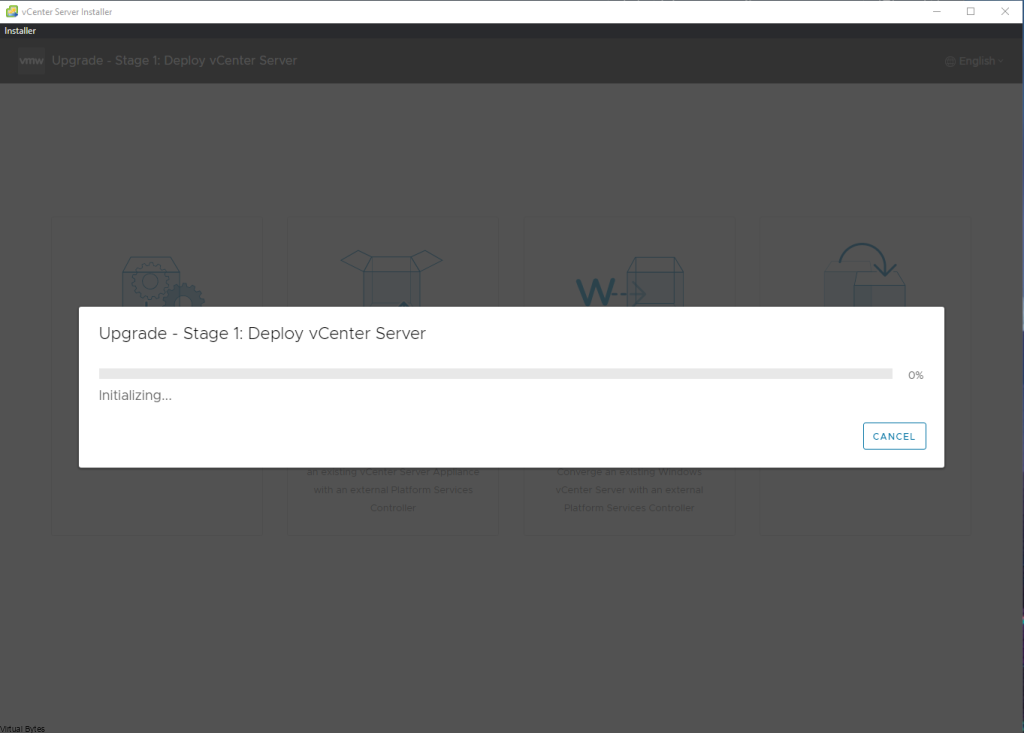
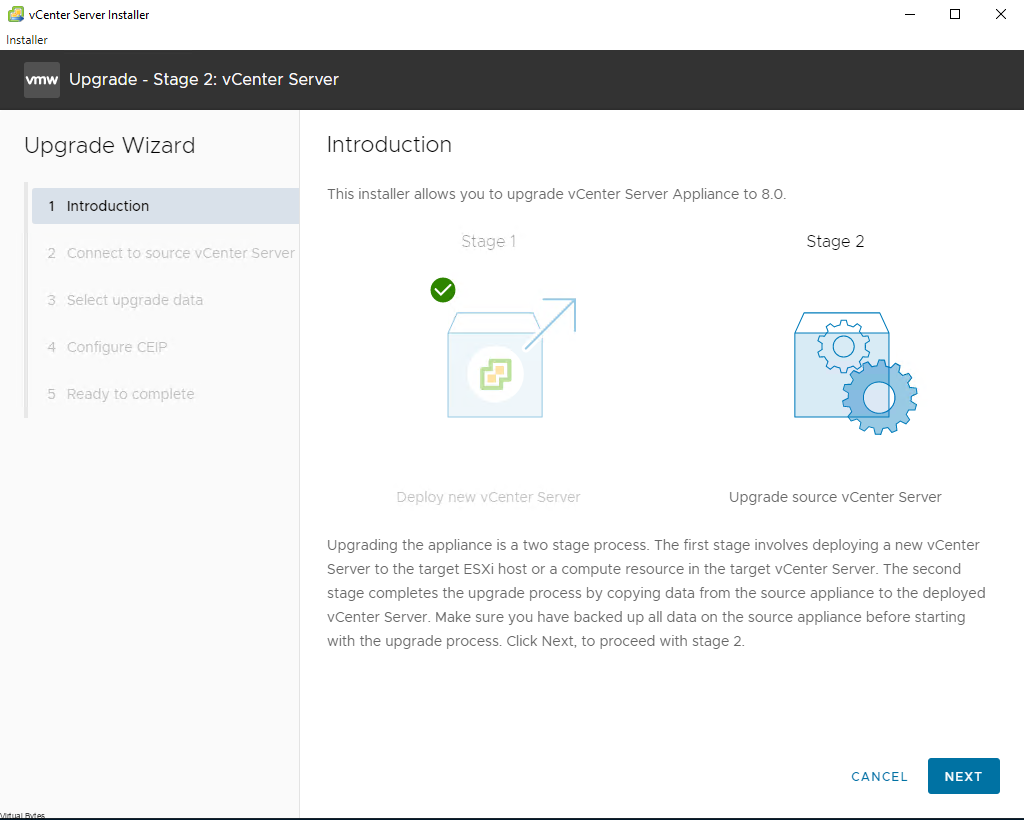
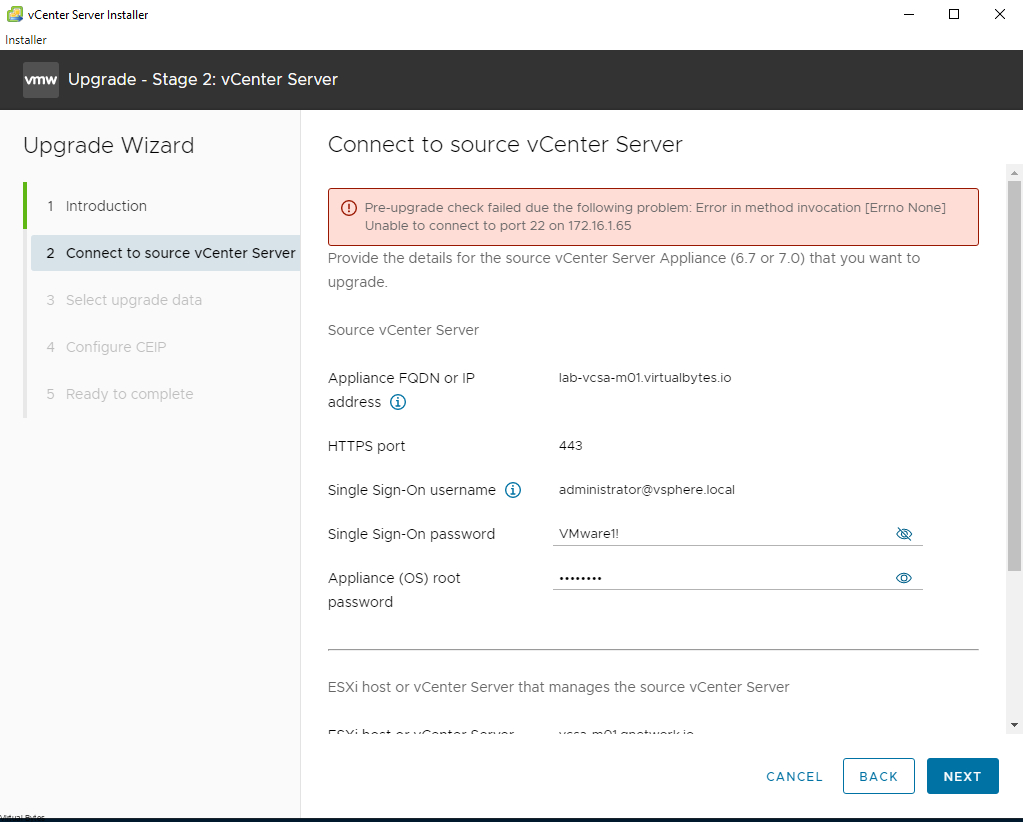
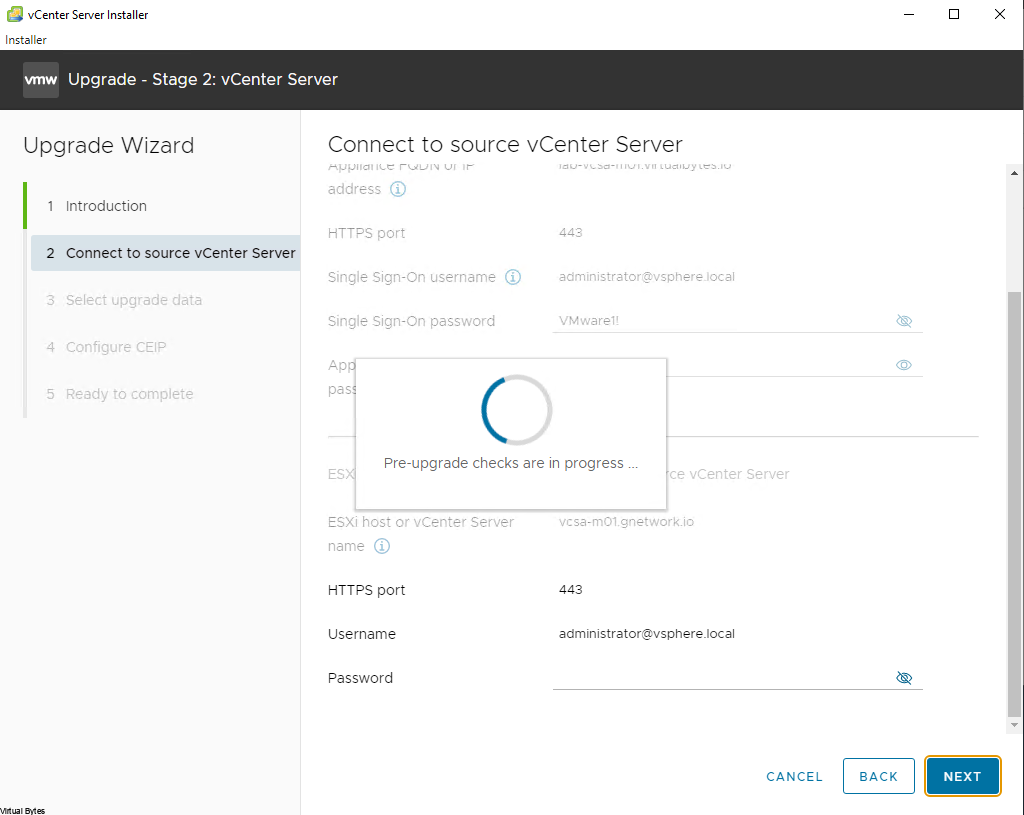
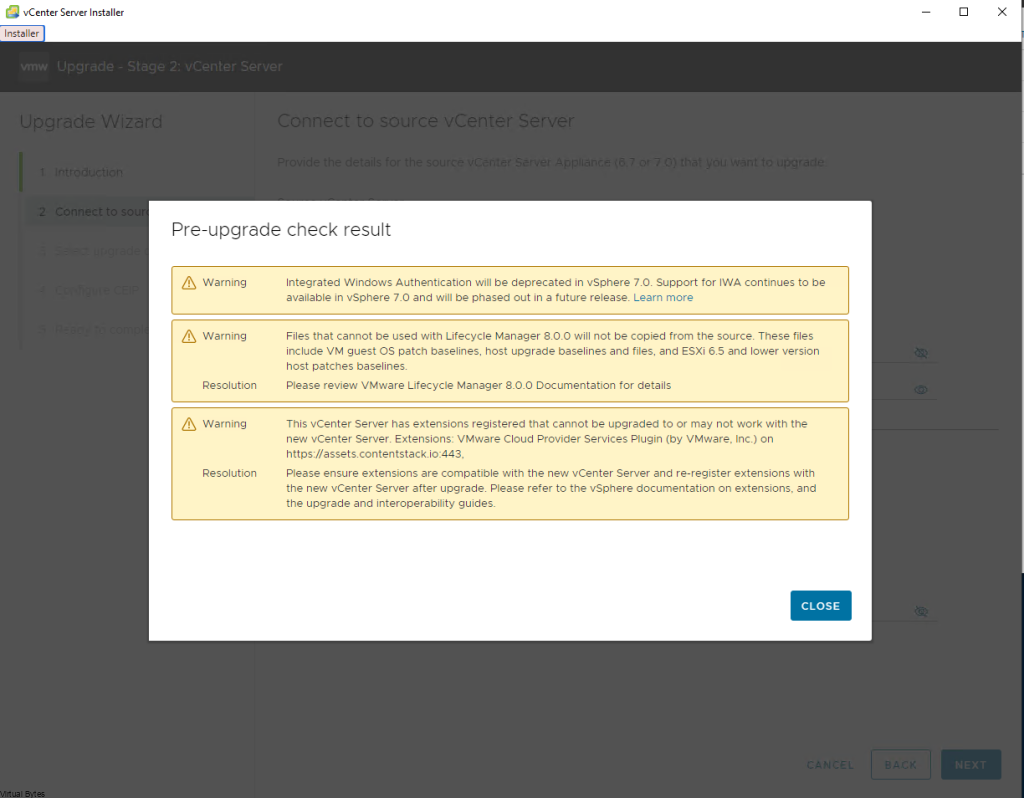
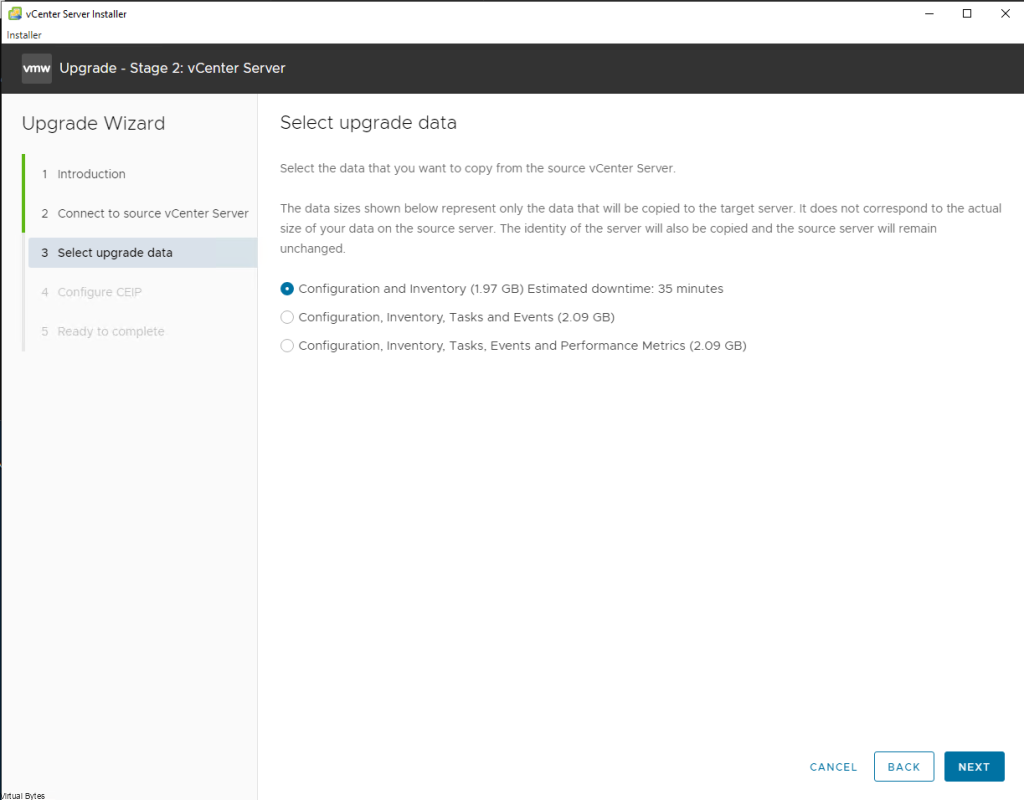
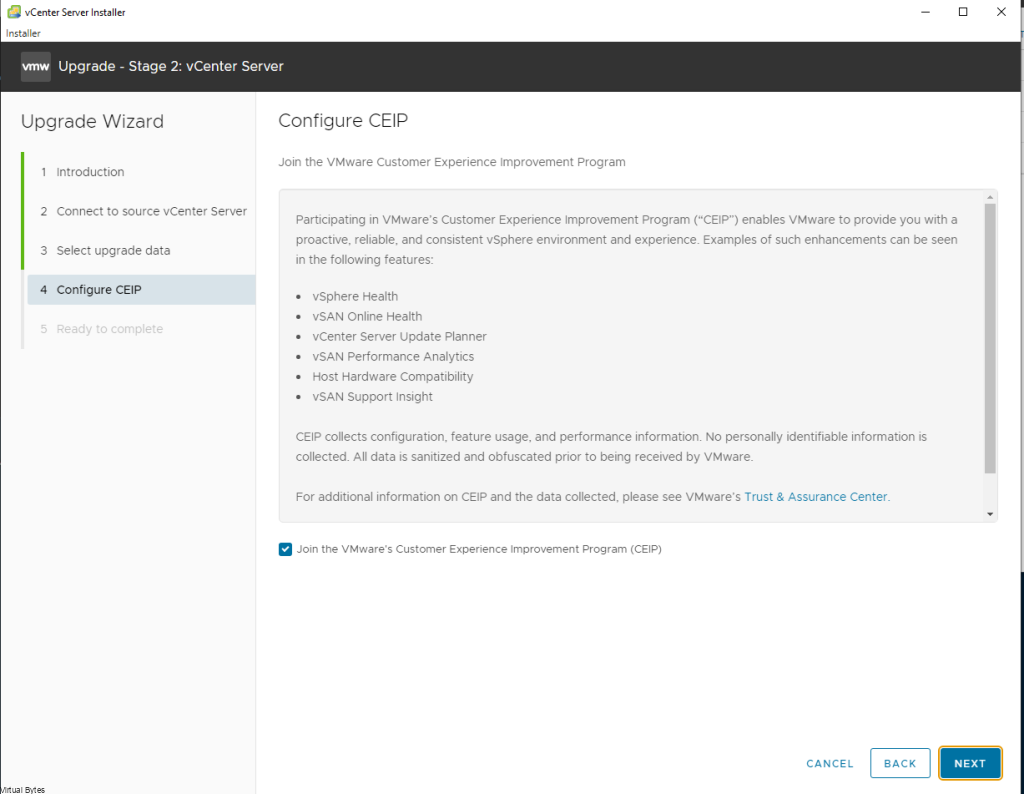
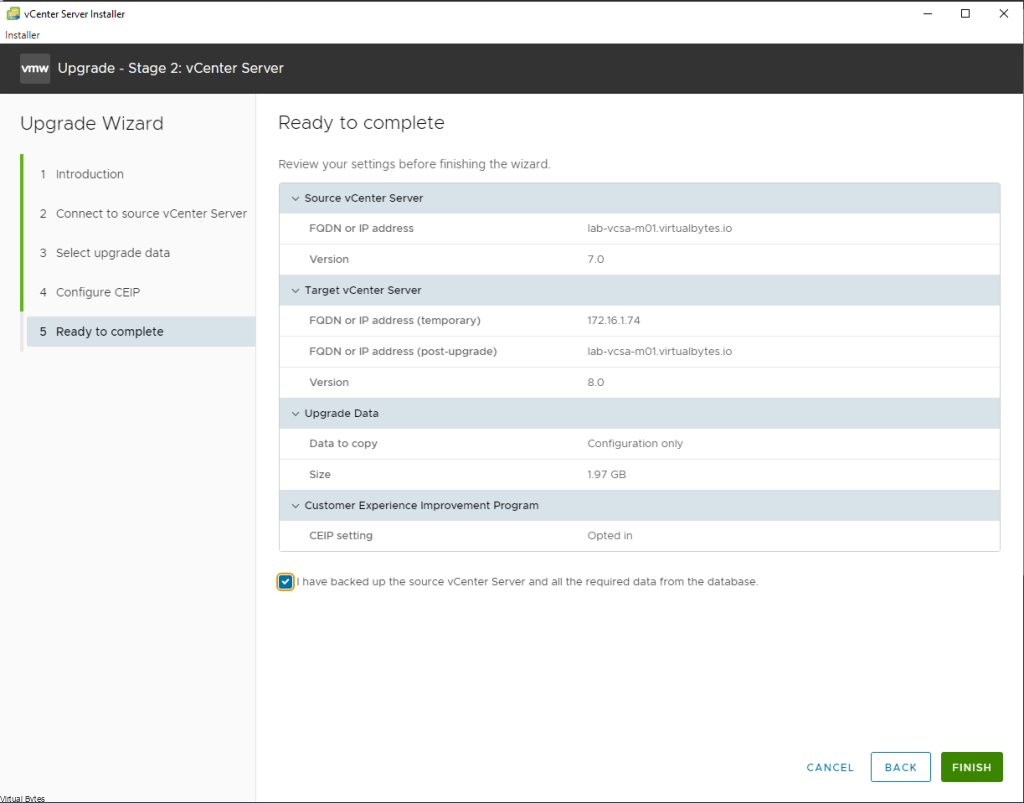
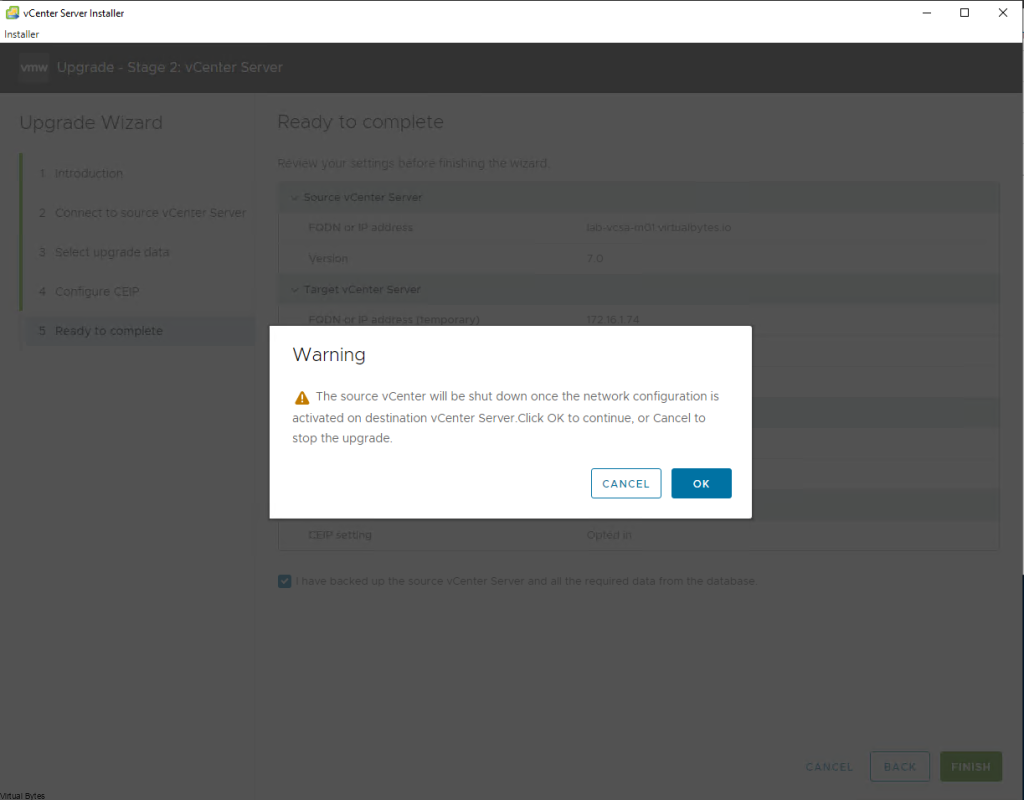
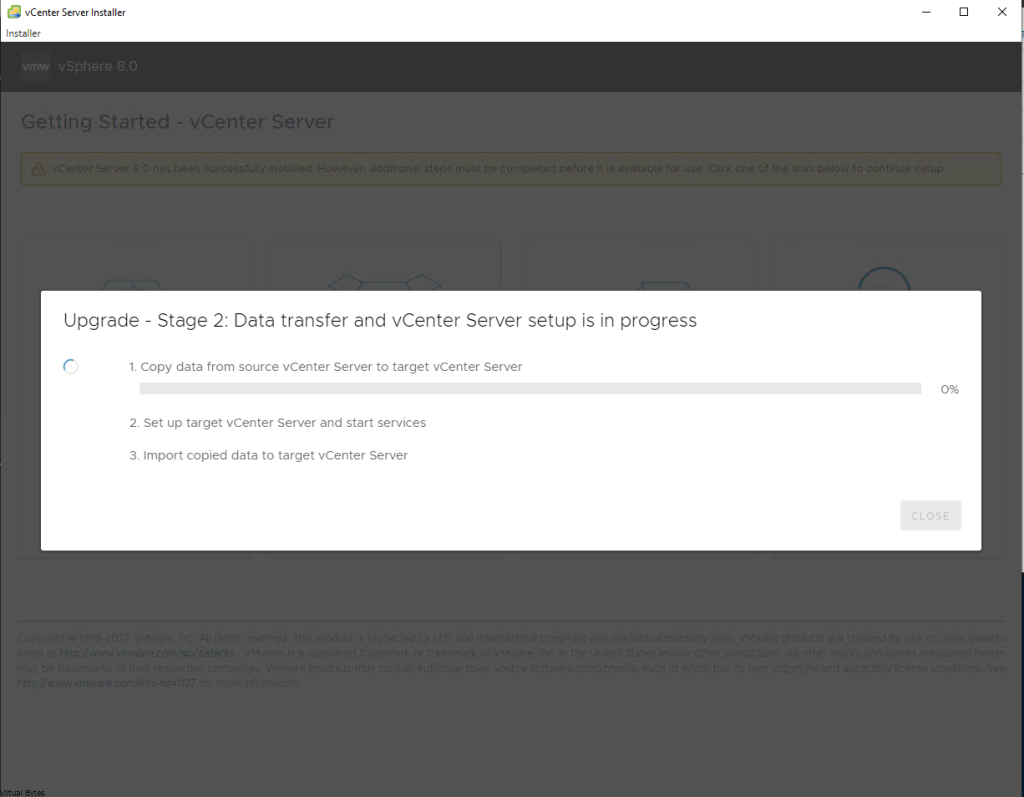
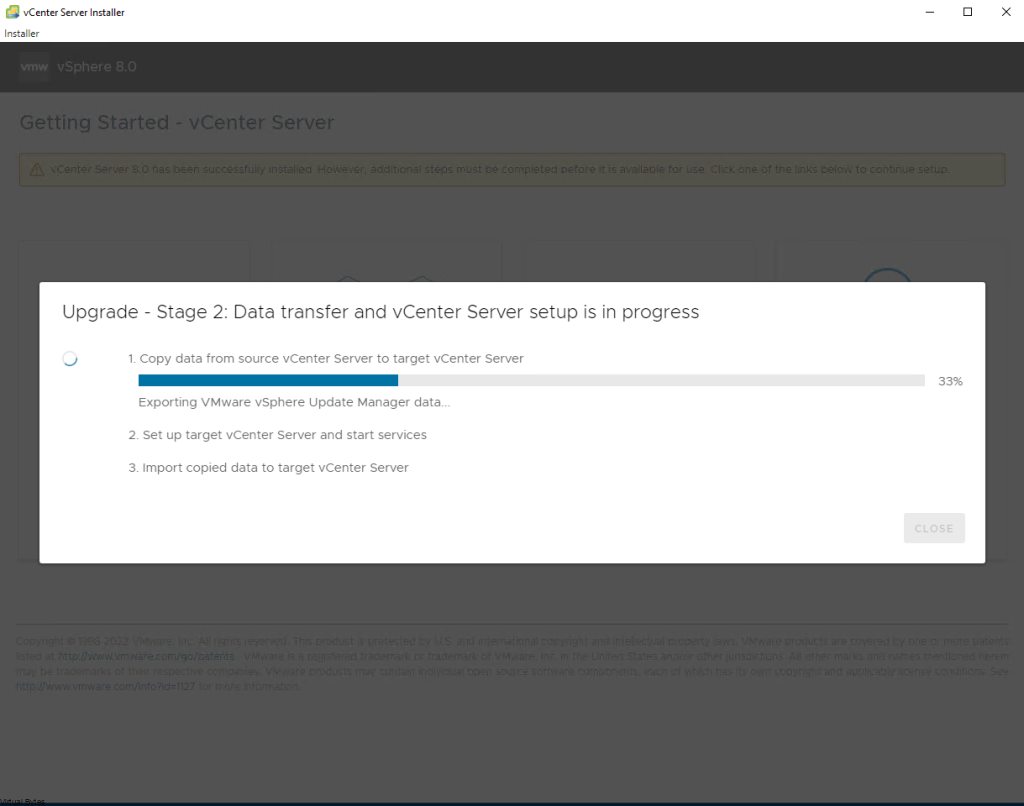
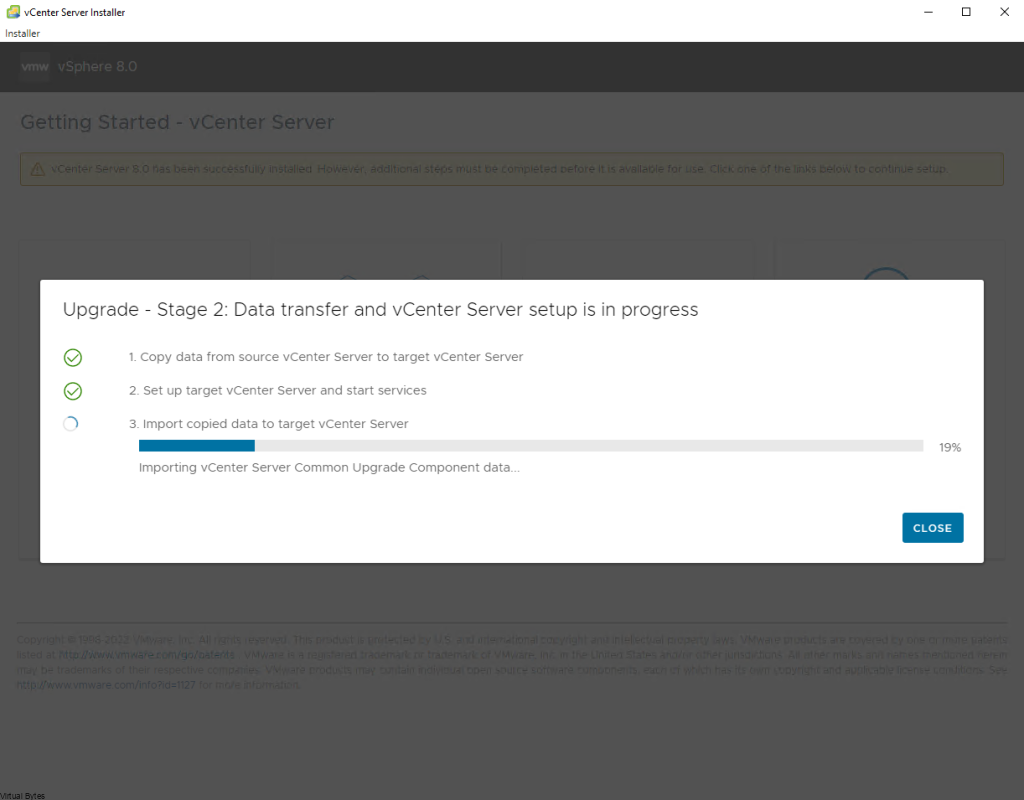
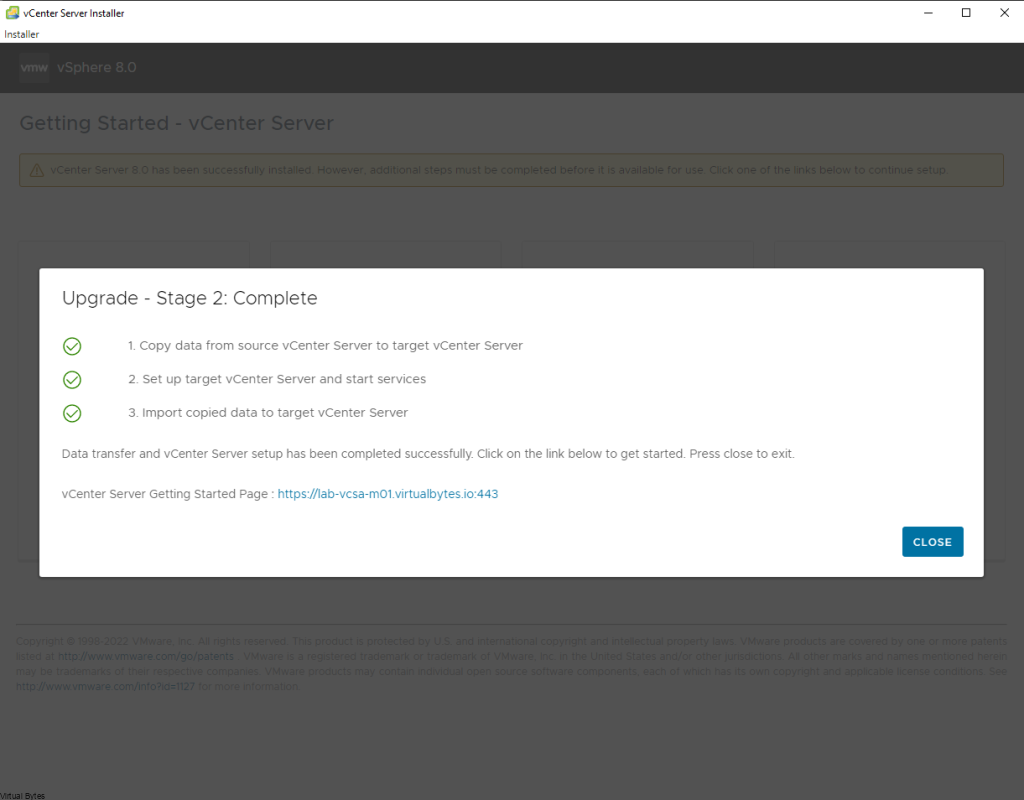
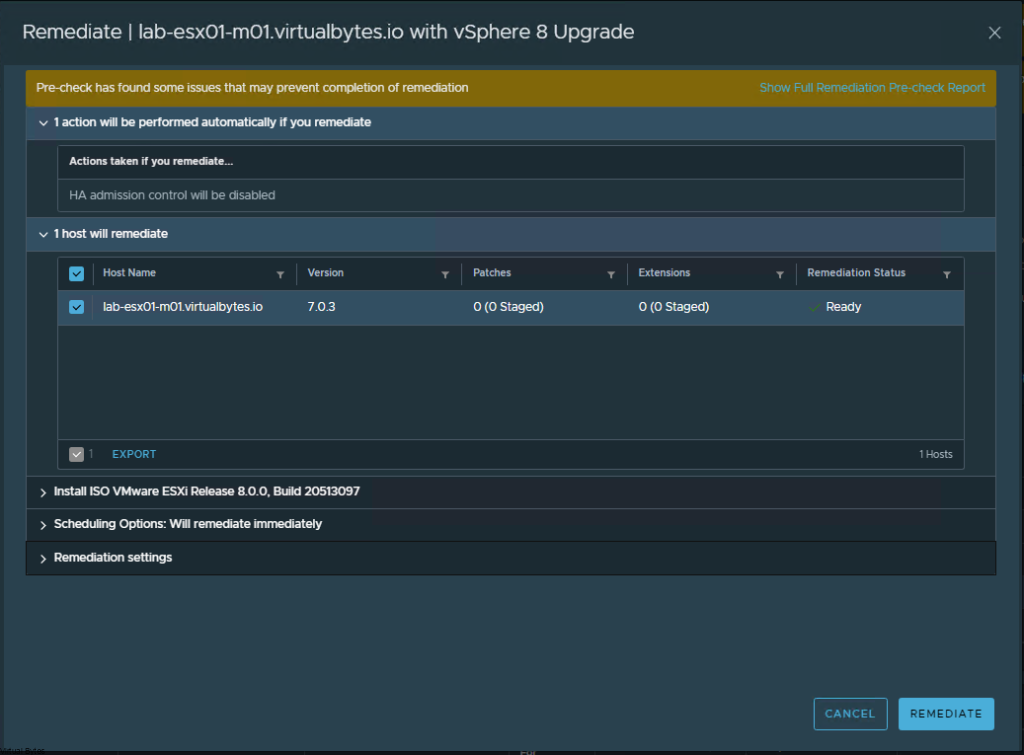
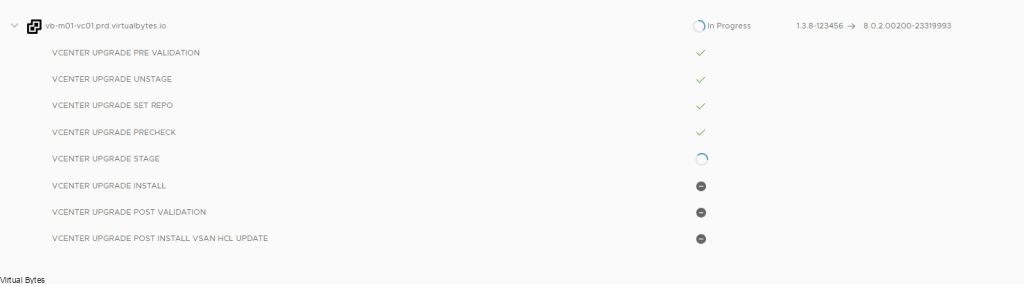
After the bundles have been uploaded, we may go back to SDDC UI and go to the specific workload domain, for my environment it is the Management Workload domain. Upgrade progress snippet below of vCenter Server
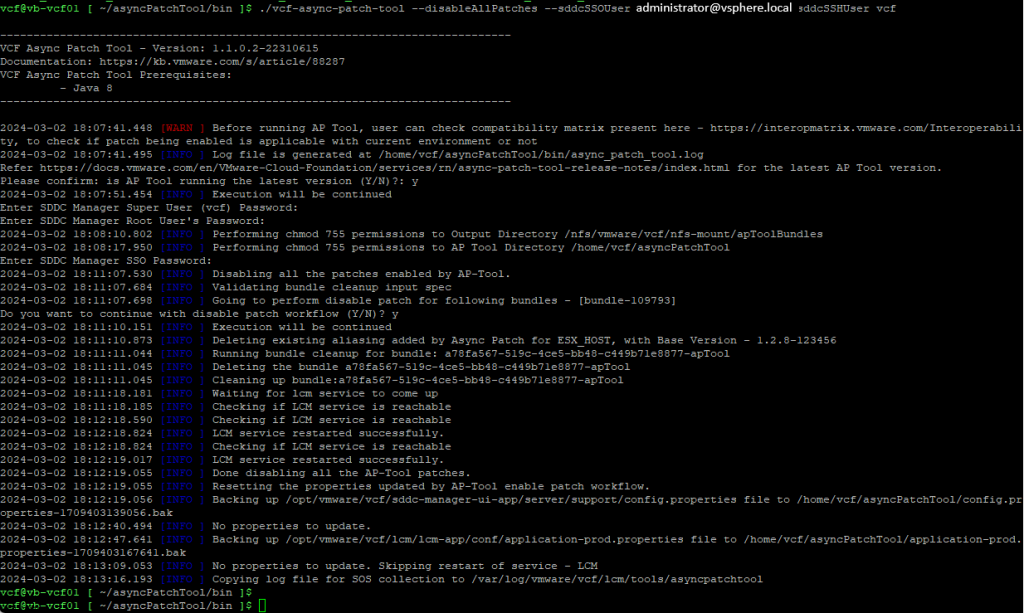
Once all patches are completed, SSH back into VCF SDDC Manager and execute the following command to disable patches.
- Navigate to /home/vcf/asyncPatchTool/bin.
- Run the following command:
./vcf-async-patch-tool --disableAllPatches --sddcSSOUser SSOuser --sddcSSHUser vcf