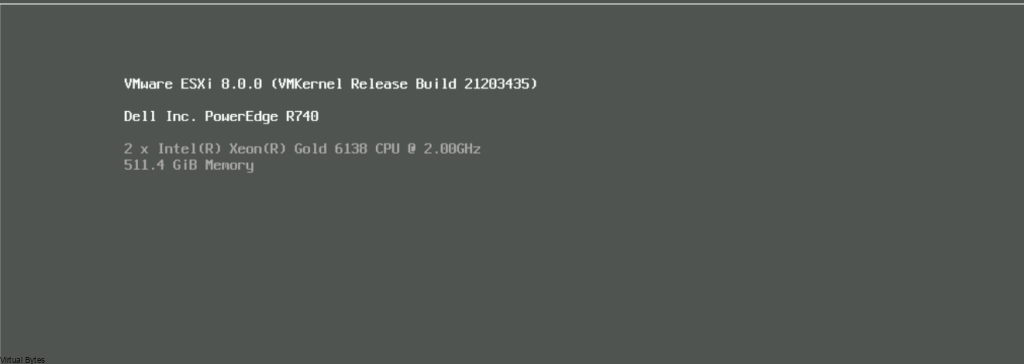
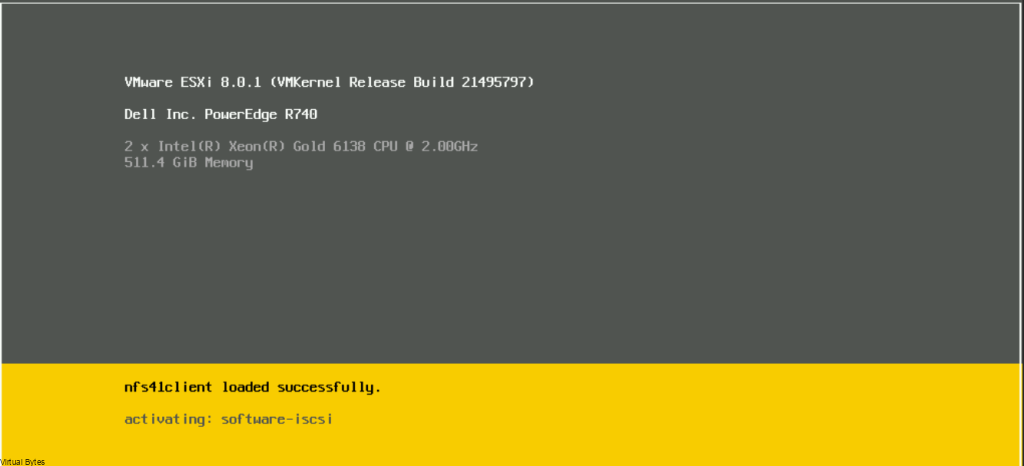
Tonight’s troubleshooting tidbit is an important topic that you’ll want to stick around for. We all know that upgrading your system can be a daunting task, especially when something goes wrong. In this blog post, we’ll be discussing an issue that many of you may be facing after upgrading your vSphere 8.0 to 8.0.1.
Are you experiencing problems with DRS not working or vCLS not powering back on? If so, don’t worry, we’ve got you covered! We’ll be diving into the root cause of this issue and providing you with some solutions to get your system back up and running smoothly. So, grab a cup of coffee and let’s get started!

Error Message: vSphere DRS functionality was impacted due to unhealthy state vSphere Cluster services caused by the unavailability of vSphere Cluster Service VMs. vSphere Cluster Service VMs are required to maintain the health of vSphere DRS.
Events Tab will have errors for the following Privilege check failed for user VSPHERE.LOCAL\vpxd-extension-xxxx for missing permission.
Before You Start!
- Take a Snapshot of your vCSA
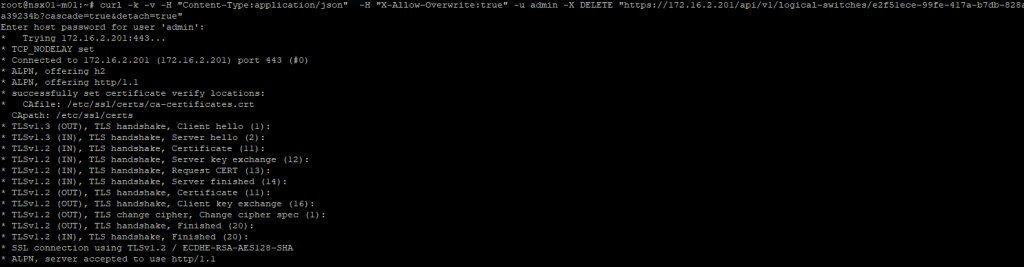
- SSH into vCSA
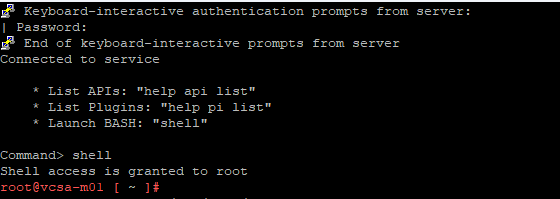
Change to shell
mkdir /certificate
/usr/lib/vmware-vmafd/bin/vecs-cli entry getcert --store vpxd-extension --alias vpxd-extension --output /certificate/vpxd-extension.crt
/usr/lib/vmware-vmafd/bin/vecs-cli entry getkey --store vpxd-extension --alias vpxd-extension --output /certificate/vpxd-extension.key
python /usr/lib/vmware-vpx/scripts/updateExtensionCertInVC.py -e com.vmware.vim.eam -c /certificate/vpxd-extension.crt -k /certificate/vpxd-extension.key -s <FQDN> -u [email protected]
2023-06-15T02:32:01.586Z Updating certificate for “com.vmware.vim.eam” extension
2023-06-15T02:32:01.645Z Successfully updated certificate for “com.vmware.vim.eam” extension
2023-06-15T02:32:01.669Z Verified login to vCenter Server using certificate=”/certificate/vpxd-extension.crt” is successful
service-control --stop vmware-eam
Operation not cancellable. Please wait for it to finish…
Performing stop operation on service eam…
Successfully stopped service eam
service-control --start vmware-eam
Operation not cancellable. Please wait for it to finish…
Performing start operation on service eam…
Successfully started service eam
Few seconds later in your vSphere UI, you will see vCLS starting to turn back on!