Tonight’s blog post is about – VMware vSphere 8 Update 2 and its upgrade process! If you’re an avid virtualization enthusiast or a tech wizard looking to stay ahead of the game, you’ve come to the right place. VMware vSphere 8 Update 2 brings a plethora of new features, enhancements, and performance improvement!
What you will need, if you do not utilize vSphere Image Lifecycle then you will need to download these:
Below is some information from VMware’s website on vSphere 8 Update 2!
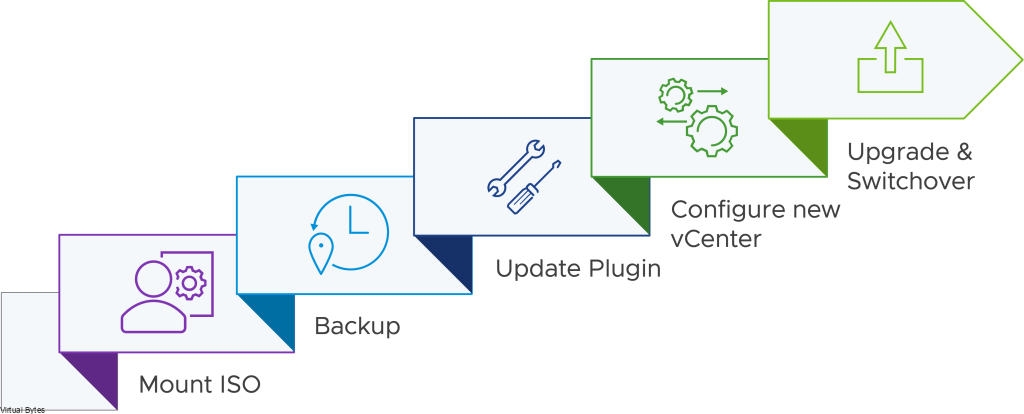
Reduced Downtime Upgrade
First, let’s talk about patching and updating. We’ve all patched vCenter instances and we know that task can often take a long time to complete, and during that time, vCenter services are offline. We introduced Reduced Downtime Upgrade as a new method to update vCenter instances with vSphere+. We’re bringing that same functionality to on-premises vCenter instances that are not connected to vSphere+.
vCenter reduced downtime upgrade is supported for single self-managed vCenter instances initially. It does not support vCenter instances enabled with vCenter HA or vCenter instances participating in Enhanced Linked Mode (ELM). vCenter reduced downtime upgrade is supported to update vCenter instances running version 8.0 or 8.0 U1 to 8.0 U2 and will support updating 8.0 U2 to future versions.
Non-disruptive Certificate Management
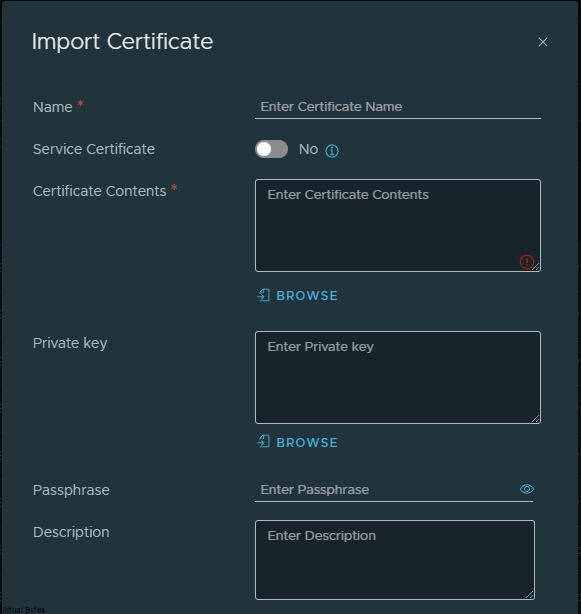
vSphere 8 Update 2 introduces non-disruptive certificate management. This means vSphere administrators can renew and replace the vCenter SSL/TLS certificate without requiring service restarts. External solutions, like VMware NSX, may require re-authentication to vCenter after a certificate is changed. With industry best practice encouraging the reduction in the maximum validity of TLS certificates, vSphere administrators can adhere to these best practices and perform annual certificate renewals without impacting vCenter productivity.
Let’s take a deeper look at each of the 5 steps during a reduced downtime upgrade.
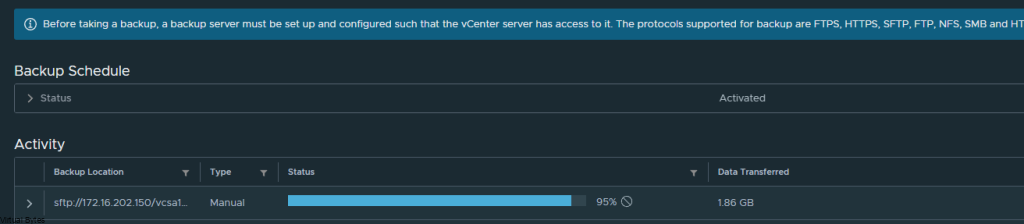
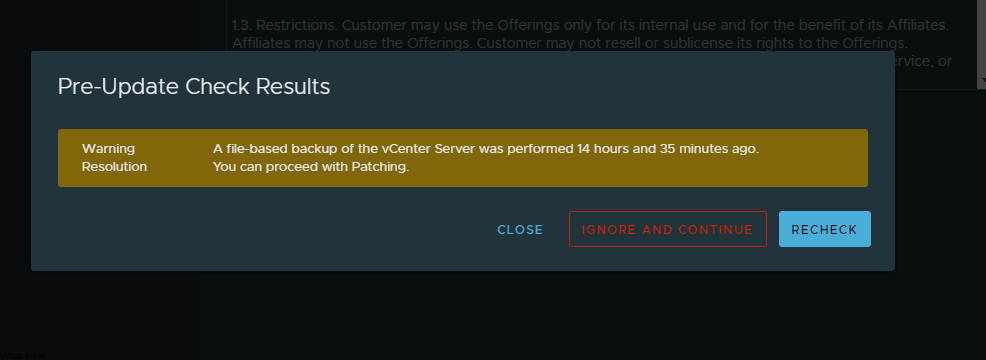
Before you upgrade! Ensure you have backups configured have successful backups.
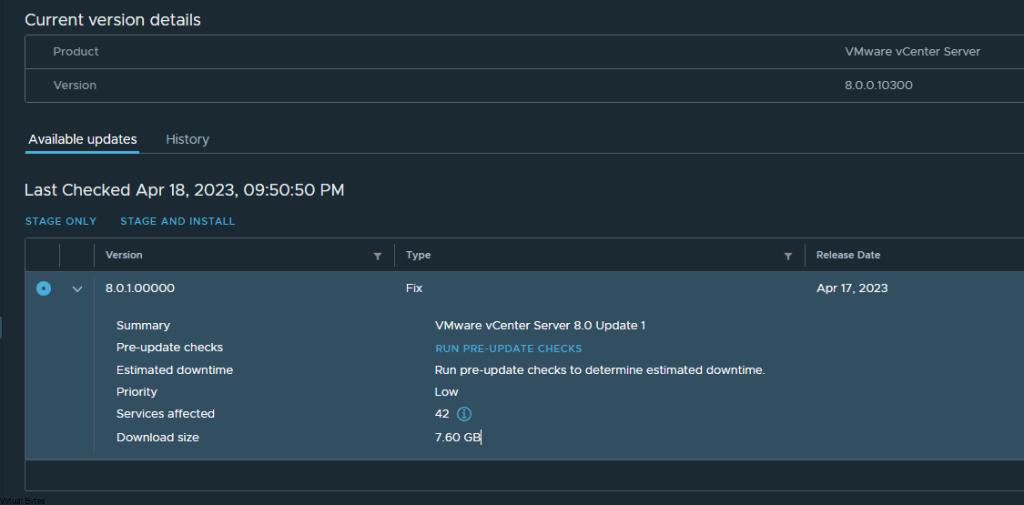
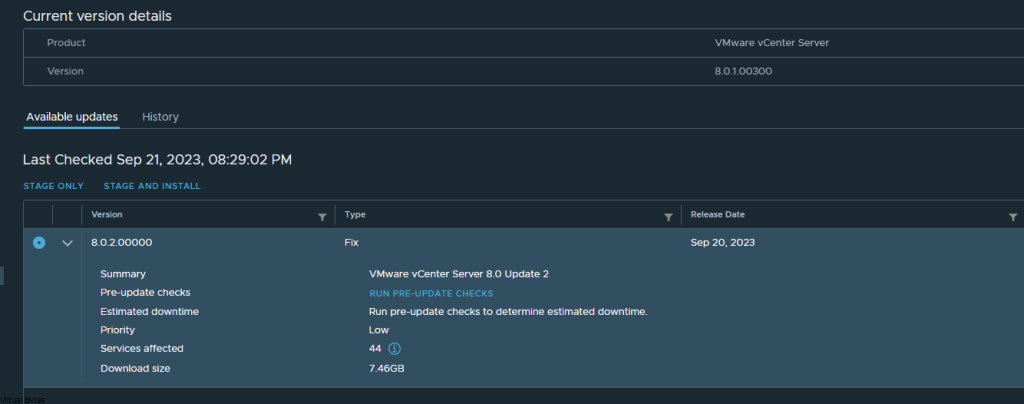
Login to VAMI – Update – Stage and Install
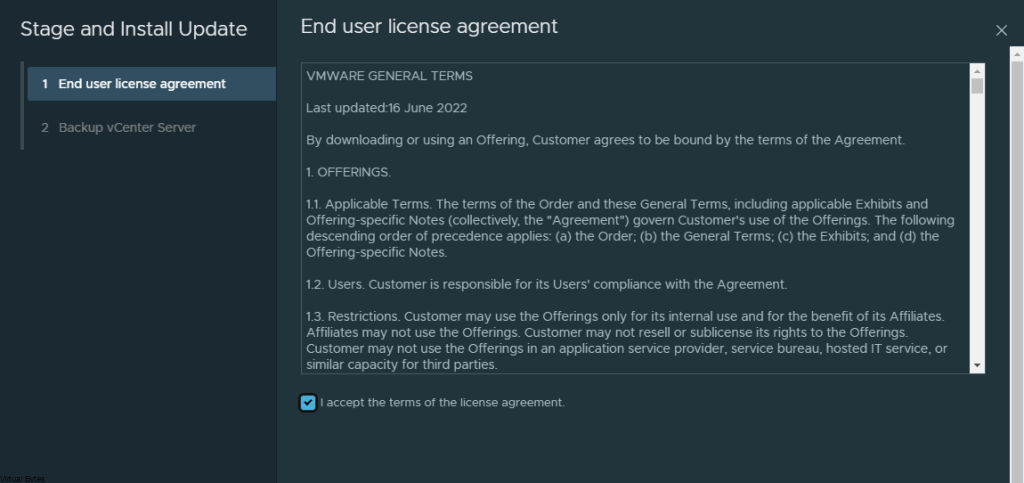
Lets Accept the EULA!
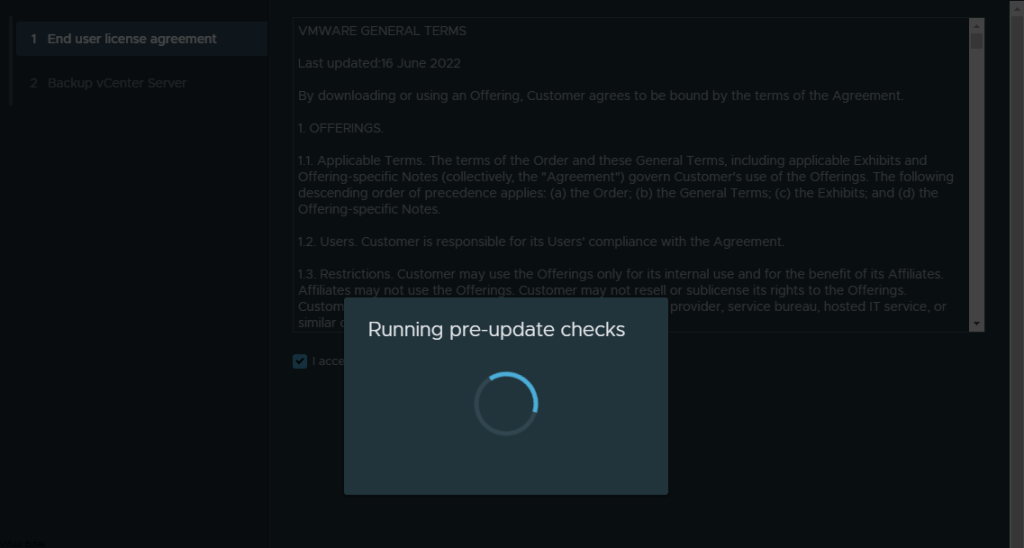
Good ole Prechecks prior to update!
Right here, make sure you have solid backups – For my deployment this is a lab so i can rebuild without any issues but for production. STOP and Go back to Backup page and ensure you have good backups if not, take one!
Backup Section

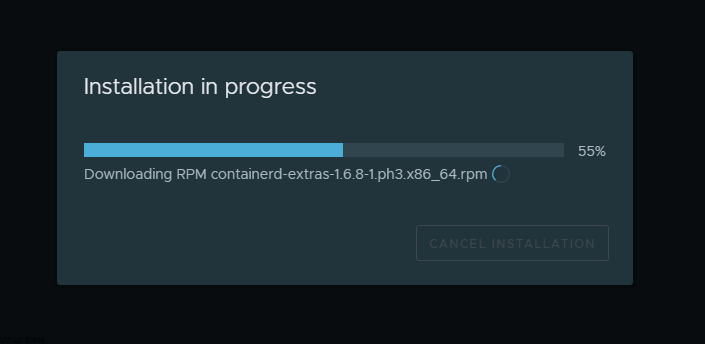
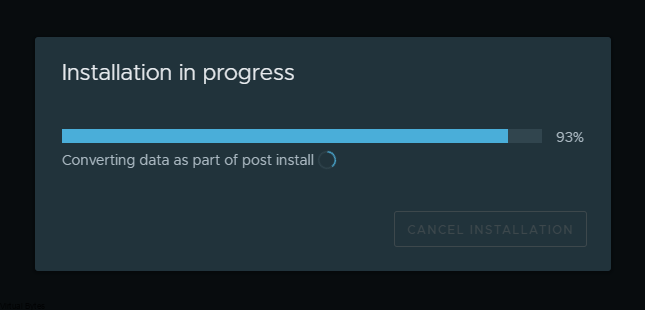
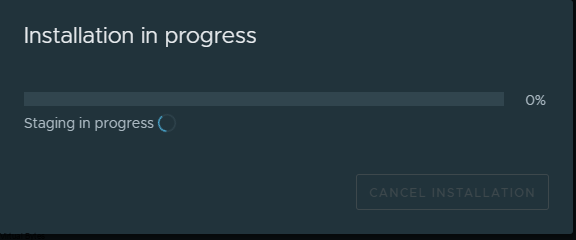
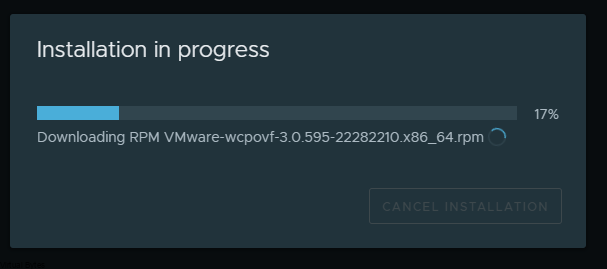
The upgrade process was very quick!
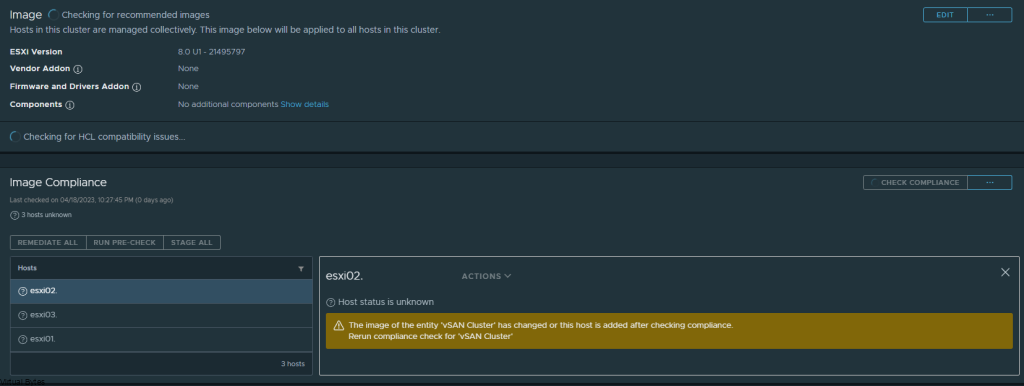
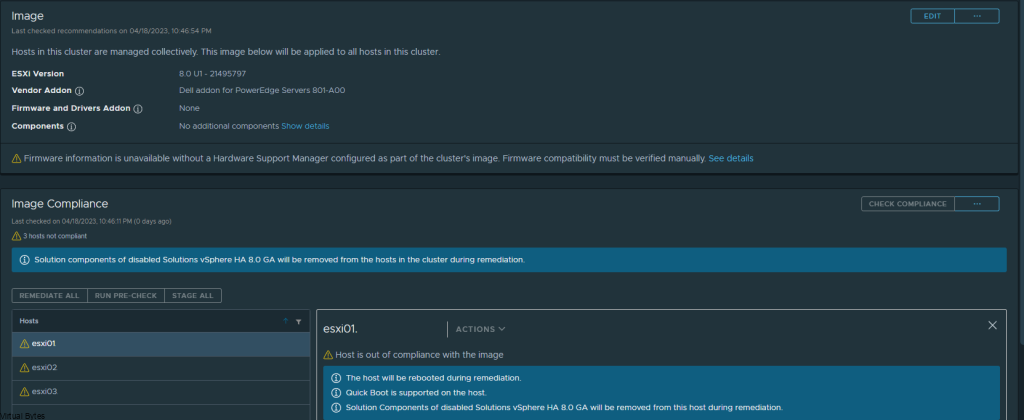
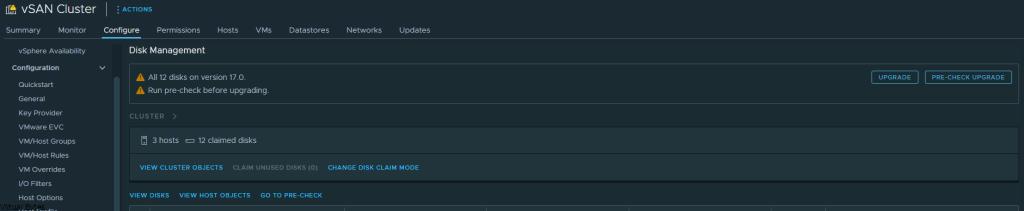
Now, that we have upgraded VCSA, lets login and lets stage our ESXi upgrade process. Utilizing the Image Managment
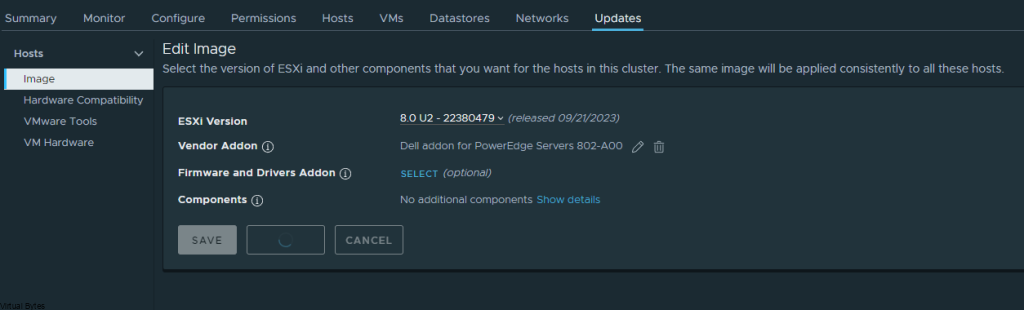
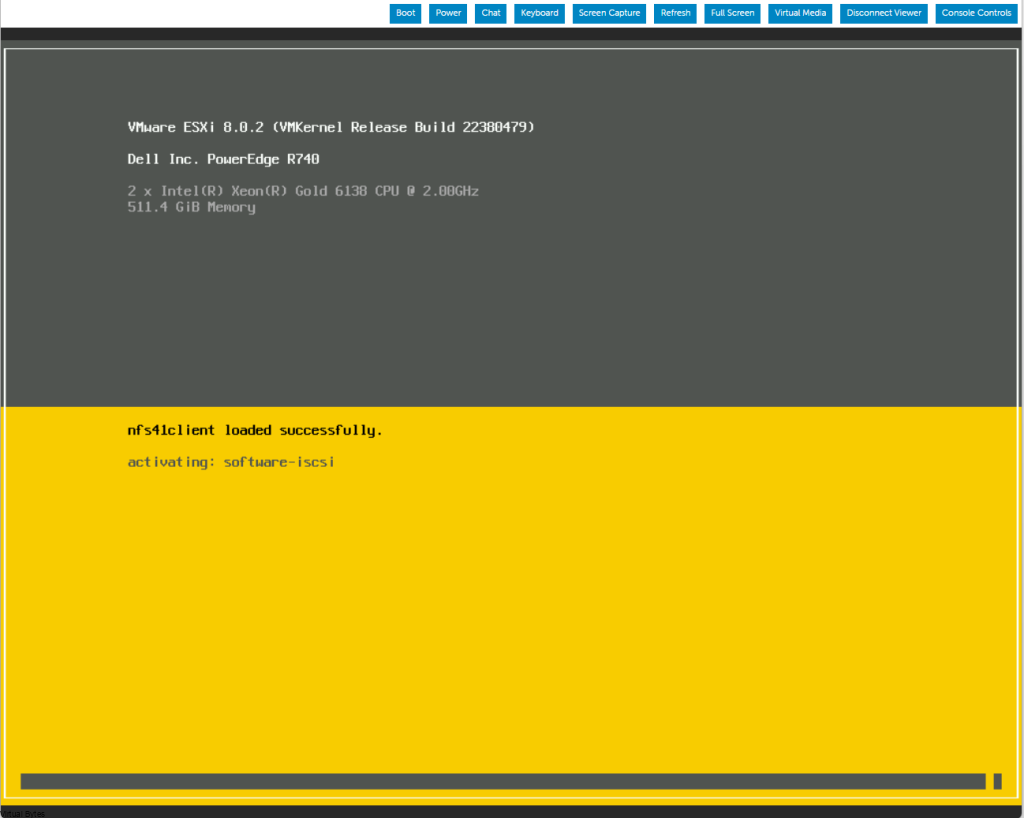
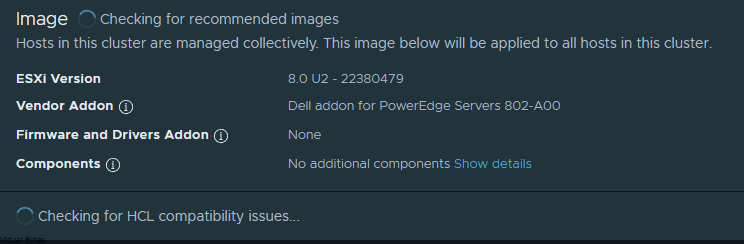
Select 8.0 U2 22380479 Image
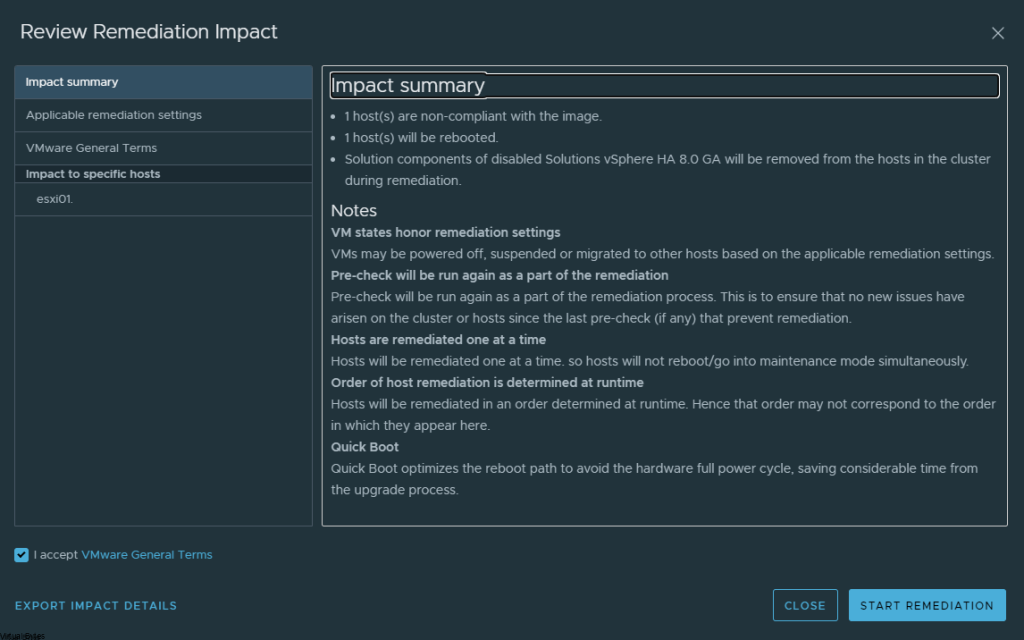
Then hit Remediate all, if you have all pre-checks successfully staged and ready to upgrade lets upgrade our ESXi hosts!
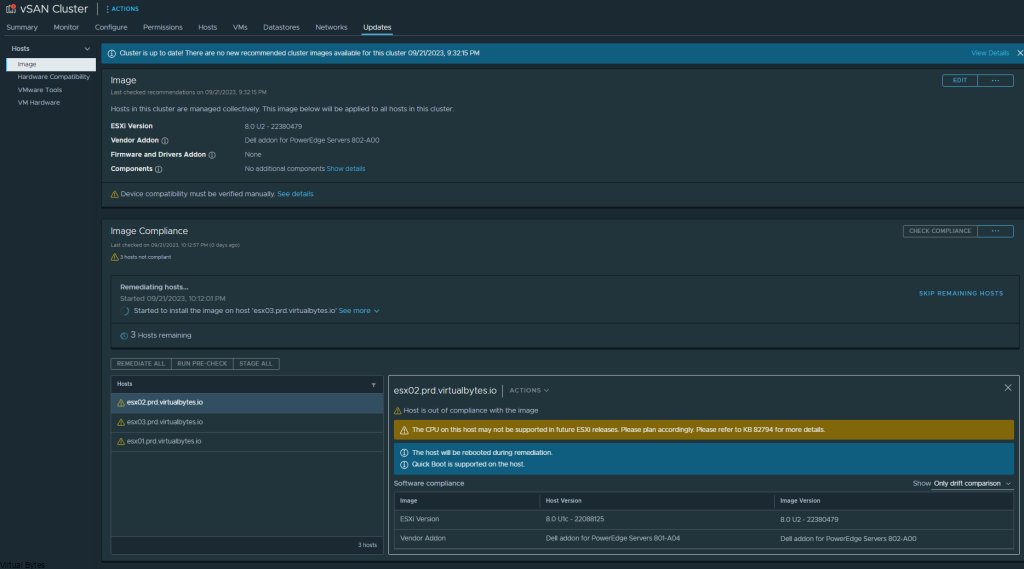
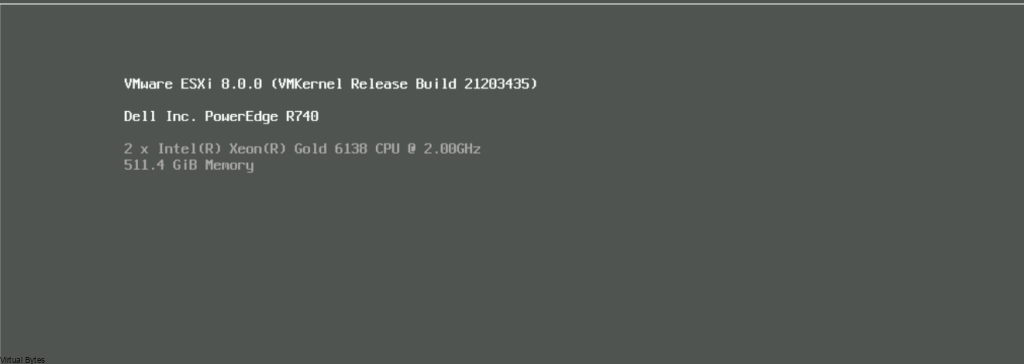
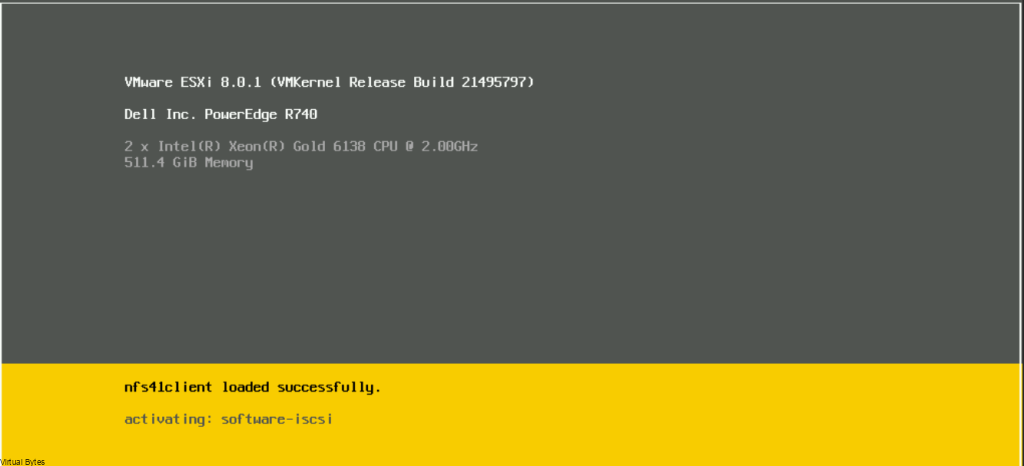
There we go! One of the 3 hosts has upgraded!