Top Posts
Deploying & Configuring the VMware LCM Bundle Utility...
VMware Cloud Foundation: Don’t Forget About SSO Service...
VMware Explore Las Vegas 2025: Illuminating the Path...
Securing Software Updates for VMware Cloud Foundation: What...
VMware Cloud Foundation 5.2: A Guide to Simplified...
VMware Cloud Foundation 5.2: Unlocking Secure Hybrid Cloud...
VMware Cloud Foundation – Memory Tiering: Optimizing Memory...
Decoding VMware Cloud Foundation: Unveiling the numerous amount...
VMware Cloud Director 10.6.1: Taking Cloud Management to...
Omnissa Horizon Upgrade 2406 to 2412
Virtual Bytes
  • Home
  • Home Data Center 2025
  • VMware
    • Cloud
    • Datacenter & Cloud Infrastructure
      • VMware ESXi
      • VMware vCenter
      • VMware vSAN
    • Networking & Security
    • Desktop & App Virtualization
      • Omnissa Horizon
    • Troubleshooting
    • Ansible
  • Education
  • Hardware
    • Hardware Tips & Tricks
  • Events
  • About
    • About Me
    • Home Lab Archives
      • Home Lab 2020-2022
      • Home Lab 2016-2020
Tag:

VCF

AIVMware Cloud Foundation

How To Setup Ollama + OpenWebUI on VCF

by Tommy Grot June 7, 2024
written by Tommy Grot 4 minutes read

In this blog post, we will explore how to host your very own ChatGPT using the powerful combination of Ollama and OpenWebUI, all powered by VMware Cloud Foundation. By leveraging these cutting-edge technologies, you’ll be able to create a seamless and interactive chatbot experience that will impress your users. Get ready to dive into the world of AI and virtualization as we walk you through the steps to set up your own ChatGPT. Exciting times are ahead, so let’s get started on this journey together!

This walkthrough will only guide you through how to setup Ollama and Open WebUI – you will need to provide your own Linux VM, for my deployment I used Ubuntu 22.04.

Next blog post we will go into customizing and adding onto Ollama and OpenWebUI with for example Automatic1111 and Diffusion and Image Generation LLMs.
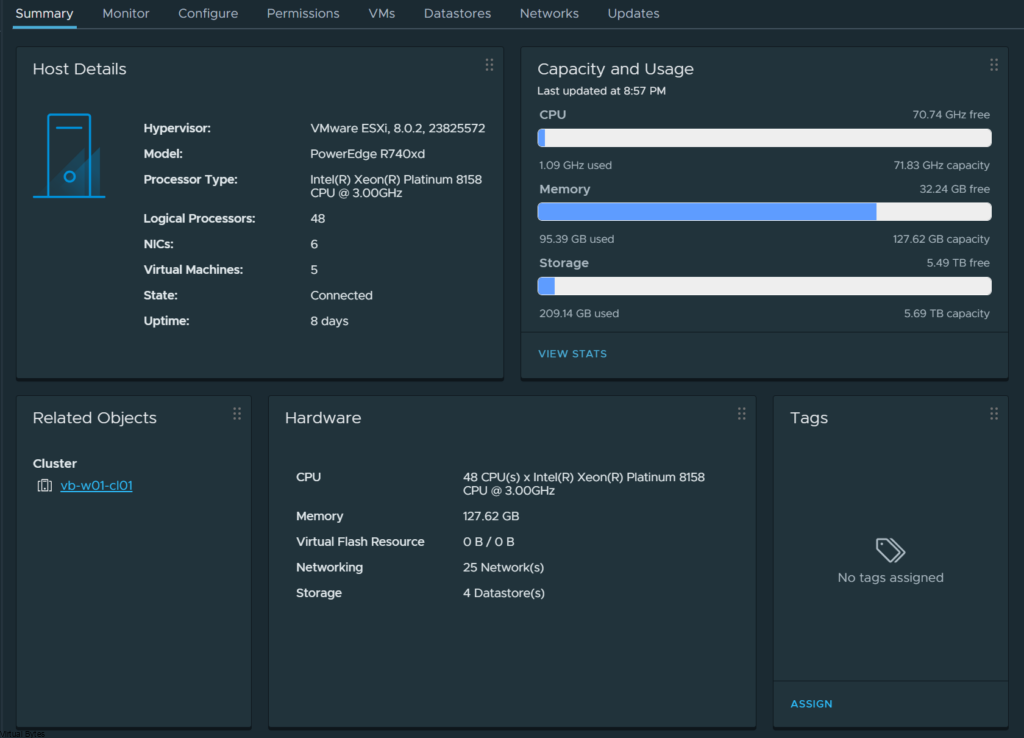
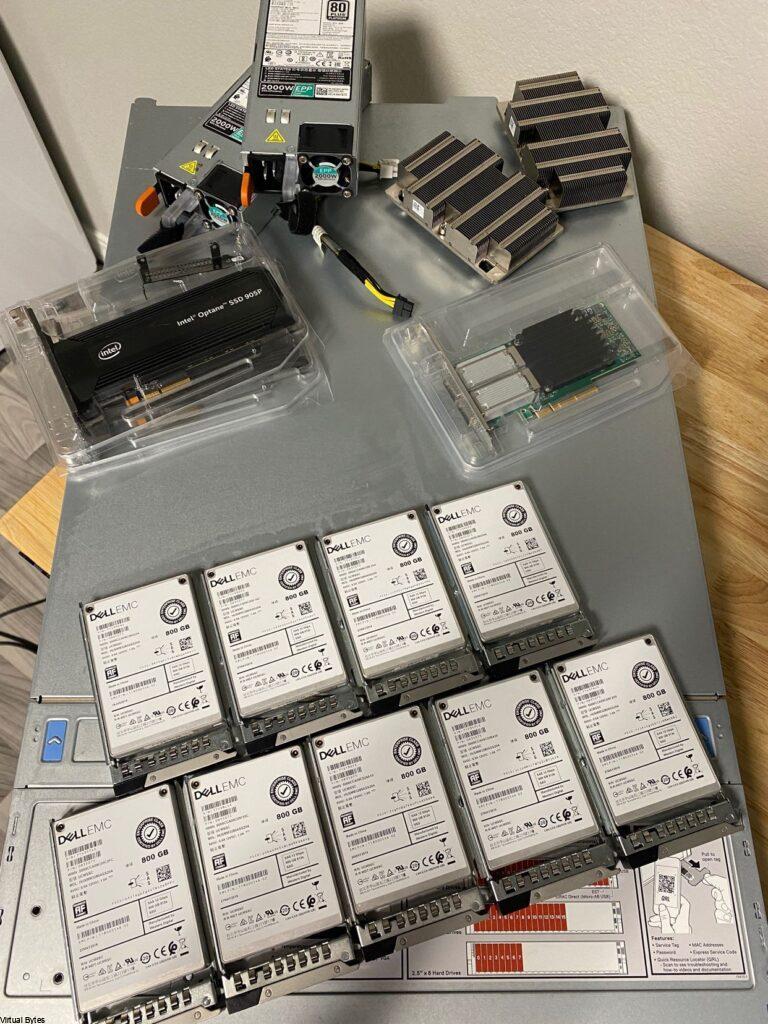
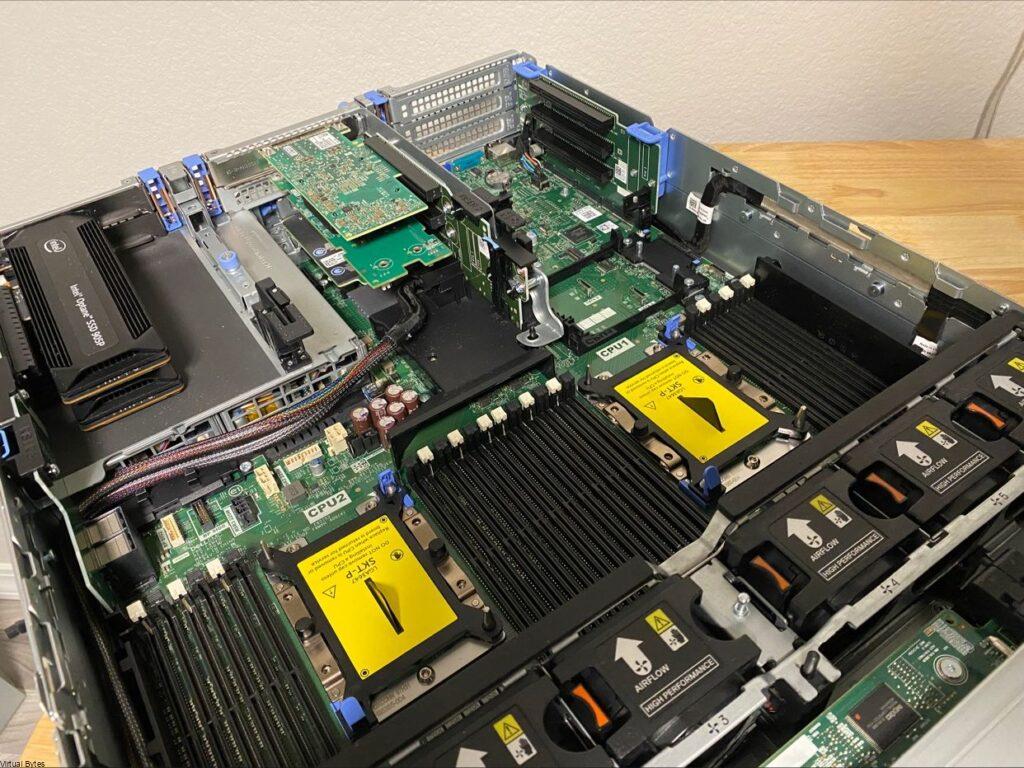
The Hardware:

  • 2 x Intel Platinum 8158 3.0GHz 12 Cores
  • 1 x Nvidia Tesla P40 24GB DDR5
  • 1 x Dell PERC H740P RAID Card
  • 4 x 32GB Samsung DDR4 2666MHz (128GB)
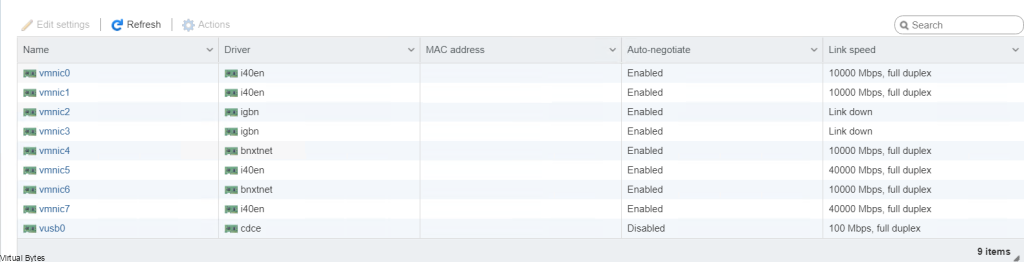
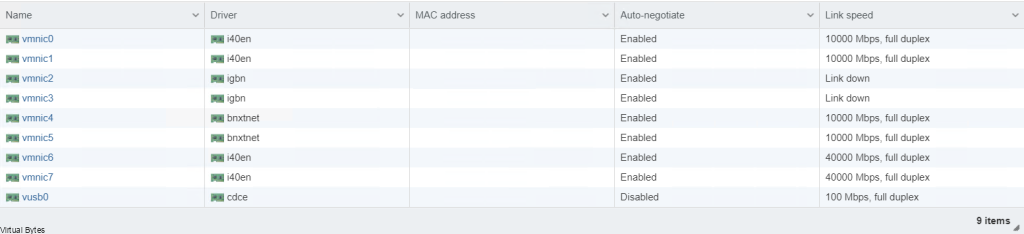
  • 2 x 50Gb/s Mellanox Connectx-4 Data Traffic
  • 4 x 10Gb/s X710 NDC for NSX Overlay
  • 1 x Boss S1 w/ M.2 SSD for ESXi Boot
  • 2 x 2000 watt PSUs
  • 8 x 800GB SAS SSD – Capacity Storage
  • 2 x 280GB Intel Optane Storage – Fast Storage

The Virtual Machine:

  • Deploy a Ubuntu or any choice of Debian distro if you want to utilize the commands I have apart of this walkthrough.
  • Enabling Hardware Device Passthrough for the GPU also apart of your VMX add the following in:
pciPassthru.use64bitMMIO=”TRUE”
pciPassthru.64bitMMIOSizeGB=”128″

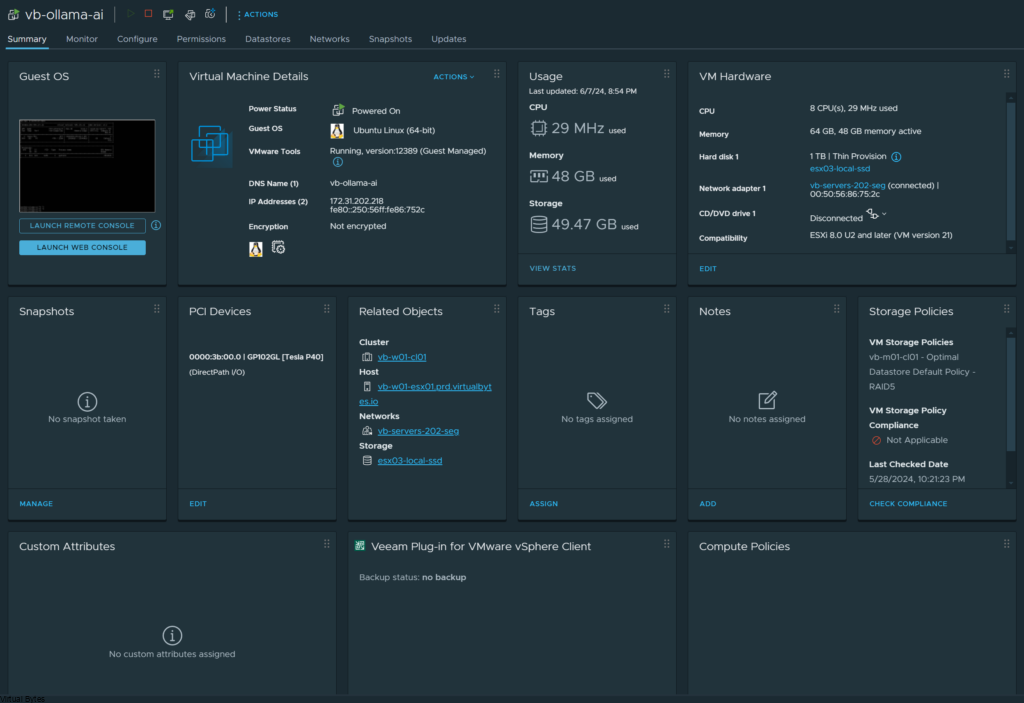
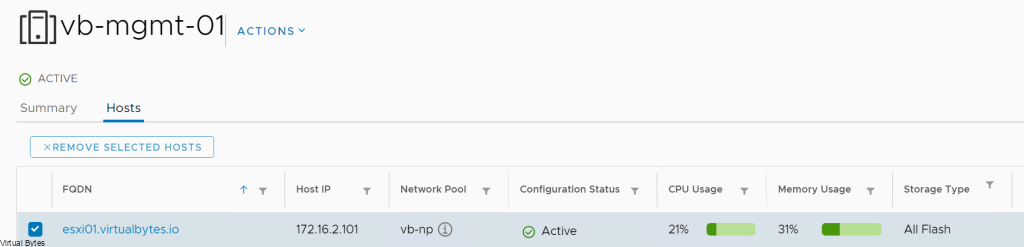
Once the Virtual Machine is deployed, you will want to ensure that your Server or Desktop Hardware is prepared to have a GPU, in my Dell PowerEdge R740XD I have a NVIDIA Tesla P40.
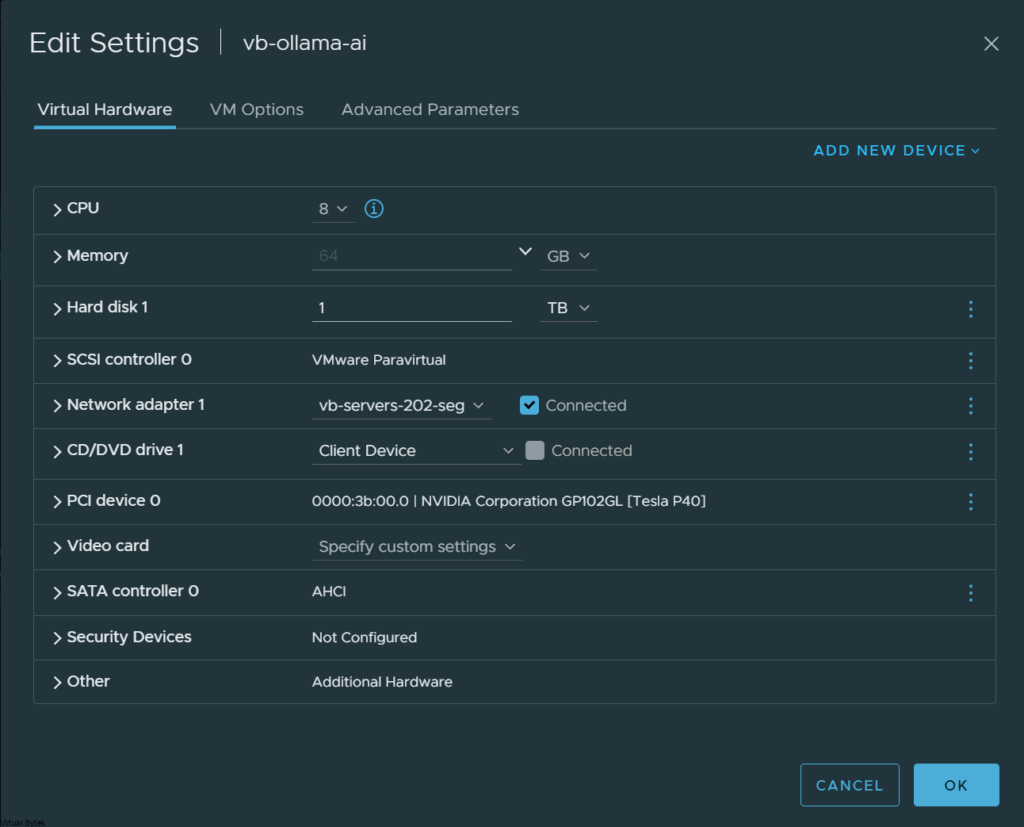
The Specifications:

This will vary, for my initial deployment I setup 8 vCPUs with the Automatic CPU Topology enabled, but this will all depend on your use case, since I have powerful CPUs and lots of memory I can increase the resource allocation later on.

The Software:

Download & Install Ollama:

curl -fsSL https://ollama.com/install.sh | sh

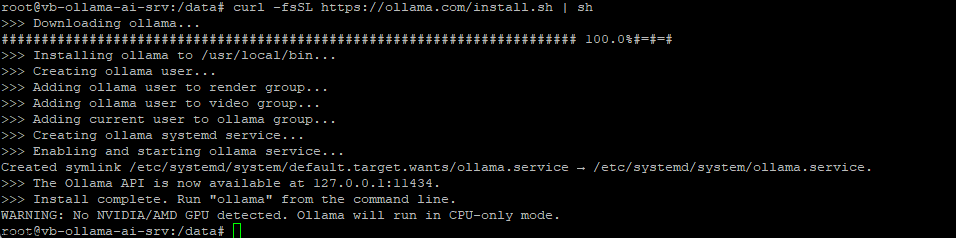
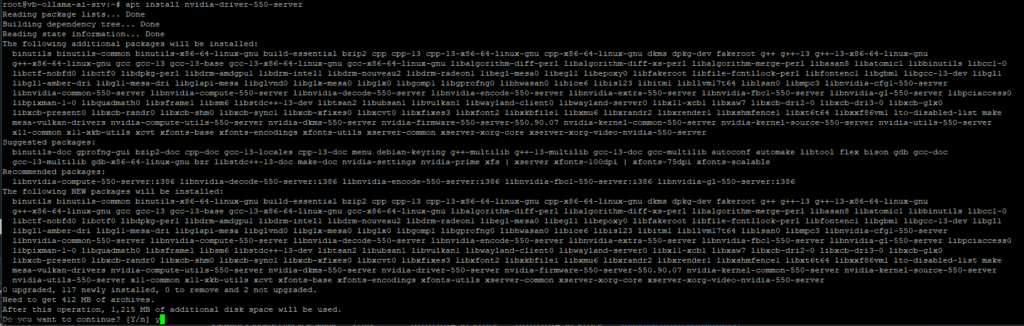
Time to Shutdown The Virtual Machine and Pass Through the NVIDIA Tesla P40

  • With the above requirements satisfied, two entries must be added to the VM’s VMX file, either by modifying the file directly or by using the vSphere client to add these capabilities. The first entry is:
pciPassthru.use64bitMMIO=”TRUE”
  • Specifying the second entry requires a simple calculation. Sum the GPU memory sizes of all GPU devices(*) you intend to pass into the VM and then round up to the next power of two. For example, to use passthrough with 4 16 GB A2 devices, the value would be: 32 + 32 = 64, rounded up to the next power of two to yield 128. Use this value in the second entry:
pciPassthru.64bitMMIOSizeGB=”128″

Add Docker’s official GPG key:

sudo apt-get update
sudo apt-get install ca-certificates curl
sudo install -m 0755 -d /etc/apt/keyrings
sudo curl -fsSL https://download.docker.com/linux/ubuntu/gpg -o /etc/apt/keyrings/docker.asc
sudo chmod a+r /etc/apt/keyrings/docker.asc

Add the repository to Apt sources:

echo \
"deb [arch=$(dpkg --print-architecture) signed-by=/etc/apt/keyrings/docker.asc] https://download.docker.com/linux/ubuntu \
$(. /etc/os-release && echo "$VERSION_CODENAME") stable" | \
sudo tee /etc/apt/sources.list.d/docker.list > /dev/null
sudo apt-get update

Next, we will install docker and all its dependencies:

sudo apt-get install docker-ce docker-ce-cli containerd.io docker-buildx-plugin docker-compose-plugin

Now we will setup the docker container for Open WebUI to run, on port 11434 – Yeah the port number looks like (LLAMA haha)

docker run -d --network=host -v open-webui:/app/backend/data -e OLLAMA_BASE_URL=http://127.0.0.1:11434 --name open-webui --restart always ghcr.io/open-webui/open-webui:main

After you run the command above, then your webserver should start running – Open up your browser and login! You will be directed to setup a username / email. Once that is done, have fun and enjoy your own private AI!

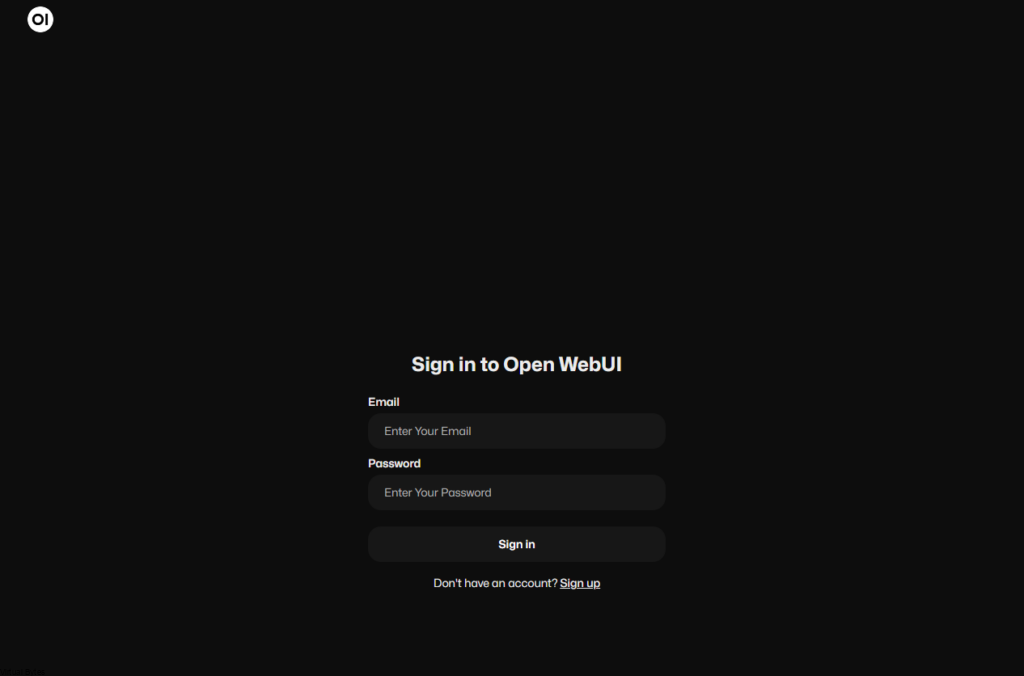
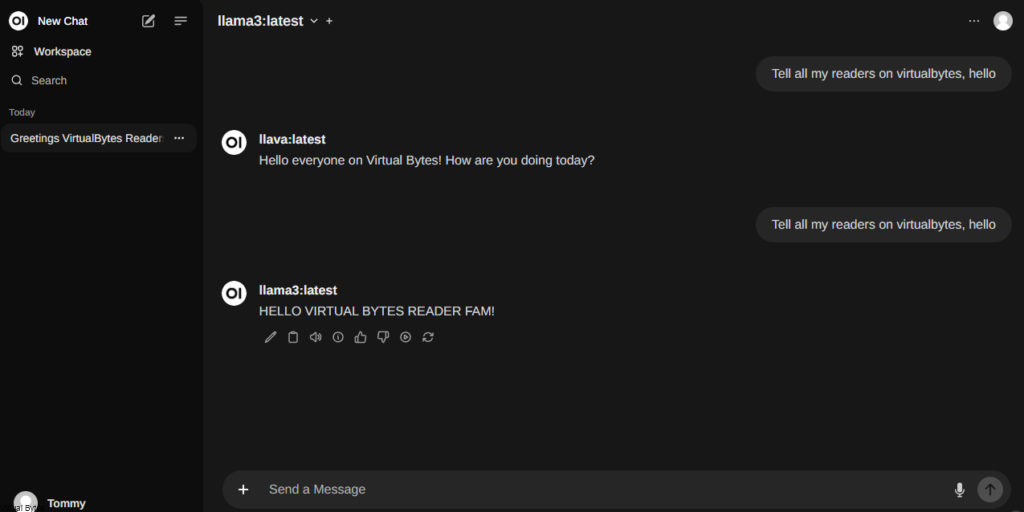
Now, you will be presented the dashboard for your very own ChatGPT Privately Hosted!

Enjoy! 🙂

Depending on what LLMs you want to pull here is a example of how to do it via CLI

ollama pull aya

There we pulled aya LLM!

June 7, 2024 0 comments 875 views
0 FacebookTwitterLinkedinEmail
VMware Cloud FoundationVMware NSX

NSX Manager Repository High Disk Usage

by Tommy Grot March 25, 2024
written by Tommy Grot 1 minutes read

If you’ve recently upgraded your NSX environment and noticed a spike in disk usage for the repository partition, you’re not alone. In this blog post, we’ll dive into the reasons behind this increase and provide some tips on how to manage and optimize your disk space. We’ll discuss common causes for the surge in disk usage post-upgrade, and explore some best practices for keeping your NSX environment running smoothly.

VMware Cloud Foundation (SDDC Manager) Password Lookup Utility

Next, we will need to SSH into the NSX Managers, if you are running NSX within VMware Cloud Foundation, you will need to run the VCF Lookup Password Utility within the SDDC Manager and login via remote console in vSphere to enable SSH services

To Start SSH Service on NSX Manager –

start service ssh

To Enable SSH Service on reboot –

set service start-on-boot

There is the 84% Usage of the repository partition, this partition holds all the previous patches and upgrades of NSX.

Now we delete the old folders, I also had old version of NSX Advanced Load Balancer which I cleaned up as well.

Example –

rm -rf 4.1.2.1.0.22667789/

There we go! No more alarms for high disk usage.

After a upgrade of your VMware NSX environment, it is always good to clean up the bundles and old binaries to prevent high disk usage and prevent and issue with your NSX Managers.

March 25, 2024 0 comments 940 views
0 FacebookTwitterLinkedinEmail
VMware Troubleshooting

How PCIe NVMe Disks affect VMware ESXi vmnic order assignment

by Tommy Grot April 18, 2023
written by Tommy Grot 3 minutes read

Today’s topic is about VMware Cloud Foundation and homogenous network mapping with additional PCIe interfaces within a server.

Physical PortDevice Alias
Onboard port 1vmnic0
Onboard port 2vmnic1
Onboard port 3vmnic2
Onboard port 4vmnic3
Slot #2 port 1vmnic4
Slot #2 port 2vmnic5
Slot #4 port 1vmnic6
Slot #4 port 2vmnic7

VMware KB – How VMware ESXi determines the order in which names are assigned to devices (2091560) this KB talks about vmnic ordering and assignment, but the post below will explain when a NVMe PCIe disk is apart of a host.

What kind of environment? – VMware Cloud Foundation 4.x

If a system has:

  • Four onboard network ports
  • One dual-port NIC in slot #2
  • One dual-port NIC in slot#4

Then devices names should be assigned as:

The problem:

If a physical server has additional PCIe interfaces that are greater in quantity over another server that you want to bring into an existing or new cluster.

An example – Dell PowerEdge R740, with 24 NVMe PCIe SSD Drives, and 2 – QSFP Mellanox 40Gig PCIe, and 1 – NDC LOM Intel X710 Quad 10Gb SFP+, and Boss Card, but another server that has few drives less than 24 as example above but the same network cards as following (2 – QSFP Mellanox 40Gig PCIe, 1 – NDC LOM Intel X710 Quad 10Gb SFP+, and Boss Card)

This will cause the physical server to have its PCIe Hardware IDs shift by (N) and cause the vmnic mapping to be out of order where certain vmnics will show up out of order, which causes the homogeneous network misconfiguration layout for VMware Cloud Foundation ESXi Hosts that are apart of a workload domain. It is important to have identical hardware for a VCF implementation to have successful VCF deployment of a workload domain.

This type of issue would cause problems for any future deployments of VMware Cloud Foundation 4.x. If they have an existing cluster with either type of configurations: high density compute node, or a vGPU node, or a high-density storage node it would throw off the PCIe mapping to and prevent all esxi hosts to have a homogeneous vmnic mapping to the physical nic.

The Fix:

Before you start doing any configurations with your ESXi host within VCF, please make sure to Decommission that host from your cluster within that workload domain.

Once the host is removed from that cluster within the workload domain:

Go to – > Workload Domains -> (Your Domain) ->

Clusters -> Hosts (Tab) -> Select the host you want to remove

Then Go back to Main SDDC Page – > Hosts -> and Decommission that select ESXi Host

Once, host is decommissioned, wipe all your NVMe Disks first, and then make sure to shutdown the ESXi host and unplug the NVMe disks just slightly to ensure that they do not get powered on, so then the next re-image of your ESXi host there will only be 1 disk which should be your boot drive or a Boss SSD M.2.

After server is up login back into your ESXi host and it should match to your liking where all the vmnics are aligned and correctly showing up in a homogenous layout

The Results:

Before

After

April 18, 2023 0 comments 659 views
0 FacebookTwitterLinkedinEmail


Recent Posts

  • Deploying & Configuring the VMware LCM Bundle Utility on Photon OS: A Step-by-Step Guide
  • VMware Cloud Foundation: Don’t Forget About SSO Service Accounts
  • VMware Explore Las Vegas 2025: Illuminating the Path to Cloud Excellence!
  • Securing Software Updates for VMware Cloud Foundation: What You Need to Know
  • VMware Cloud Foundation 5.2: A Guide to Simplified Upgrade with Flexible BOM

AI AVI Vantage cloud Cloud Computing cloud director computing configure cyber security director dns domain controller ESXi las vegas llm llms multi-cloud multicloud NSx NSX-T 3.2.0 NVMe private AI servers ssh storage tenant upgrade vcd vcda VCDX vcenter VCF VDC vexpert Virtual Machines VMs vmware vmware.com vmware aria VMware Cloud Foundation VMware cluster VMware Explore VMware NSX vrslcm vsan walkthrough

  • Twitter
  • Instagram
  • Linkedin
  • Youtube

@2023 - All Right Reserved. Designed and Developed by Virtual Bytes

Virtual Bytes
  • Home
  • Home Data Center 2025
  • VMware
    • Cloud
    • Datacenter & Cloud Infrastructure
      • VMware ESXi
      • VMware vCenter
      • VMware vSAN
    • Networking & Security
    • Desktop & App Virtualization
      • Omnissa Horizon
    • Troubleshooting
    • Ansible
  • Education
  • Hardware
    • Hardware Tips & Tricks
  • Events
  • About
    • About Me
    • Home Lab Archives
      • Home Lab 2020-2022
      • Home Lab 2016-2020