Veeam v13 now offers an appliance-based backup solution, a significant advancement for users. Removing the need to manage a separate operating system like Windows for Veeam installation simplifies administration considerably. The Veeam appliance features a clean, sleek user interface and is straightforward to deploy – simply deploy the OVA and assign it to a portgroup. Deployment was quick, and after bringing the appliance online, several updates were applied automatically by the Veeam updater in just a few minutes. This is a welcome advancement for the Veeam platform.
How To Deploy Veeam v13 Appliance
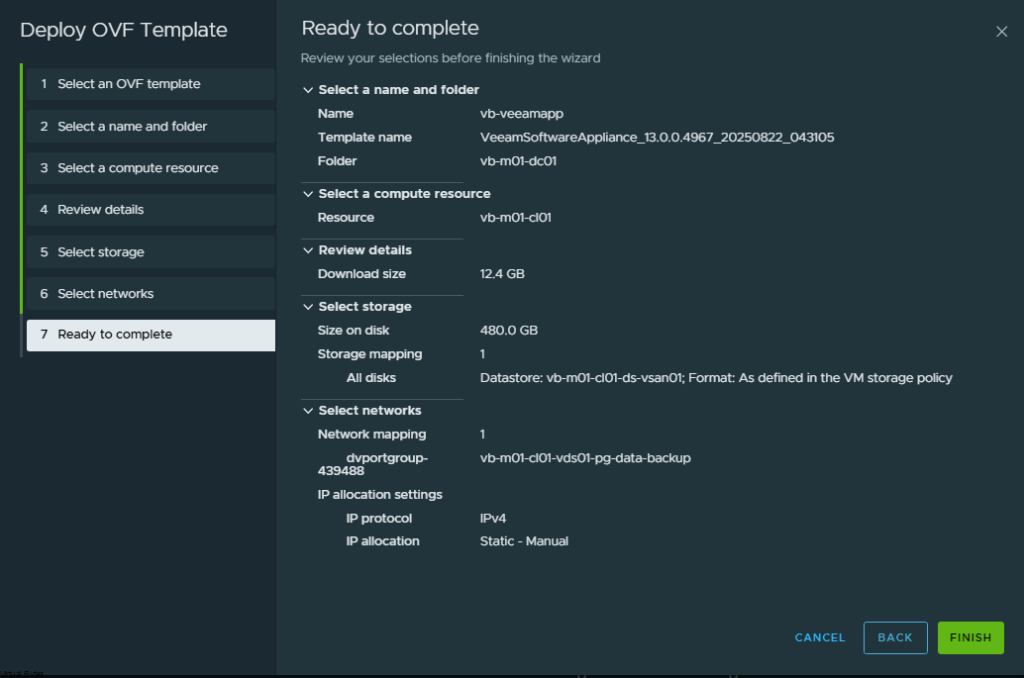
Deploy the Veeam appliance OVA to your VMware Cloud Foundation environment, utilizing your principal storage solution – typically vSAN. Configure network connectivity by attaching the appliance to a designated portgroup. The following sections outline the appliance deployment process.
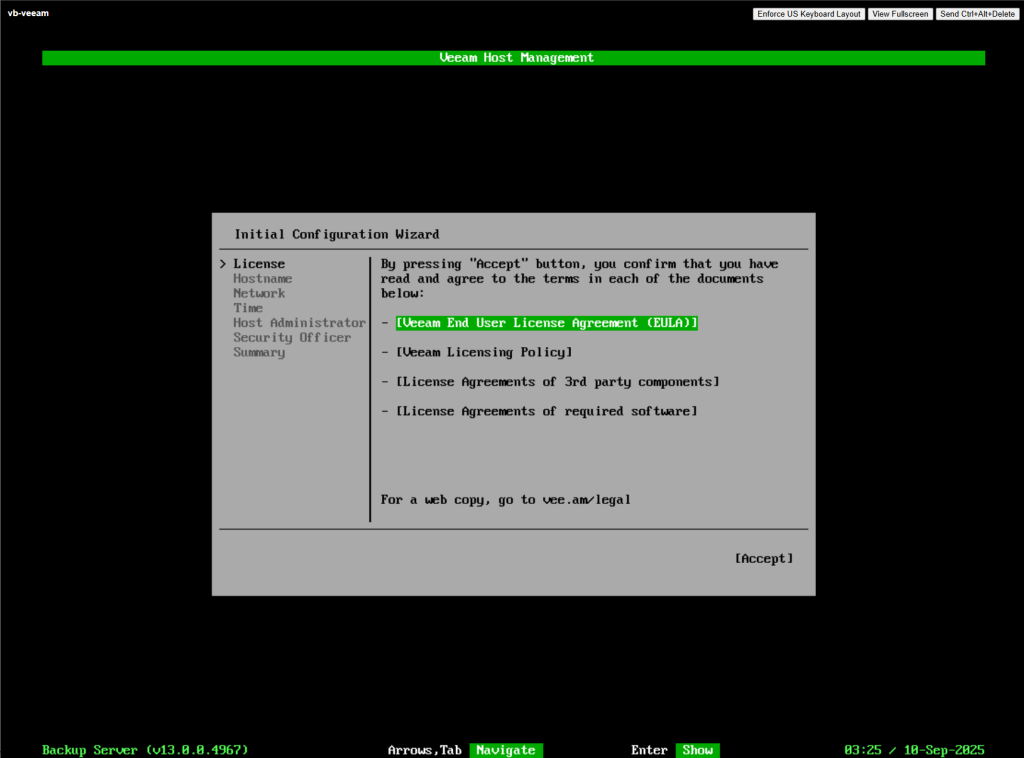
Accept ->
Configure Host name for the appliance ->

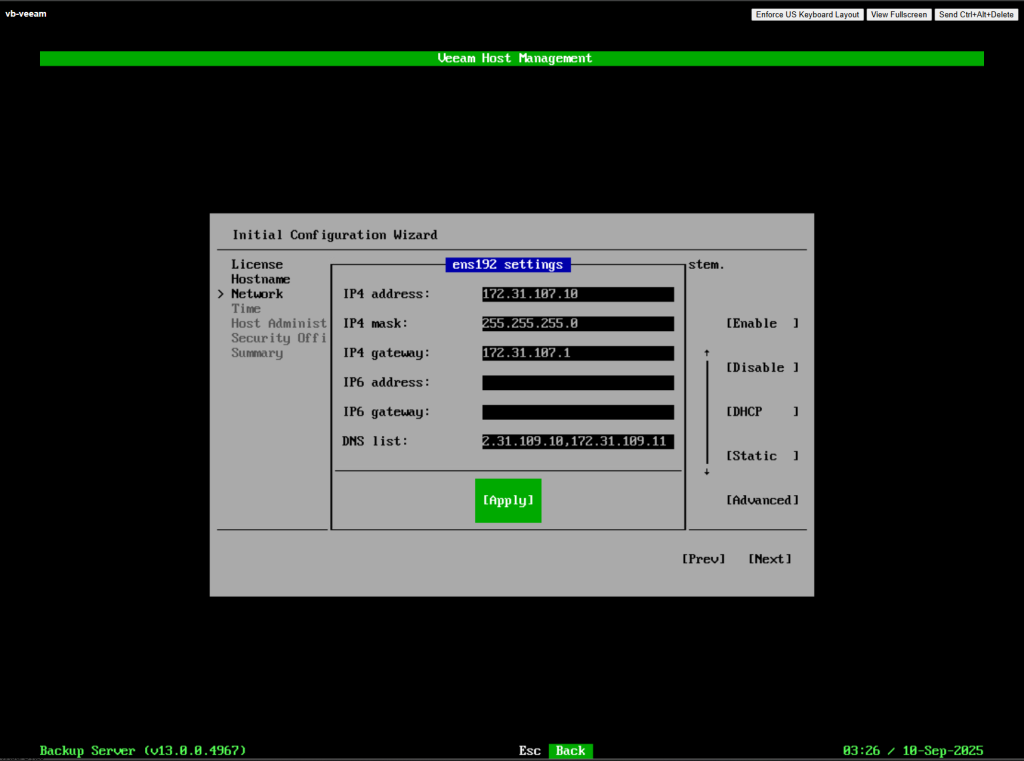
Setup IP Address, Subnet, Gateway, DNS ->
Add NTP ->

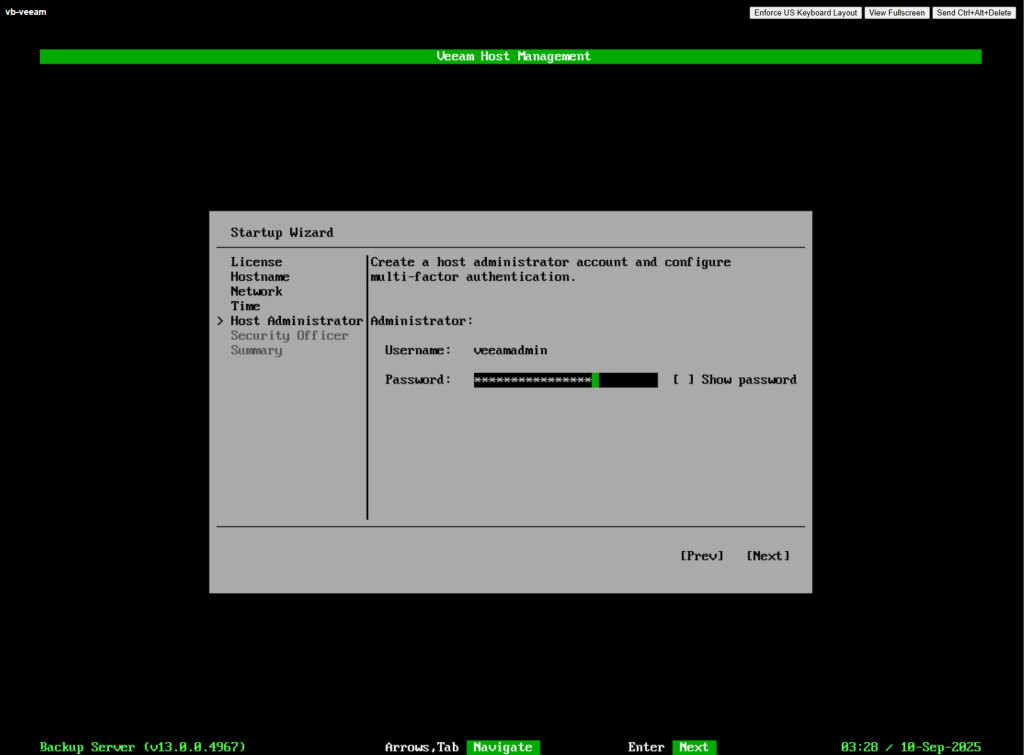
Create a password for the veeamadmin account
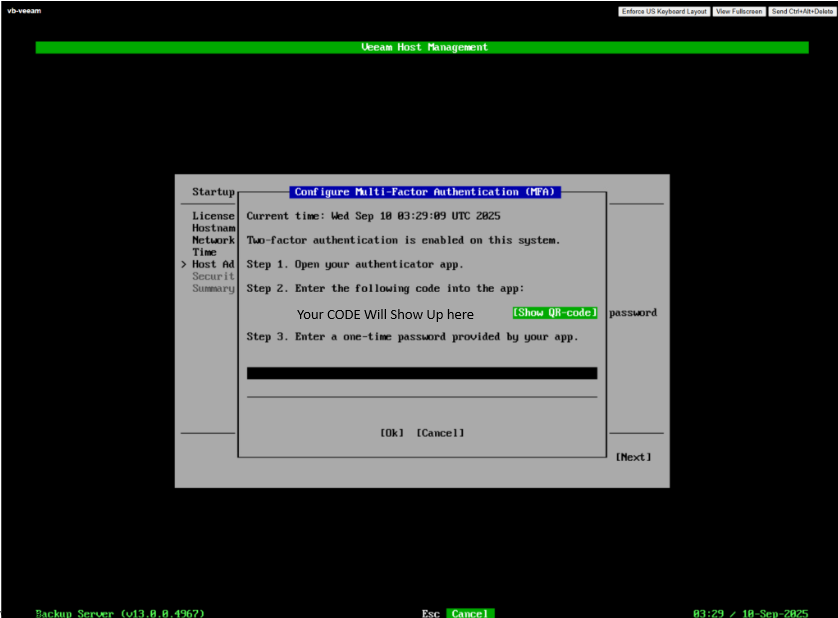
Now you will need to use Google Authenticator or any Auth utility and Scan the QR code to configure MFA
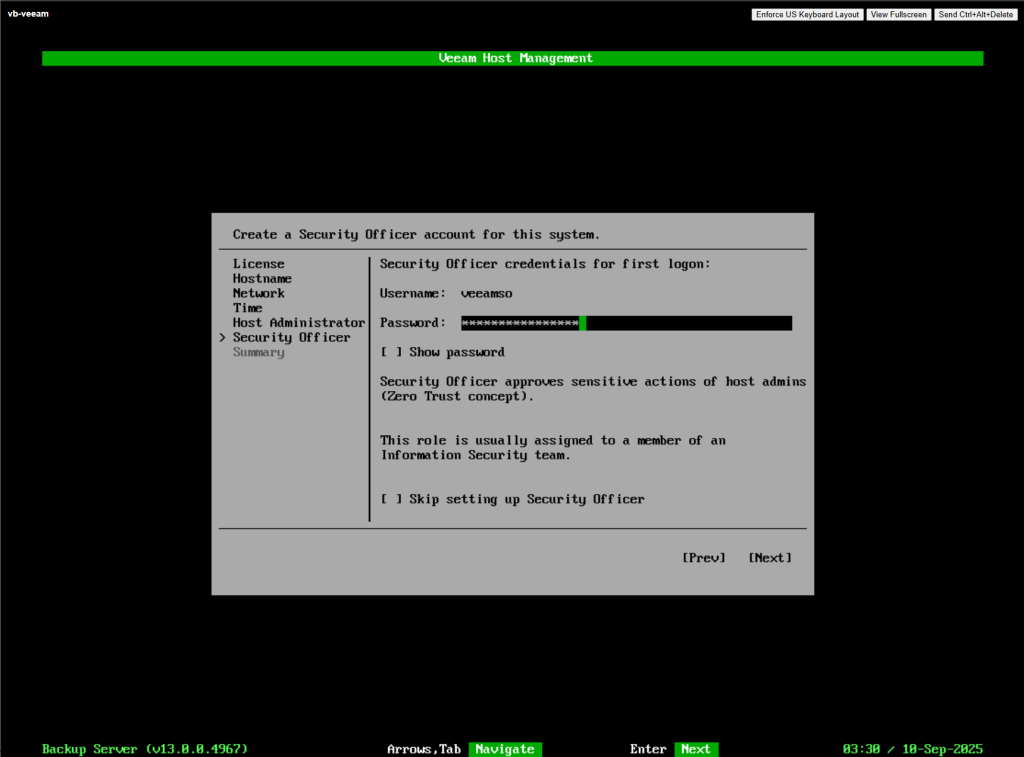
Setup the Security Officer credentials ->
Summary ->
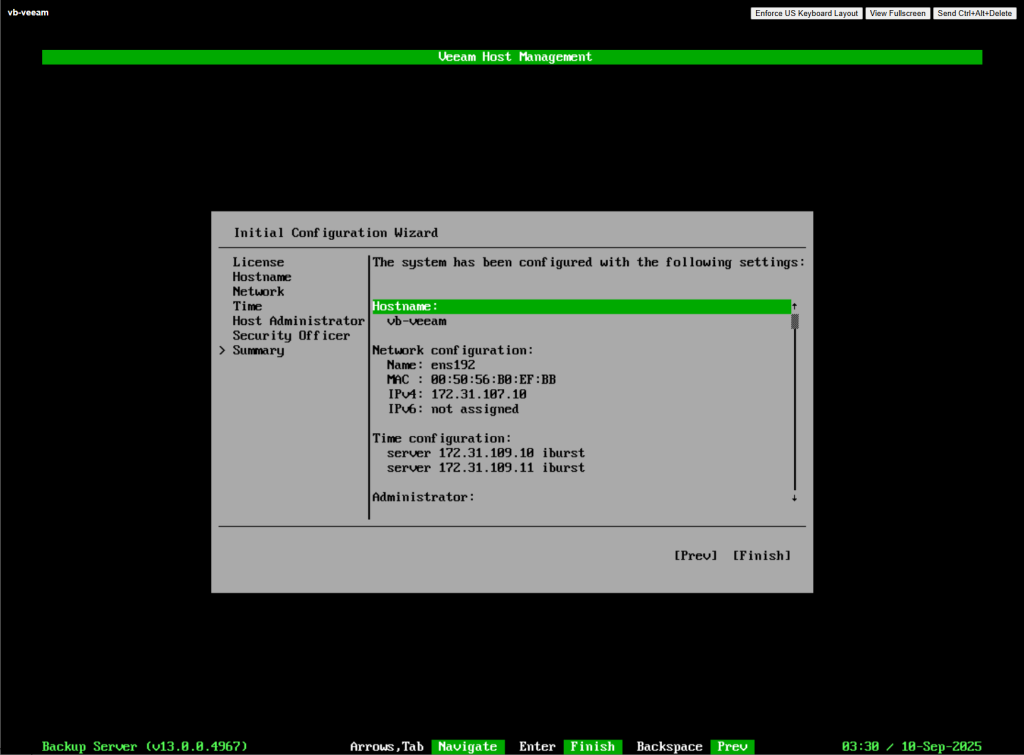
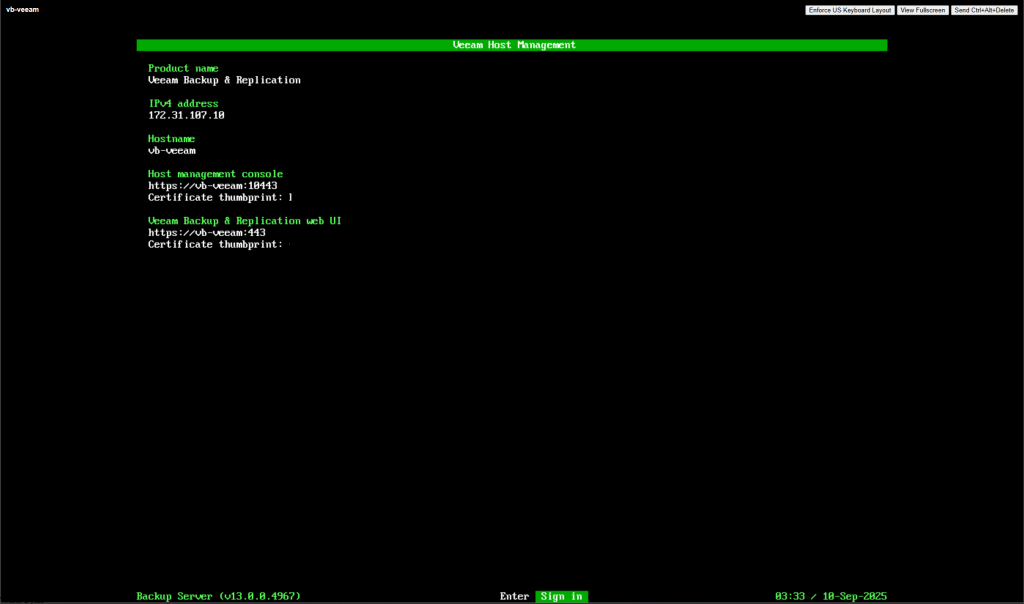
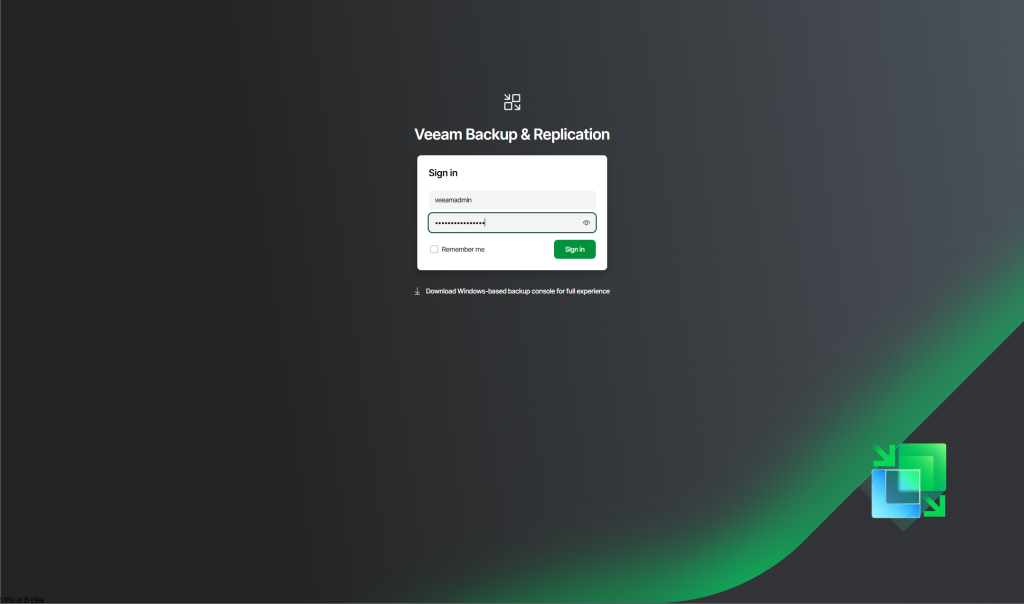
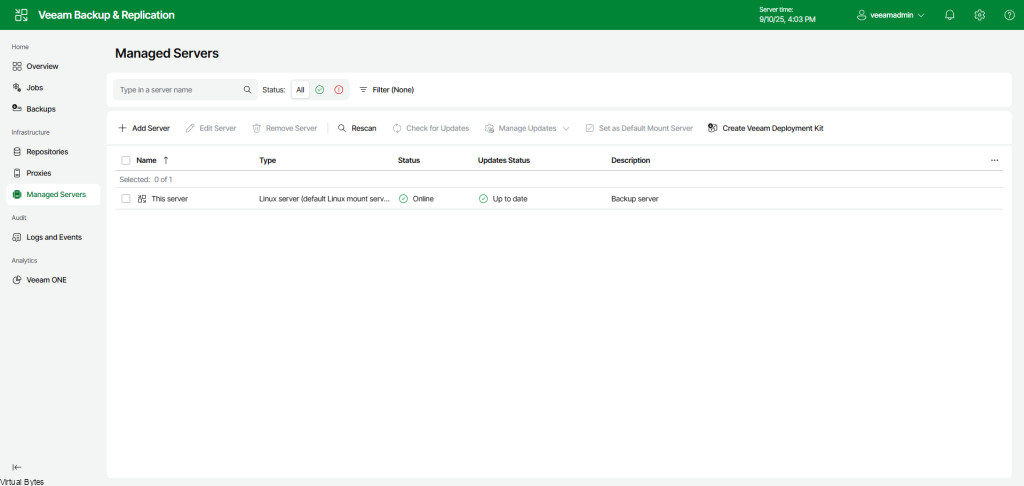
Now that the deployment is finished, lets log into our Veeam UI!
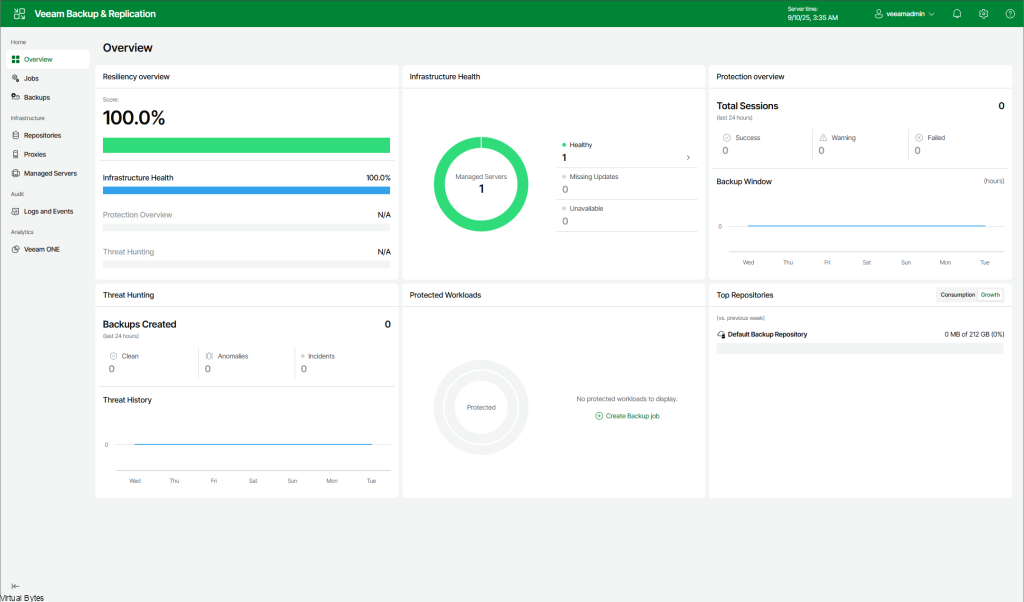
Very nice looking UI! 🙂
Now that we are logged in lets start connecting it to VCF 9!
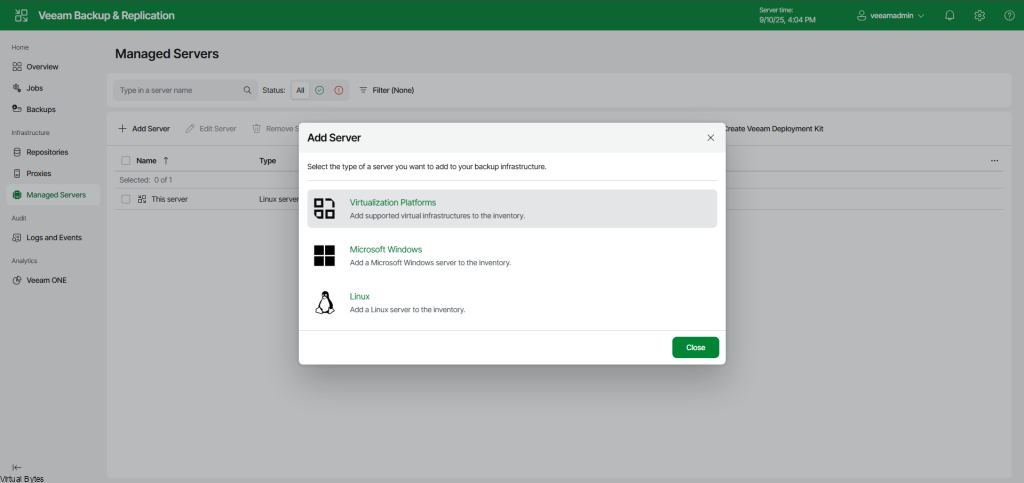
Click on + Add Server
Virtualization Platform
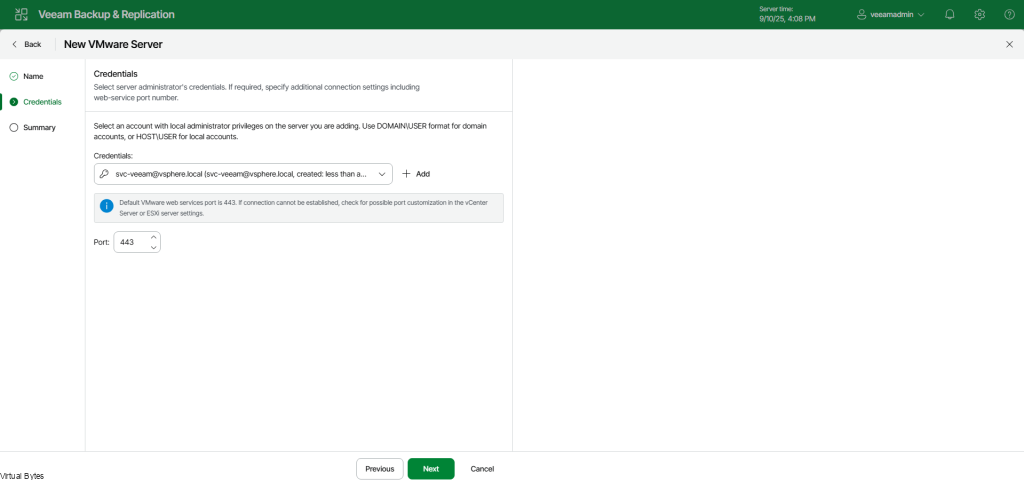
VMware vSphere – Type in your VCF 9 vCenter FQDN.

Create a local service account which will be apart of the vsphere.local domain.
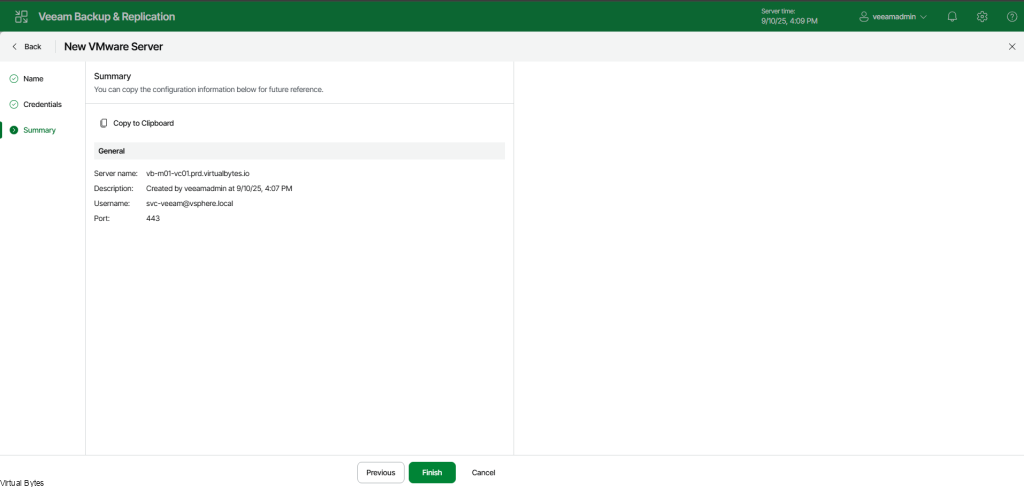
Finish
In our next blog post, we’ll configure and add backups of the VCF 9 environment. Overall, the new Veeam Software appliance is amazing and offers much simpler deployment and manageability!