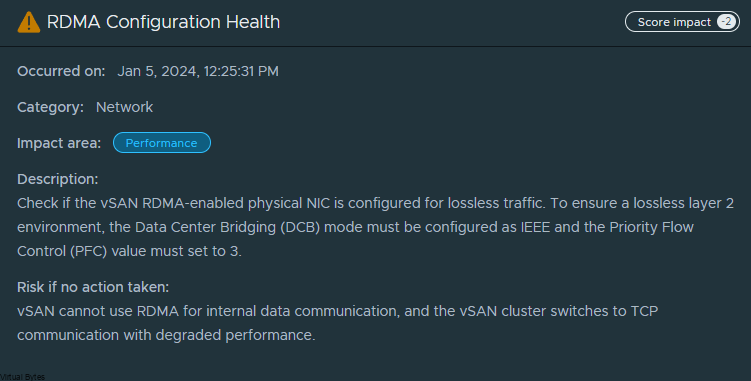
Welcome to the first blog post of 2024! We are thrilled to kick off the year with a topic that is bound to ignite your vSAN Cluster. Get ready to dive into the world of RDMA (Remote Direct Memory Access) and vSAN (Virtual Storage Area Network) implementation. These cutting-edge technologies are revolutionizing the way data is transferred and stored, promising lightning-fast speeds and unparalleled efficiency. Whether you are a tech enthusiast, a system administrator, or simply someone intrigued by the latest advancements in the tech universe, this blog post will unravel the mysteries of RDMA and vSAN, leaving you with a newfound understanding and enthusiasm for these game-changing innovations. So, buckle up and lets get ready!
Lets configured your ESXi Host to be ready for RDMA for vSAN
First thing you will want your Core Networking Switches to have Data Center bridging configured for all interfaces that are connected to your vSAN Cluster. Link to Arista
Example Syntax From my Arista DCS-7050QX-32S-F
   description ESX01-VDS01-1-VMNIC4
   mtu 9214
   dcbx mode ieee
   speed forced 40gfull
   switchport mode trunk
   priority-flow-control on
   priority-flow-control priority 3 no-drop
Sample Config

So, now that the networking is prepared next we will need to SSH into each ESXi Host and you will need configure the settings below:
Example of vSAN Cluster Health regarding RDMA not configured


While in SSH – you will need to configured each host with the parameters’ below in each code block
dcbx int Set DCBX operational mode
Values : 0 – Disabled, 1 – Enabled Hardware Mode, 2 – Enabled Software Mode, 3 – If Hardware Mode is supported Enable Hardware Mode, else Enable Software
esxcli system module parameters set -m nmlx5_core -p dcbx=3pfctx int 0x08 Priority based Flow Control policy on TX.
Values : 0-255
It’s 8 bits bit mask, each bit indicates priority [0-7]. Bit value:
1 – generate pause frames according to the RX buffer threshold on the specified priority.
0 – never generate pause frames on the specified priority.
Notes: Must be equal to pfcrx.
Default: 0
pfcrx int 0x08 Priority based Flow Control policy on RX.
Values : 0-255
It’s 8 bits bit mask, each bit indicates priority [0-7]. Bit value:
1 – respect incoming pause frames on the specified priority.
0 – ignore incoming pause frames on the specified priority.
Notes: Must be equal to pfctx.
Default: 0
trust_state int Port policy to calculate the switch priority and packet color based on incoming packet
Values : 1 – TRUST_PCP, 2 – TRUST_DSCP
Default: 1
esxcli system module parameters set -m nmlx5_core -p "pfctx=0x08 pfcrx=0x08 trust_state=2 max_vfs=0"
pcp_force int PCP value to force on outgoing RoCE traffic.
Cannot be active when dscp_to_pcp is enabled.
Values : -1 – Disabled, 0-7 – PCP value to force
Default: -1
dscp_force int DSCP value to force on outgoing RoCE traffic.
Values : -1 – Disabled, 0-63 – DSCP value to force
Default: -1
esxcli system module parameters set -m nmlx5_rdma -p "pcp_force=-1 dscp_force=26"
Now, that your have configured all the ESXi hosts, you will need to repeat the syntax above to each host you have. Once updated you will need to put each host in maintenance mode and reboot each host.
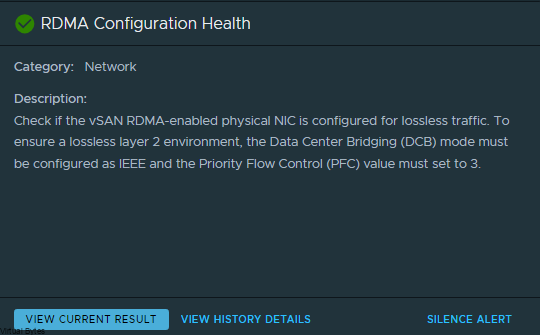
Once all ESXi hosts are configured and rebooted, vSAN Health should report back RDMA Configuration Healthy.

Below are some Network Backbone tests over RDMA!

2 comments
Great post! I think this is the only one of its kind out there, so thank you for taking the time to share your setup with us. I also own a pair of Arista DCS-7050QX-32S switches. Prior to finding your article, I came across Nvidia’s “RoCE Configuration for Arista Switches” article and they have a guide to follow. In it, they have several other global and interface specific features configured. For example, under global configuration, they enable “platform trident mmu queue profile RoCELosslessProfile”. Do you also have this enabled? Or perhaps by enabling DCBX at the interface level, it automatically engages lossless profile of some sorts.
Thank you! It took some time figuring out all the setting but worth it! I get vSAN test speeds of 25000Mbps so well worth the time to configure this and I do not have that enabled at the global level but I have the following enabled DCBX ieee at interface level
interface Ethernet9/1
description ESX01-VDS01-1
mtu 9214
dcbx mode ieee
speed forced 40gfull
switchport mode trunk
priority-flow-control on
priority-flow-control priority 3 no-drop
spanning-tree portfast