Today’s blog post is about VCF and how it is a comprehensive cloud management platform that enables organizations to build, deploy, and manage private clouds. With the release of VCF 5.2, VMware has further enhanced the platform’s capabilities, making it an even more attractive choice for businesses looking to modernize their infrastructure. In this blog post, we’ll delve into the process of upgrading specific components in VCF 5.2, including ESXi and Image Management.
This will be a living blog post – Any Issues I encounter will be documented here!
PowerShell Script for VMware Cloud Foundation Bundle Management
Below I will walk you through on using the PowerShell Script which is provided for end-users to be able to safely and easily clean up bundles within their SDDC Manager.
- Prepare System Requirements:
- Windows, Linux, or MacOS running PowerShell Core 7.3.0 or later.
- VMware PowerCLI 13.1 or later
- PowerVCF 2.3.0 or later
- Download attached script.
- Extract script, change to its directory.
- Run script
- with parameters:
- .\VcfBundleManagement.ps1 -user <SDDC_Manager_user> -server <SDDC_Manager_FQDN> -pass <password> -rootPass <root_password>
- Where:
- <SDDC_Manager_user> is the username to authenticate with SDDC Manager.
- <password> is the password to authenticate with SDDC Manager
- <SDDC_Manafer_FQDN> is the fully qualified domain name of the SDDC Manager
- <root_password> is the password for the root user on the SDDC Manager appliance
- without parameters (script will ask for input parameters):
- .\VcfBundleManagement.ps1
- with parameters:
- Select options from the displayed menu and press enter to run it.
Specify your SDDC Manager ->

Once connected with your SSO Account ( I used [email protected], but any administrative privilege account shall work as well)

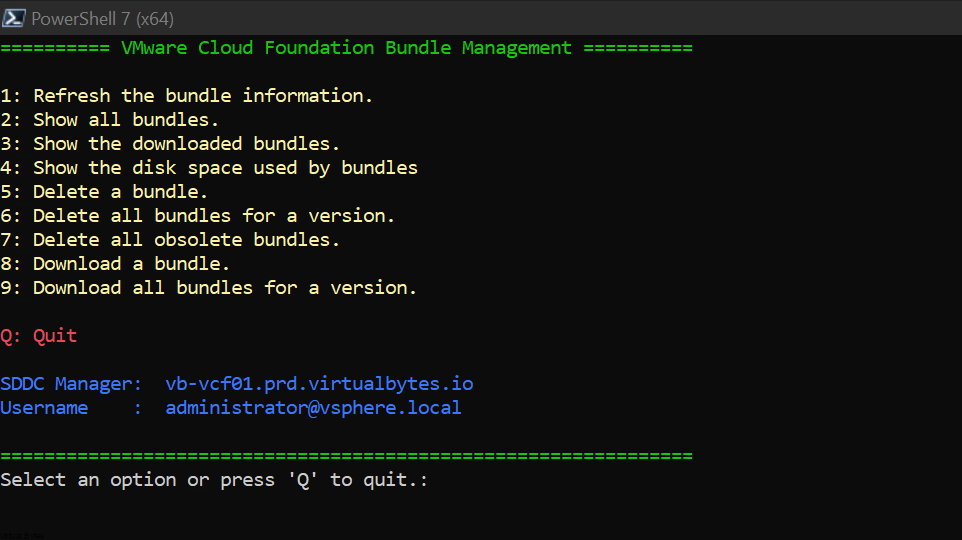
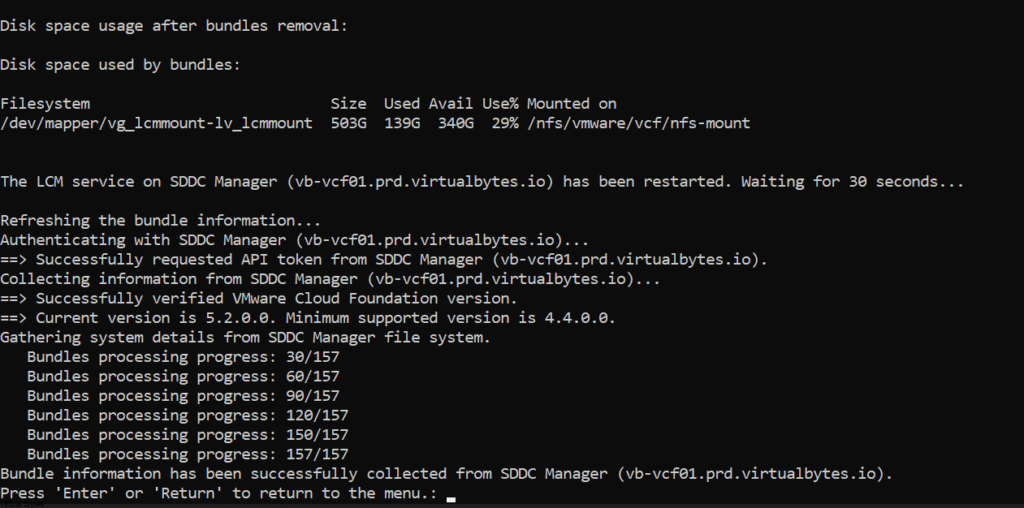
Selecting #7 Will Delete all obsolete bundles which I had for VCF 5.1.1 and no longer needed them.

Detailed Storage usage of the SDDC Manager is provided by option #4

vLCM Upgrade Preparation
For the vLCM Portion of the upgrade, I encountered a issue where I could not proceed till I built a custom image with all the dell firmware’s and drives addon, due to the reason my previous version of ESXi had the Dell OEM drivers embedded.

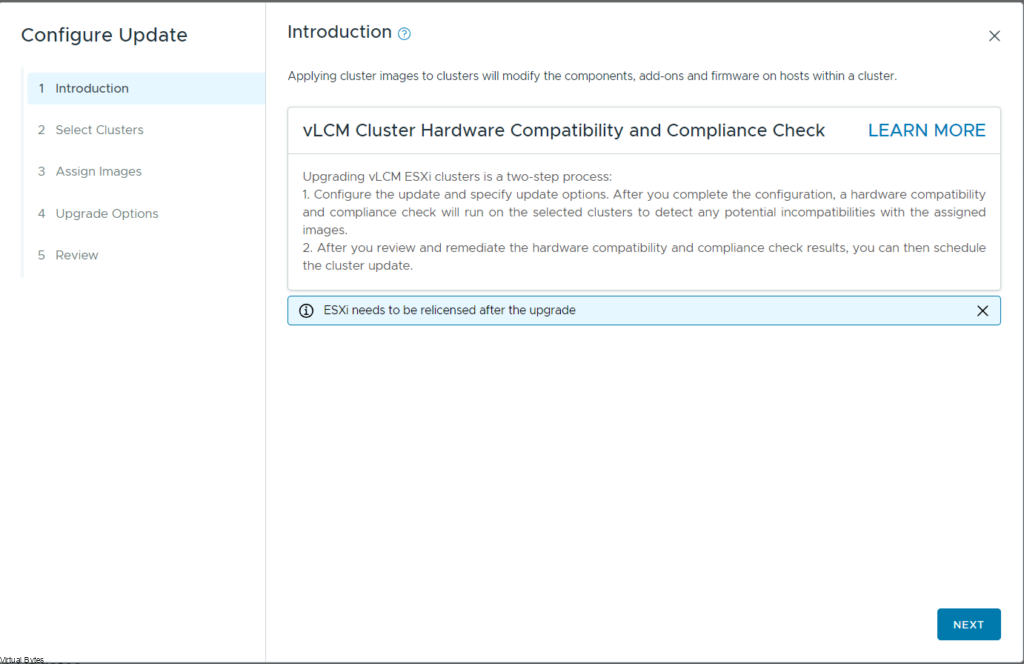
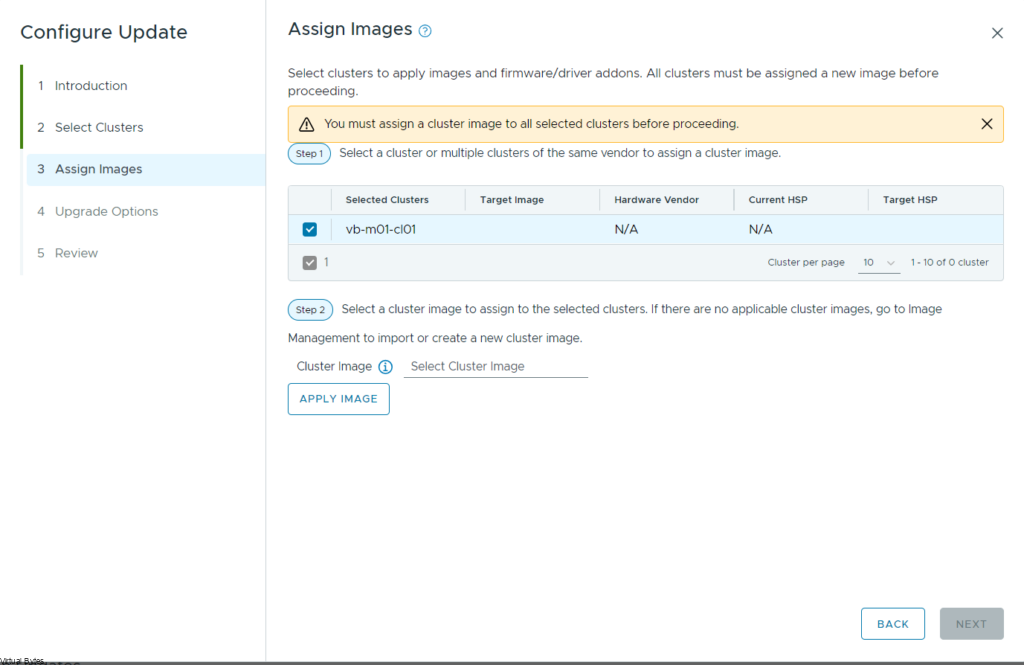
Configure Update ->
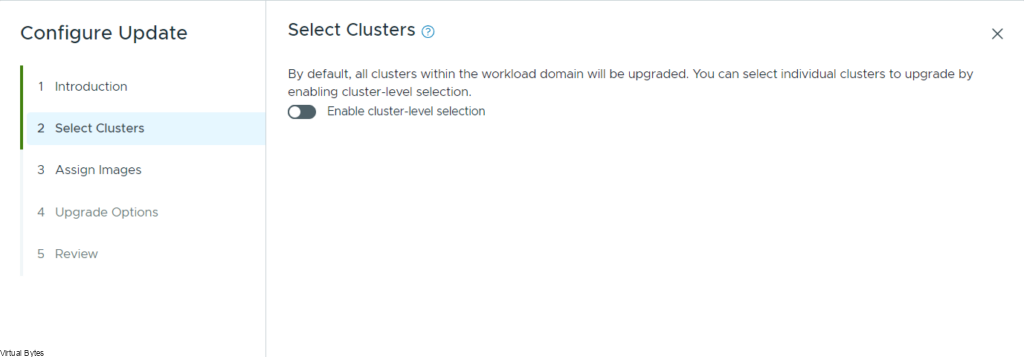
Select your cluster(s) ->
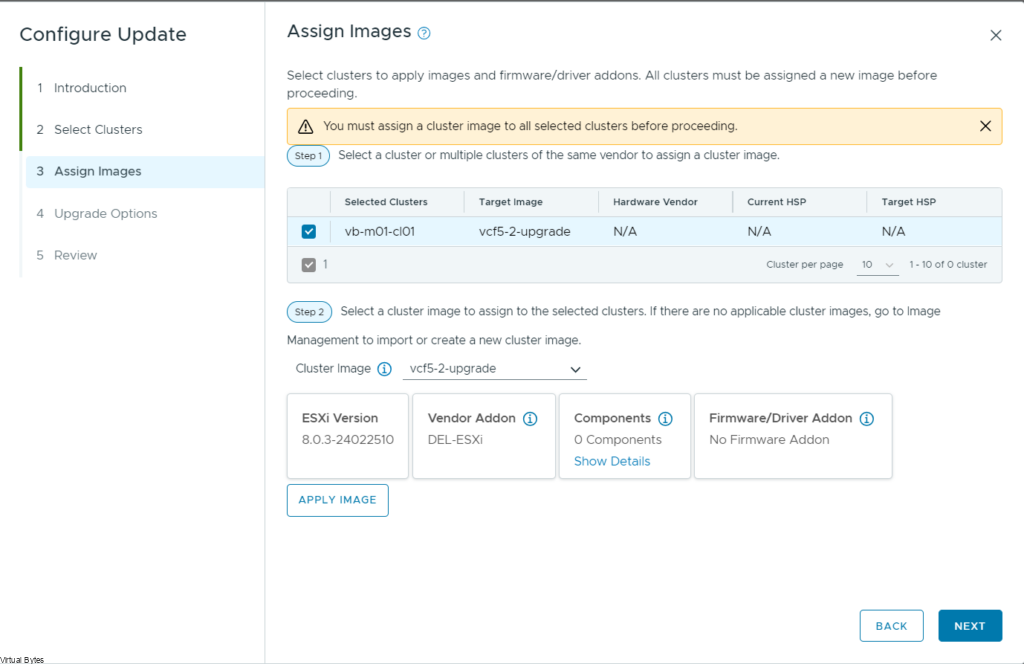
Select your image, so for this part you will need to go into vCSA and prepare a image that is latest version, and ensure that all OEM drivers are updated.
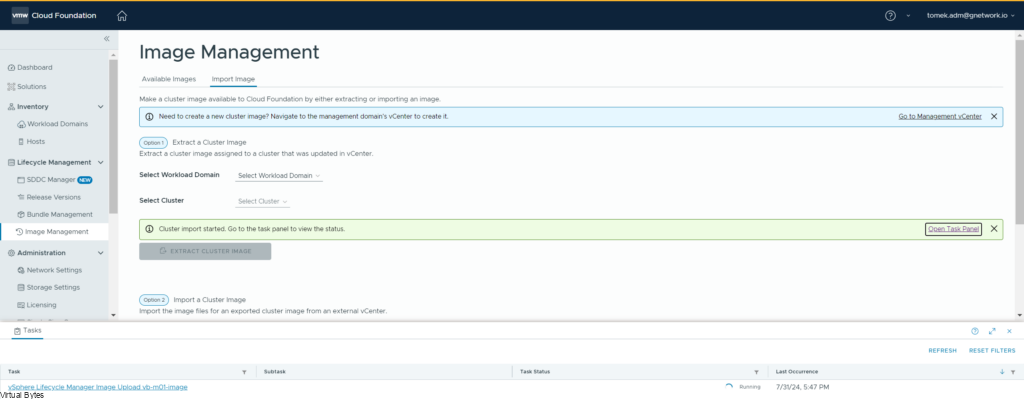
Once image is created go to Image Management -> Import Image from your Management Workload Domain vCenter
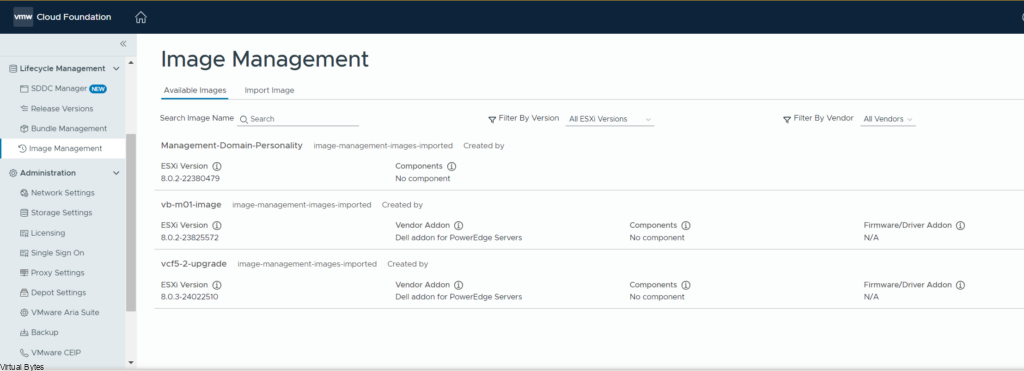
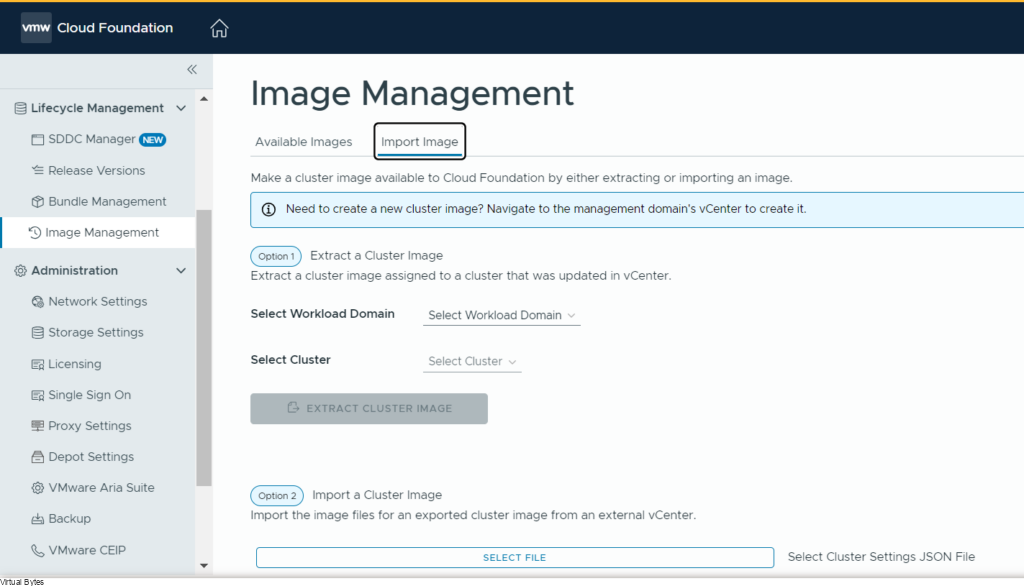
It will take few minutes but once the import is complete for the vSphere 8.0 U3 version, then you will see it appear in the vLCM upgrade window.
Back at the vLCM upgrade window, assign the image(s) that you created earlier and click next.
Upgrading VMware Cloud Foundation 5.2 involves updating specific components like ESXi and Image Management. By following the step-by-step guides outlined above, you can ensure a smooth and successful upgrade process that takes advantage of the latest features and capabilities in VCF 5.2. Remember to always back up your configuration and data before upgrading, and plan for downtime accordingly. With these best practices in mind, you’ll be well on your way to modernizing your private cloud infrastructure with VMware Cloud Foundation.
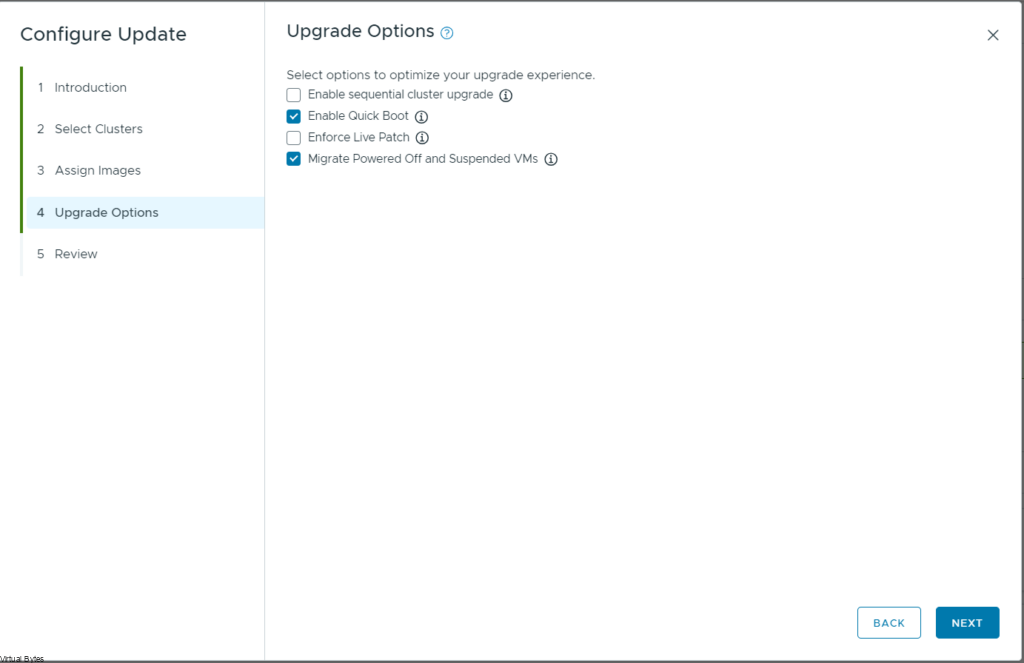
Click Next -> After you have applied your custom image for vLCM Upgrade. Once the vLCM is complete then ESXi will upgrade and below you can specify the deployment orientation. If your servers support Quick Boot keep it enabled or even Live Patch.
Upgrade process is about to begin…
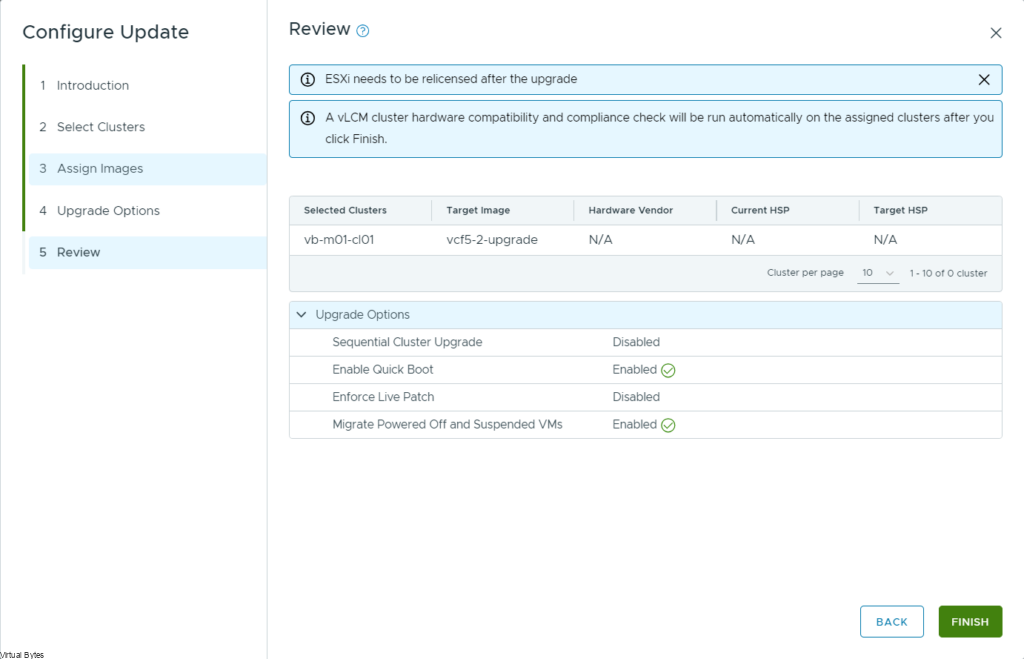
Upgrade in process!
