Omnissa Horizon has established itself as a leading solution for Virtual Desktop Infrastructure (VDI) and Desktop-as-a-Service (DaaS) environments. Building on the success of its predecessor, the Horizon 2406, we are excited to announce the release of the Horizon 2412 upgrade. This latest iteration offers a range of enhancements designed to further improve performance, scalability, and manageability for organizations leveraging VDI and DaaS solutions. With advanced features and improved capabilities, the Omnissa Horizon 2412 is poised to deliver even greater value to users, administrators, and IT professionals alike
Lets Upgrade!
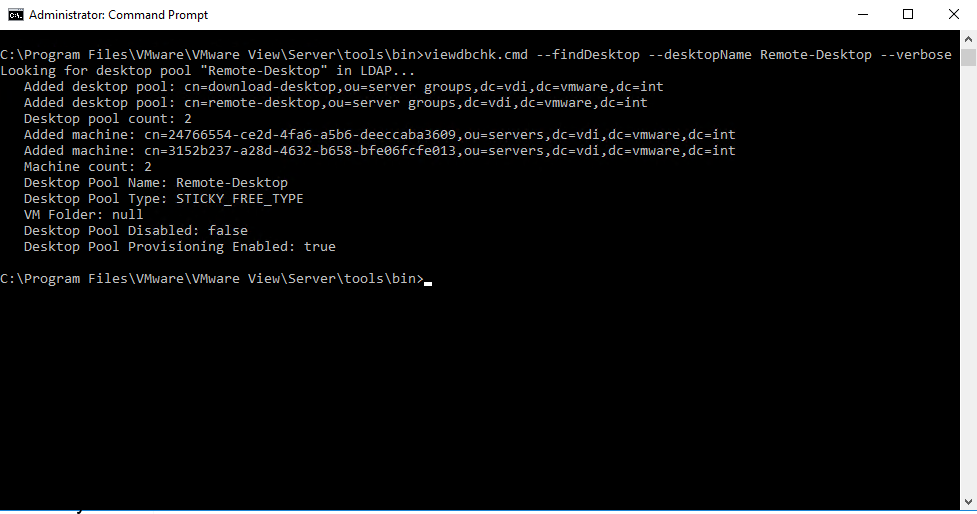
- Take a Snapshot of your Horizon Connection Server
- Copy the Omnissa-Horizon-Connection-Server-x86_64-2412-8.14.0-12990578933.exe to your Horizon Connection Server.
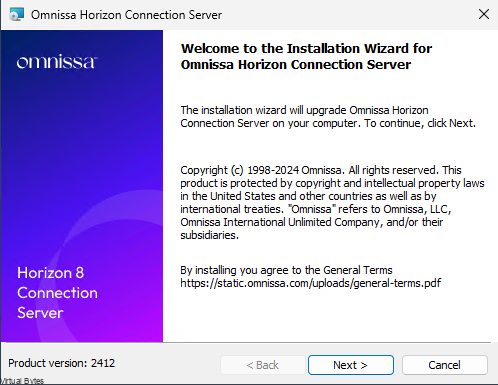
Next ->
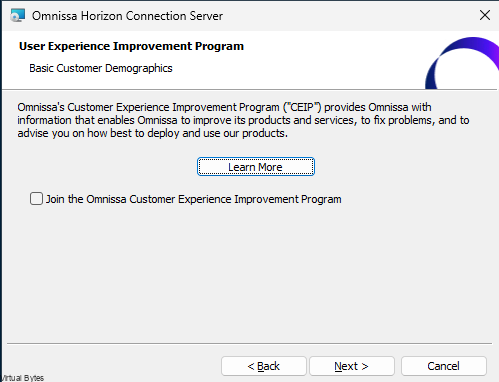
Your preference to join the CEIP -> Next
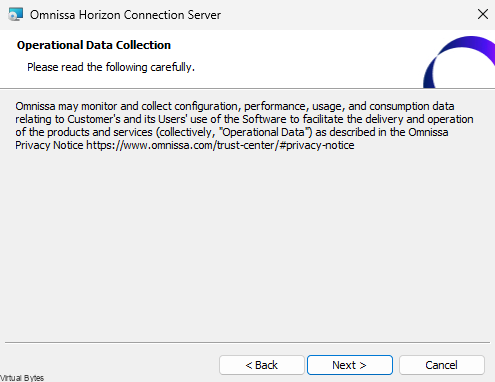
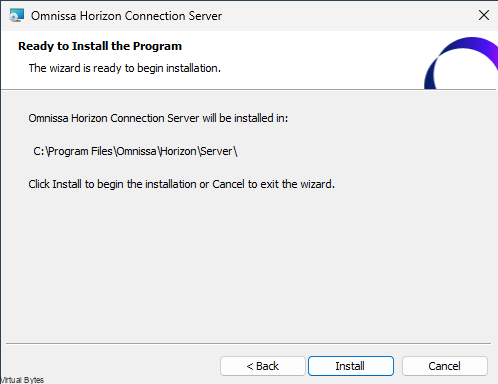
Install!
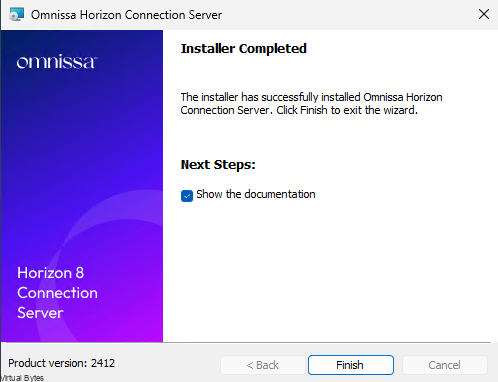
Follow up on the New Documentation site on Omnissa’s Site
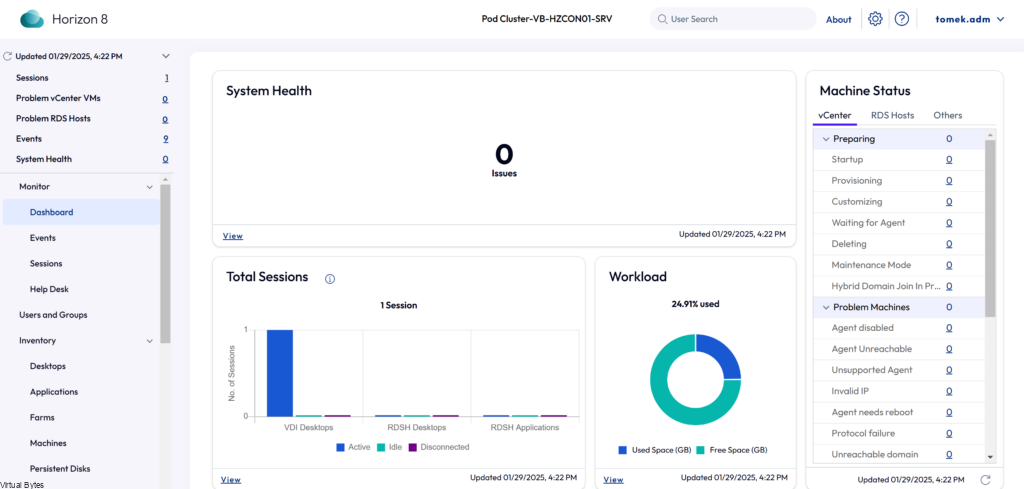
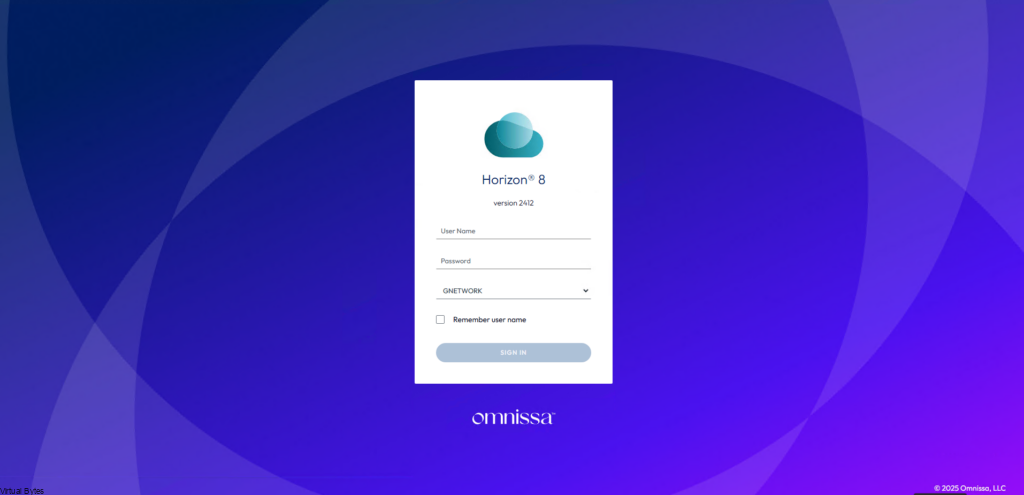
New Look! For the Admin Login, really clean and streamlined and snappy interface I must say!
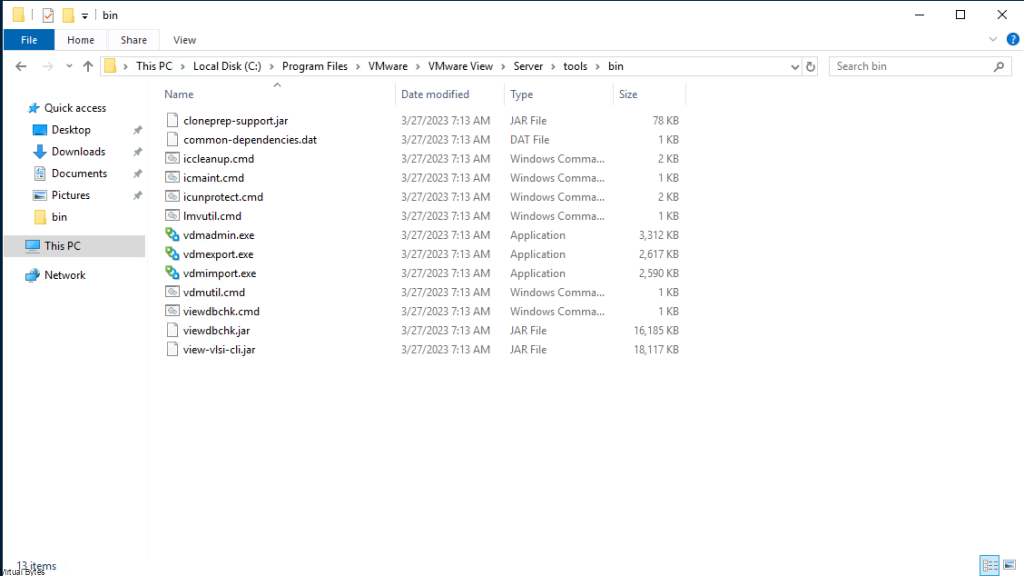
Now, that the Horizon Connection server is upgraded, we will now upgrade the Agent on our Image for our Pool, if you have a non-persistent image then you will need to unpack your template and update the gold image, but for my deployment I have persistent so I updated the VM it self.
Agent Upgrade
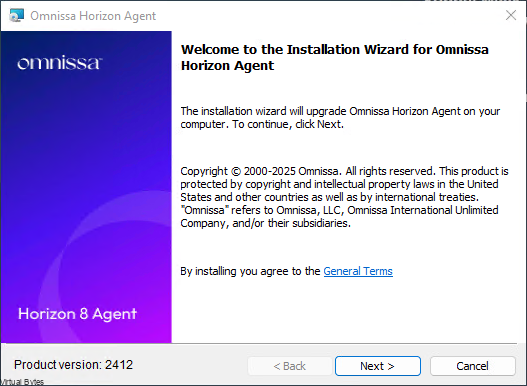
Next ->
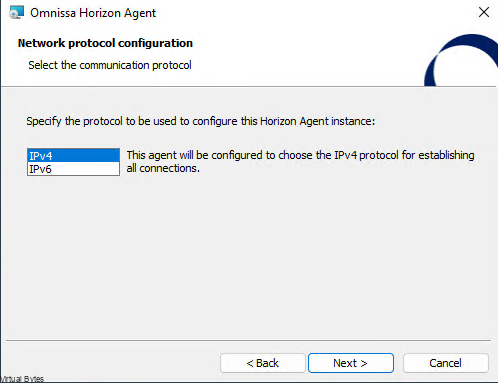
Depending on your Deployment I would stick with IPv4 if you do not have IPv6 Routing capabilities.

Select your features you want enable on the Image.
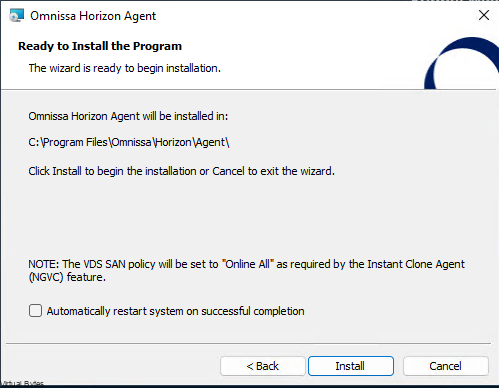
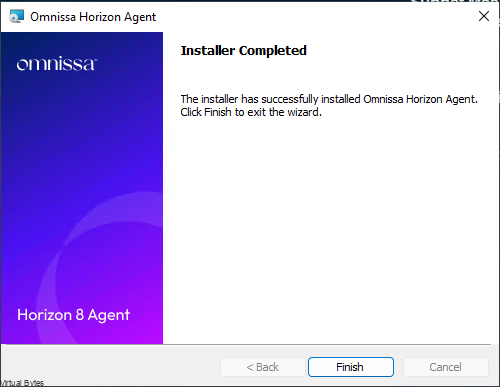
Install!
Now we will re-deploy my Unified Access Gateway with the same IP address and configuration as my old 2406, but before turning off and removing the old UAG I exported my json file of my configuration to re-import it into the new 2412 UAG.

Login! with the credentials you setup during the OVA deployment.
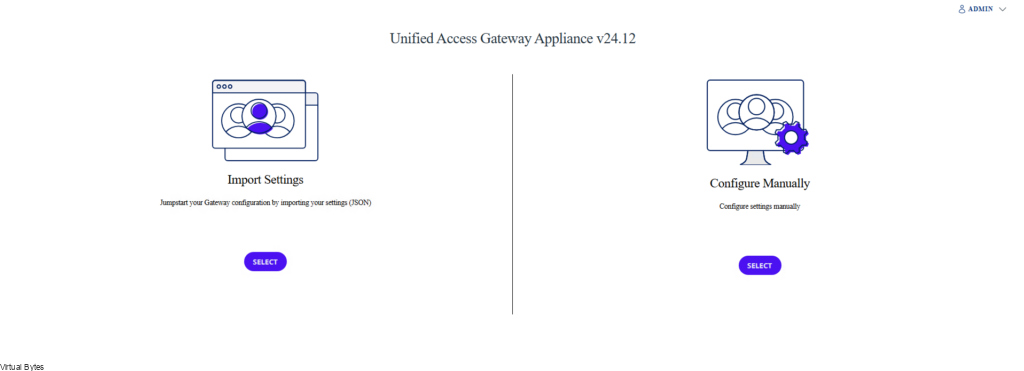
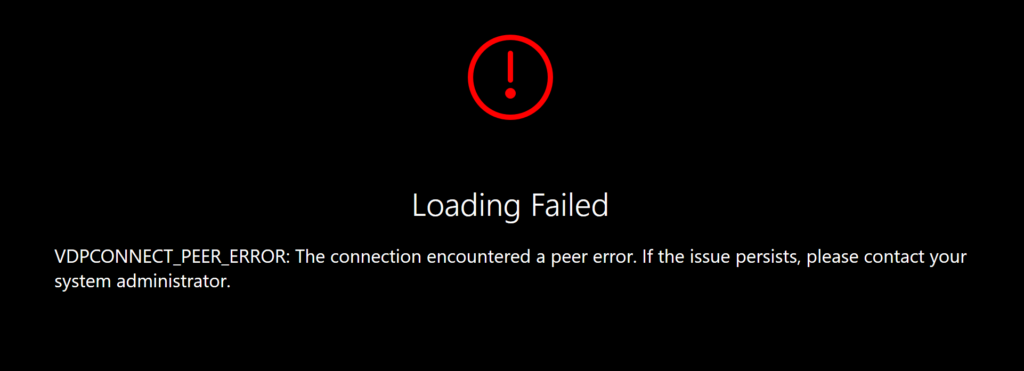
Now we will Import the settings, so when you import the json file you will need to also re-import your certificate file, mine is a PFX and reapply it because after the import and reboot of the Horizon Connection and UAG I kept running into this error, and it was due to that the certificate was not imported within the json file and it needed a re-import. After reboot and all I was able to login!
Really nice and clean UI of the new Horizon 2412 Upgrade!